Creative Woodworks & crafts 2002-04, страница 54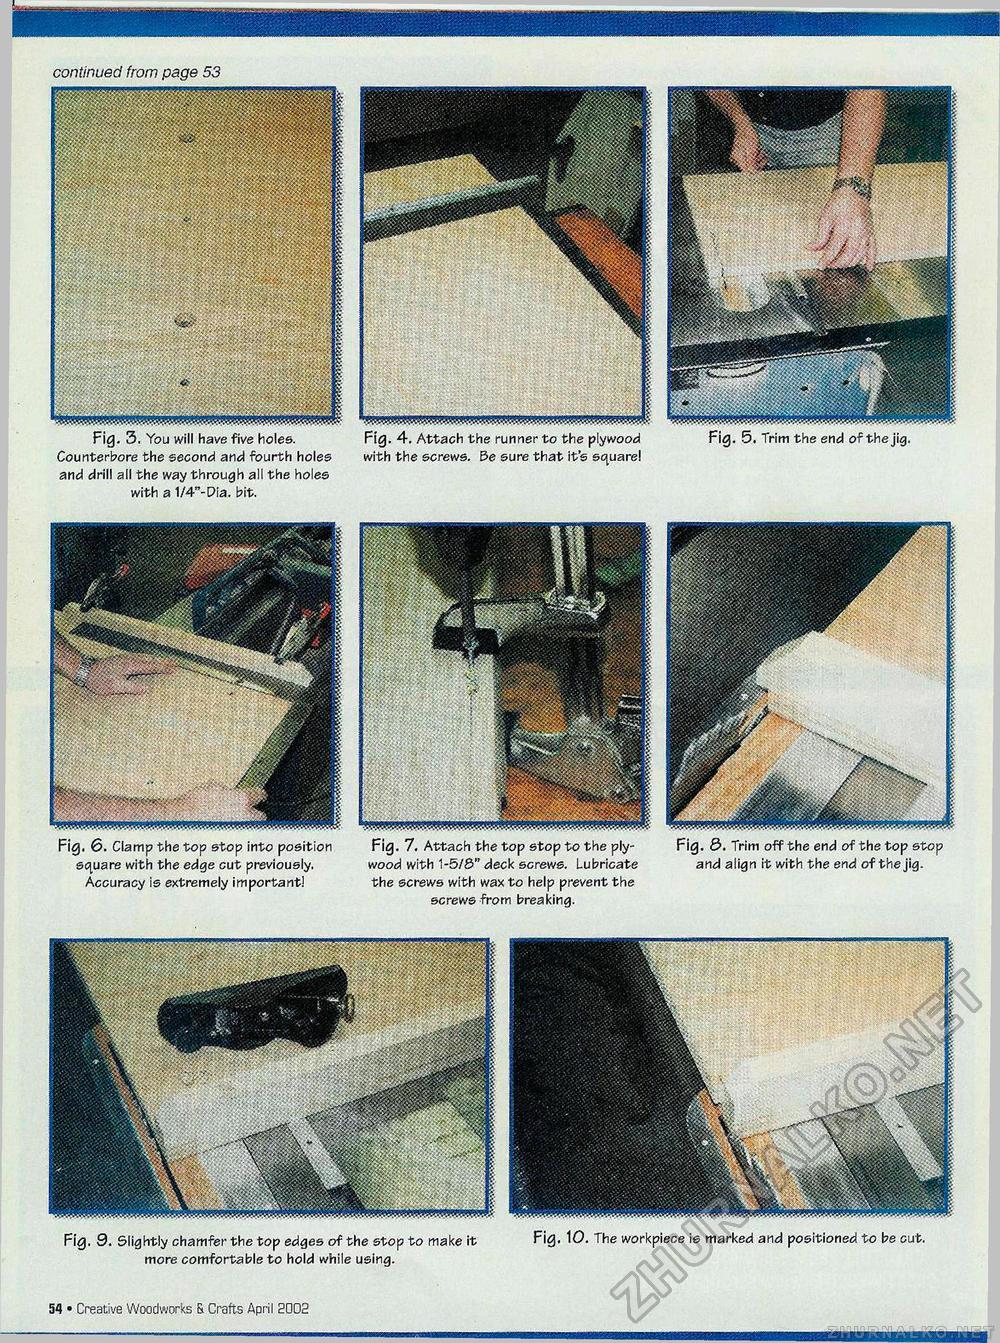
continued from page 53 Fig. 3. You will have five holes. Counterbore the second and fourth holes and drill all the way through all the holes with a 1/4"-Dia. bit. Fig. 4. Attach the runner to the plywood with the screws. Be sure that it's square! Fig. 5. Trim the end of the jig. Fig, 6. C\amp the top stop into position square with the edge cut previously. Accuracy is extremely important! Fig. 7. Attach the top stop to the plywood with 1-5/6" deck screws. Lubricate the screws with wax to help prevent the screws from breaking. Fig. 3. Trim off the end of the top stop and align it with the end of the jig. Fig. 9. Slightly chamfer the top edges of the stop to make it Fig. 10. The workpiece is marked and positioned to be cut. more comfortable to hold while using. IB • Creative Woodworks S. Crafts April S002 |


