Creative Woodworks & crafts 2002-04, страница 57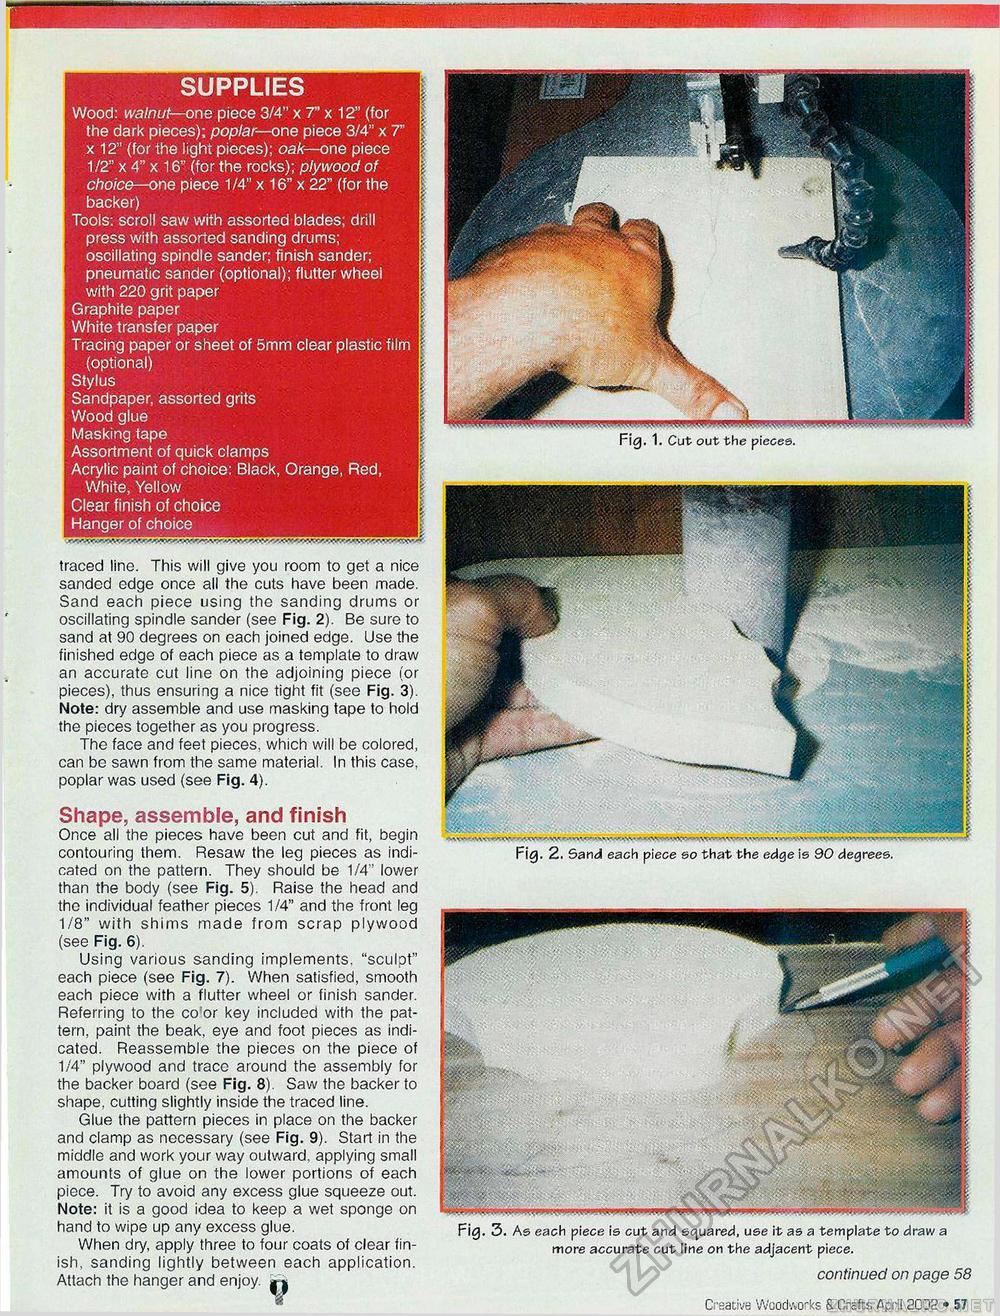
SUPPLIES Wood: walnut—one piece 3/4" x 7" x 12" (for the dark pieces); poplar—one piece 3/4" x 7" x 12" (for the light pieces); oak—one piece 1/2" x 4" x 16" (for the rocks); plywood of choice—one piece 1/4" x 16" x 22" (for the backer) Tools: scroll saw with assorted blades; drill press with assorted sanding drums; oscillating spindle sander; finish sander; pneumatic sander (optional); flutter wheel with 220 grit paper Graphite paper White transfer paper Tracing paper or sheet of 5mm clear plastic film (optional) Stylus Sandpaper, assorted grits Wood glue Masking tape Assortment of quick clamps Acrylic paint of choice: Black, Orange, Red, White, Yellow Clear finish of choice Hanger of choice traced lino. This will give you room to get a nice sanded edge once all the cuts have been made. Sand each piece using the sanding drums or oscillating spindle sander (see Fig. 2). Be sure to sand at 90 degrees on each joined edge. Use the finished edge of each piece as a template to draw an accurate cut line on the adjoining piece (or pieces), thus ensuring a nice tight fit (see Fig. 3). Note: dry assemble and use masking tape to hold the pioces together as you progress. The face and feet pieces, which will be colored, can be sawn from the same material. In this case, poplar was used (see Fig. 4). Shape, assemble, and finish Once all the pieces have been cut and fit, begin contouring them. Resaw the leg pieces as indicated on the pattern. They should be 1/4" lower than the body (see Fig. 5). Raise the head and tho individual feather pieces 1/4" and the front leg 1/8" with shims made from scrap plywood (see Fig. 6). Using various sanding implements, "sculpt" each piece (see Fig. 7). When satisfied, smooth each piece with a flutter wheel or finish sander. Referring to the co'or key included with the pattern, paint the beak, eye and foot pieces as indicated. Reassemble the pieces on the piece of 1/4" plywood and tracc around the assembly for the backer board (see Fig. 8). Saw the backer to shape, cutting slightly inside the traced line. Glue the pattern pieces in place on the backer and clamp as nccessary (see Fig. 9). Start in the middle and work your way outward, applying small amounts of glue on the lower portions of each piece. Try to avoid any excess glue squeeze out. Note: it is a good idea to keep a wet sponge on hand to wipe up any excess glue. When dry, apply three to four coats of clear finish, sanding lightly between each application. Attach fhe hanger and enjoy. Fig. 3. As each piece is cut and squared, use it as a template to draw a more accurate cut line on the adjacent piece. continued on page 58 Creative Woodworks & Crafts April 2002 » 57 Fig. 1. Cut out the pieces. Fig. 2. Sand each piece so that the edge is 90 degrees. |


