Creative Woodworks & crafts 2002-06, страница 28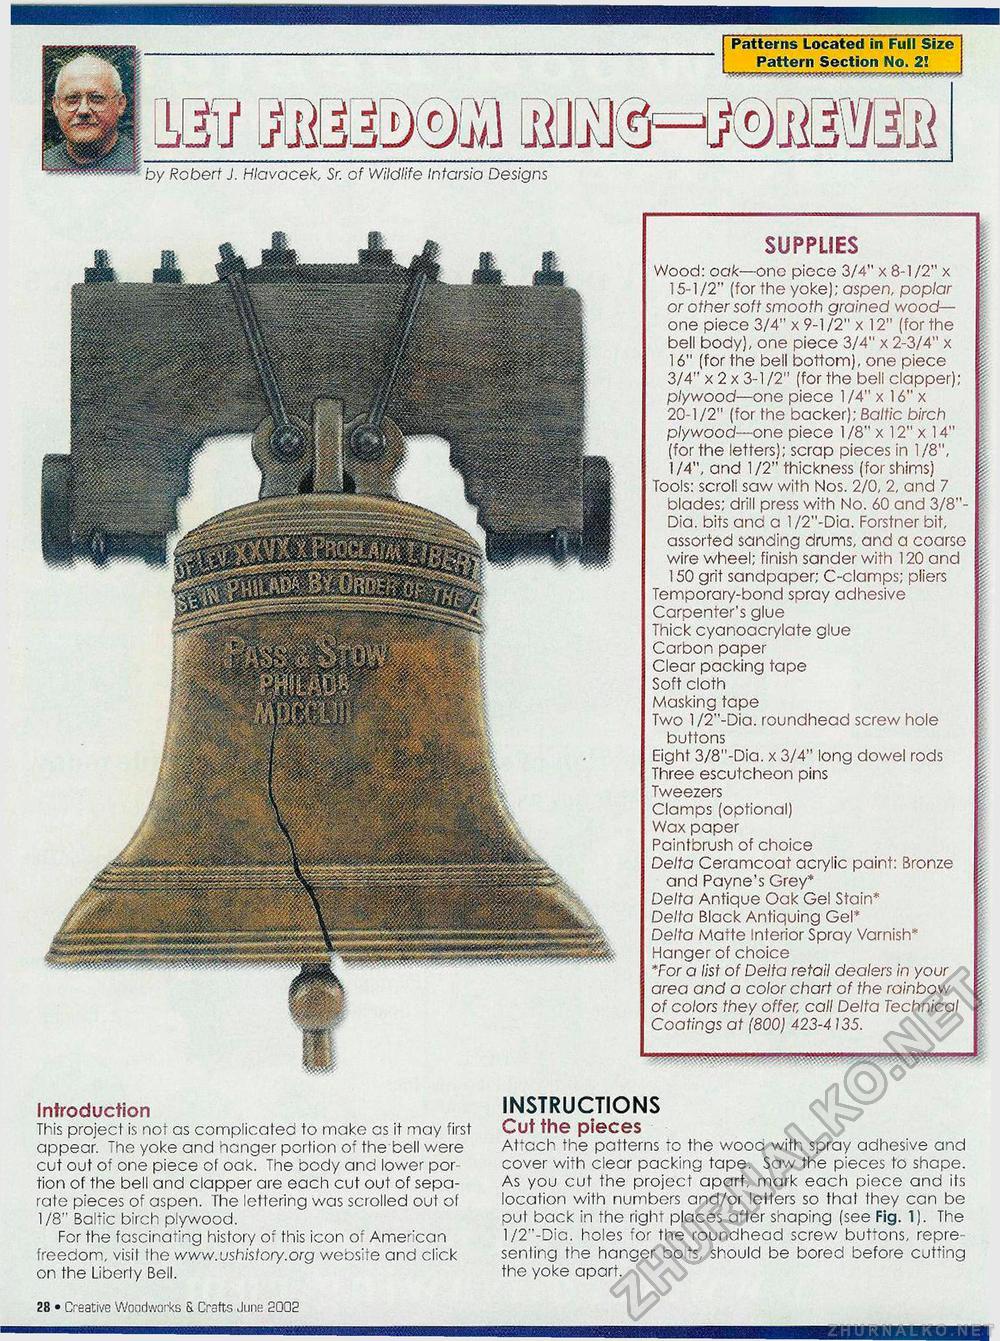
SUPPLIES Wood: oak—one piece 3/4" x 8-1/2" x 15-1/2" (for the yoke); aspen, poplar or other soft smooth grained wood-one piece 3/4" x 9-1 /2" x 12" (for the bell body), one piece 3/4" x 2-3/4" x | 16" (for the bell bottom), one piece 3/4" x 2 x 3-1/2" (for the bell clapper); | plywood—one piece 1 /4" x 16" x 20-1/2" (for the backer); Baltic birch plywood—one piece 1 /8" x 12" x 14" (for the letters); scrap pieces in 1/8", | 1/4", and 1/2" thickness (for shims) Tools: scroll saw with Nos. 2/0, 2, and 7 ! blades; drill press with No. 60 and 3/8"- ; Dia. bits ana a l/2"-Dia. Forstner bit, assorted sanding drums, and a coarso \ wire wheel; finish sander with 120 and I 150 grit sandpaper; C-clamps; pliers f Temporary-bond spray adhesive Carpenter's glue Thick cyanoacrylate glue Carbon paper Clear packing tape Soft cloth Masking tape Two l/2"-Dia. roundhead screw hole buttons Eight 3/8"-Dia. x 3/4" long dowel rods Three escutcheon pins Tweezers Clamps (optional) Wax paper Paintbrush of choice Delta Ceramcoat acrylic paint: Bronze and Payne's Grey* Delta Antique Oak Gel Stain* Delta Black Antiquing Gel* Delta Matte Interior Spray Varnish* Hanger of choice *For a list of Delta retail dealers in your f area and a color chart of the rainbow t of colors they offer, call Delta Technical Coatings at {800] 423-4135. 1 11 '■"111 1 1 '■^mai.UV11 Introduction This project is not as complicated to make as it may first appear. The yoke and hanger portion of the bell were cut out of one piece ol oak. The body and lower por tion of the bell and clapper are each cut out of separate pieces of aspen. The lettering was scrolled out ol 1/8" Baltic birch plywood. For the fcscinating history of this icon of Ame':can freedom, visit the www.ushistory.org website and click on the Liberty Bell. INSTRUCTIONS Cut the pieces Aboch the patterns to the wood with spray adhesive and cover with clear packing tape. Saw the pieces to shape. As you cut the project apart, mark each piece and its location with numbers and/or letters so thai they can be put back in the right places after shaping (see Fig. 1). The l/2"-Dic. holes for the roundhead screw buttons, repre-senling the hanger Pots, should be bored before cutting the yoke apart. 28 • Creative Woodworks S. Crafts June 2002 theme of Pete's. |


