Creative Woodworks & crafts 2002-06, страница 29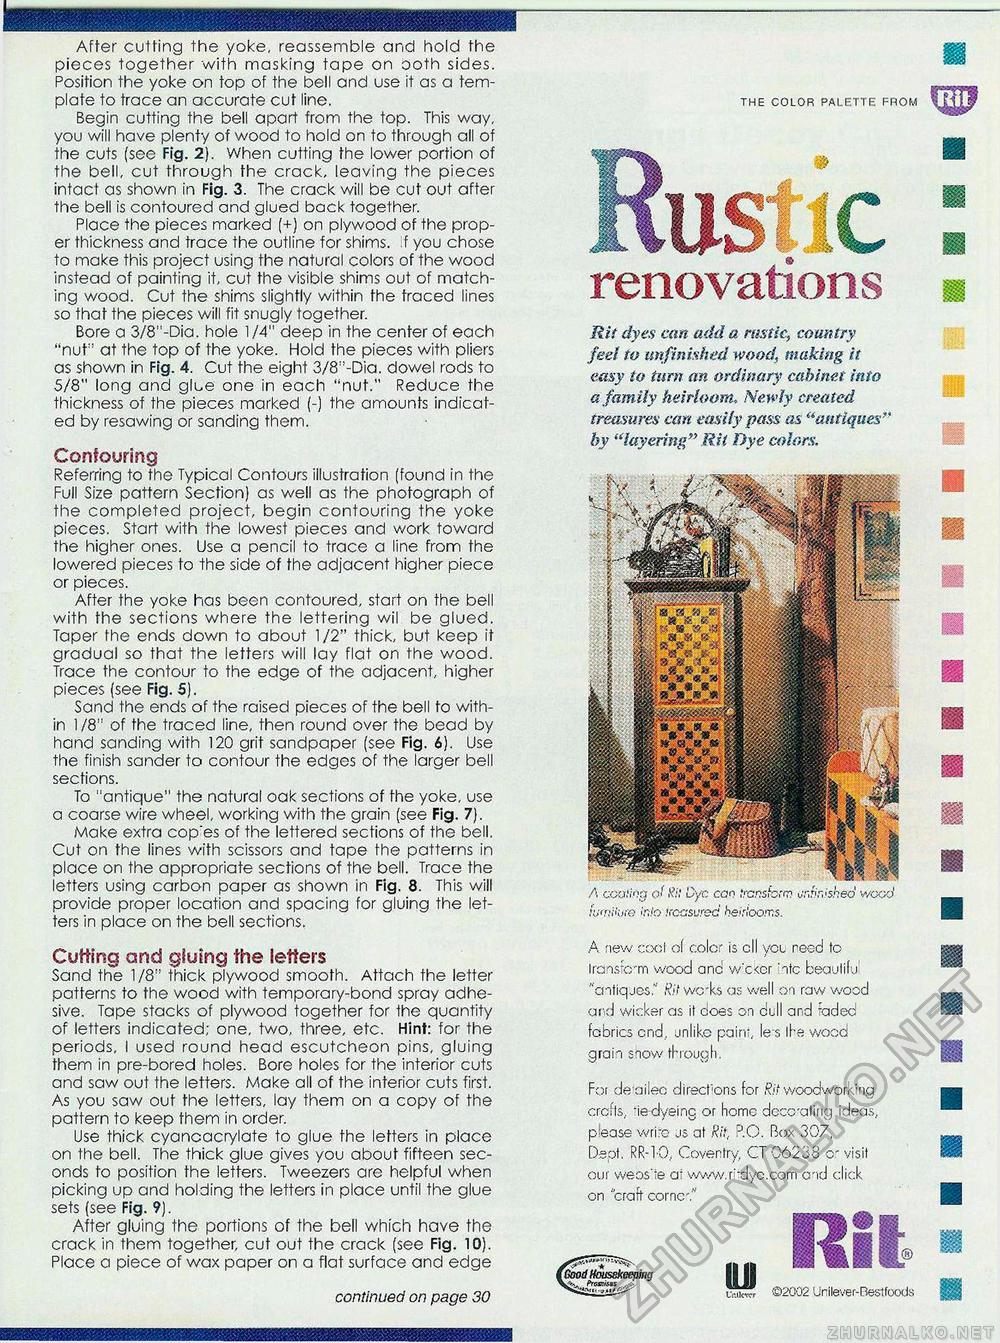
After cutting the yoke, reassemble and hold the pieces together with masking tape on ooth sides. Position the yoke on top of the bell and use it as a template to trace an accurate cut line. Begin cutting the bell apart from the top. This way, you will have plenty of wood to hold on to through all of the cuts (see Fig. 2). When cutting the lower portion of the bell, cut through the crack, leaving the pieces intact as shown in Fig. 3. The crack will be cut out after the bell is contoured and glued back together. Place the pieces marked (+) on plywood of the proper thickness and trace the outline for shims, f you chose to make this project using the natural colors of the wood instead of painting it, cut the visible shims out of matching wood. Cut the shims slightly within the traced lines so that the pieces will fit snugly together. Bore a 3/8"-Dia. hole 1/4" deep in the center of each "nut" at the top of the yoke. Hold the pieces with pliers as shown in Fig. 4. Cut the eight 3/8"-Dia. dowel rods to 5/8" long and glue one in each "nut." Reduce the thickness of the pieces marked (-) the amounts indicated by resawing or sanding them. Contouring Referring to the Typical Contours illustration [found in the Full Size pattern Section) as well as the photograph of the completed project, begin contouring the yoke pieces. Start with the lowest pieces and work toward the higher ones. Use a pencil to trace a line from the lowered pieces to the side of the adjacent higher piece or pieces. After the yoke has been contoured, start on the bell with the sections where the lettering wil be glued. Taper fhe ends down to about 1/2" thick, but keep it gradual so that the letters will lay flat on the wood. Trace the contour to the edge of the adjacent, higher pieces (see Fig. 5). Sand the ends of the raised pieces of the bell to within 1 /8" of the traced line, then round over the bead by hand sanding with 120 grit sandpaper (see Fig. 6). Use the finish sander to contour the edges of the larger bell sections. To "antique" the natural oak sections of fhe yoke, use a coarse wire wheel, working with the grain (see Fig. 7). Make extra cop'es of the lettered sections of the bell. Cut on the lines with scissors and tape fhe patterns in place on the appropriate sections of the bell. Trace the letters using carbon paper as shown in Fig. 8. This will provide proper location and spacing for gluing the letters in place on the bell sections. Cutting and gluing the letters Sand the 1/8" thick plywood smooth. Attach the letter patterns to the wood with temporary-bond spray adhesive. Tape stacks of plywood together for the quantity of letters indicated; one, two, three, etc. Hint: for the periods, I used round head escutcheon pins, gluing them in pre-bored holes. Bore holes for the interior cuts and saw out the letters. Make all of the interior cuts first. As you saw out the letters, lay them on a copy of the pattern to keep them in order. Use thick cyancacrylate to glue the letters in place on the bell. The thick glue gives you about fifteen seconds to position the letters. Tweezers are helpful when picking up and holding the letters in place until the glue sets (see Fig. 9). After gluing the portions of the bell which hove the crack in them together, cut out the crack (see Fig. 10). Place a piece of wax paper on a flat surface and edge continued on page 30 THE COLOR PALETTE FROM renovations Rit dyes can add a rustic, country fed to unfinished wood, making it easy to turn an ordinary cabinet into a family heirloom.. Newly created treasures can easily pass as "antiques" by "layering" Rit Dye colors. A coaling of Kit Oyc can transform unfinished weed isjmiiiji'e 'Mo treasured heirlooms. A new cool of color is ell you need to Iransfcrm wood and vv'c<cr 'ntc beautiful "antiques." Rit vveks as well on raw wood and wicker as it does on dull and faded fabrics end. unlike pain*, le~s the wood grain show through. For de ailec direct'ons for Rit woodworking crofts, -iedyeing or home deccating ideas, please write us'at Rit, P.O. Box 307, Dept. RR-1-0., Coventry, CT 06238 or visit our vveos'ie at www.ndye.com and click on 'craft cornc." Lvjicrcr ©2002 Urilever-Bestfoods W- |


