Creative Woodworks & crafts 2002-06, страница 48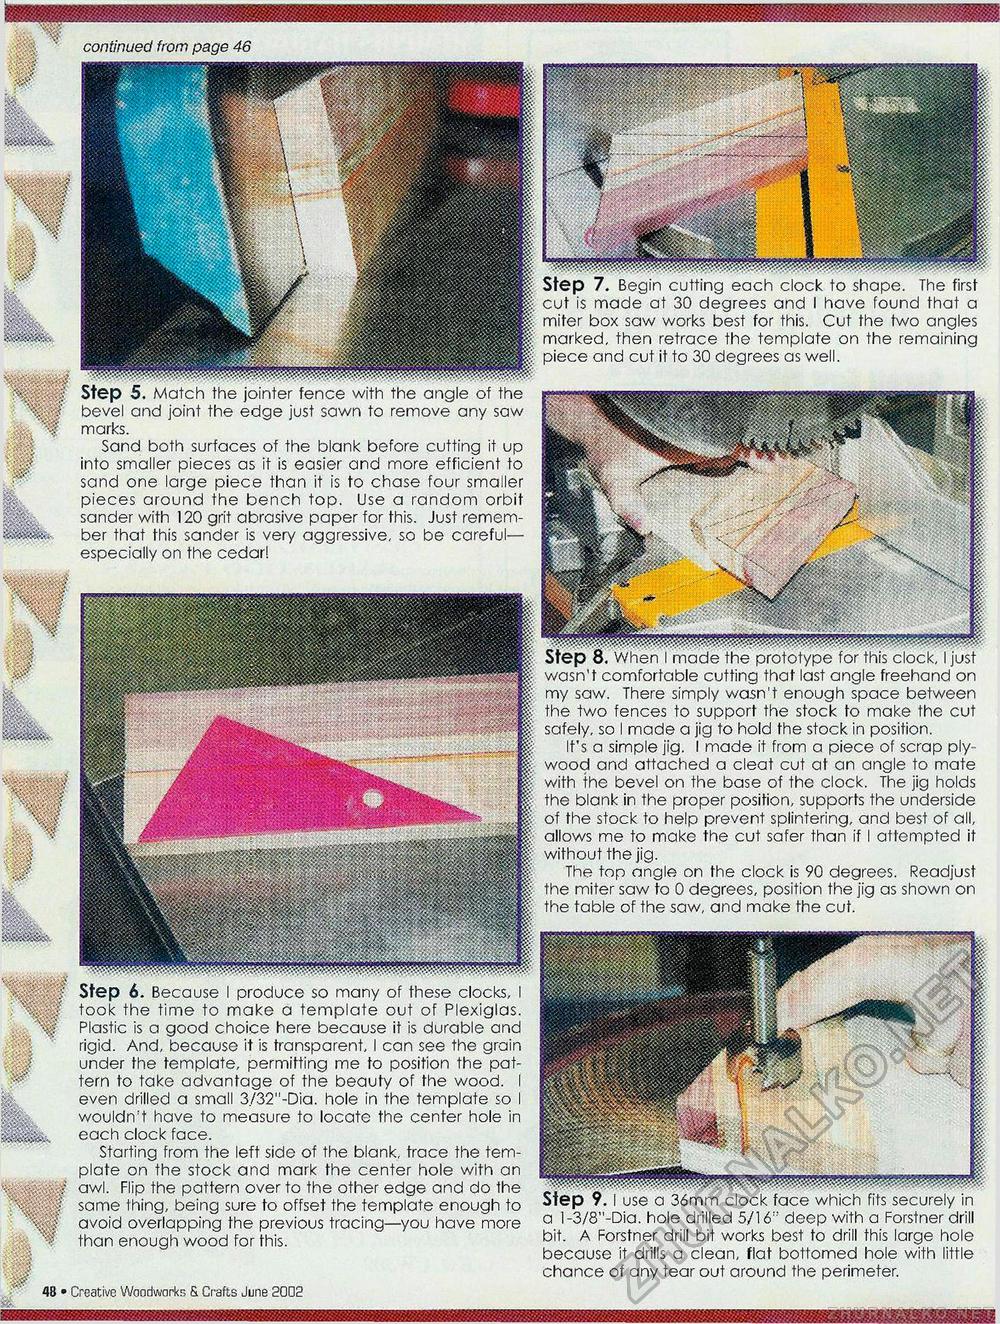
liltl! i/iitii.iiii^ continued from page 46 Step 5. Match the jointer fence with the angle of the bevel and joint the edge just sawn to remove any saw marks. Sand both surfaces of the blank before cutting it up into smaller pieces as it is easier and more efficient to sand one large piece than it is to chase four smaller pieces around the bench top. Use a random orbit sander with 120 grit abrasive paper for this. Just remember that this sander is very aggressive, so be careful— especially on the cedar! |Hf Step 6. Because I produce so many of these clocks, I •f took the time to make a template out of Plexiglas. '•■if Plastic is a good choice here because it is durable and rigid. And, because it is transparent, I can see the grain under the template, permitting me to position the pattern to take advantage of the beauty of the wood. I even drilled a small 3./32"-Dia. hole in the template so I wouldn't have to measure to locate the center hole in each clock face. Starting from the left side of the blank, trace the template on the stock and mark the center hole with an awl. Flip the pattern over to the other edge and do the same thing, being sure to offset the template enough to avoid overlapping the previous tracing—you have more than enough wood for this. 18 • Creative Woodworks & Crafts June 2002 Step 7. Begin cutting each clock to shape. The first cut is made at 30 degrees and I have found that a miter box saw works best for this. Cut the two angles marked, then retrace the template on the remaining piece and cut it to 30 degrees as well. s^JKmm Riff Step 8. When I made the prototype for this clock, I just wasn't comfortable cutting that last angle freehand on my saw. There simply wasn't enough space between the two fences to support the stock to make the cut safely, so I made a jig to hold the stock in position. It's a simple jig. I made it from a piece of scrap plywood and attached a cleat cut at an angle to mate with the bevel on the base of the clock. The jig holds the blank in the proper position, supports the underside of the stock to help prevent splintering, and best of all, allows me to make the cut safer than if I attempted it without the jig. The top angle on the clock is 90 degrees. Readjust the miter saw to 0 degrees, position the jig as shown on the table of the saw, and make the cuf. Step 9. I use a 36mm clock face which fits securely in a l-3/8"-Dia. hole drilled 5/16:: deep with a Forstner drill bit. A Forstner drill bit works best to drill this large hole because it drills a clean, flat bottomed hole with little chance of any tear out around the perimeter. |


