Creative Woodworks & crafts 2002-06, страница 62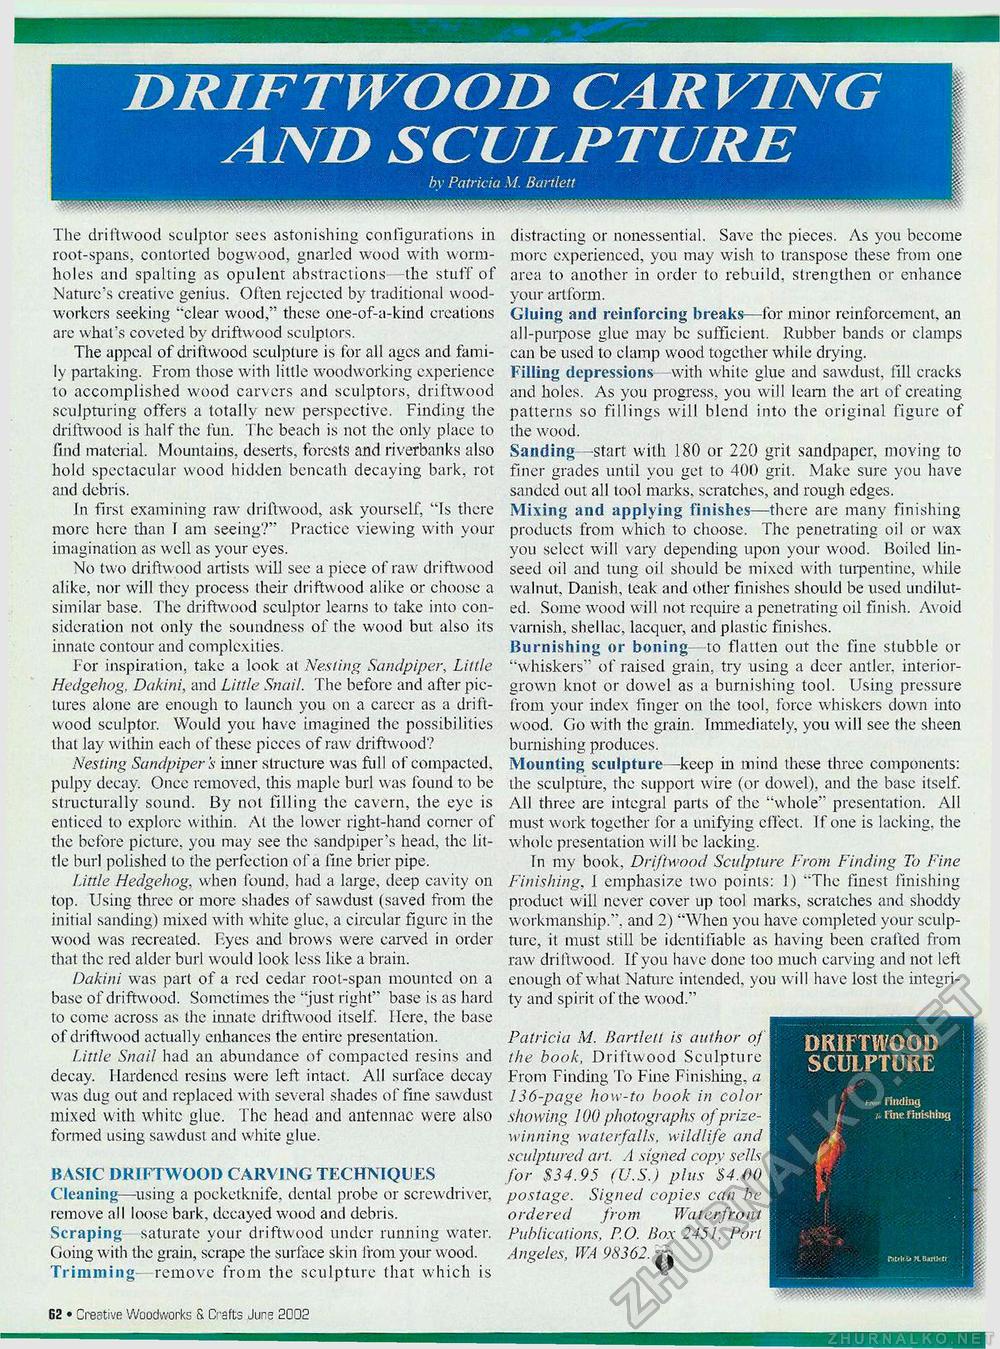
DRIFTWOOD CARVING AND SCULPTURE bv Patricia M. Bartlett The driftwood sculptor sees astonishing configurations in root-spans, contorted bogwood, gnarled wood with worm-holes and spalting as opulent abstractions the stuff of Nature's creative genius. Often rejected by traditional woodworkers seeking "clear wood," these one-of-a-kind creations are what's coveted by driftwood sculptors. The appeal of driftwood sculpture is for all ages and family partaking. From those with little woodworking experience to accomplished wood carvers and sculptors, driftwood sculpturing offers a totally new perspective. Finding the driftwood is half the fun. i he beach is not the only place to find material. Mountains, deserts, forests and riverbanks also hold spectacular wood hidden beneath decaying bark, rot and debris. In first examining raw driftwood, ask yourself, "Is there more here than 1 am seeing?" Practice viewing with your imagination as well as your eyes. No two driftwood artists will see a piece of raw driftwood alike, nor will they process iheir driftwood alike or choose a similar base. I he driftwood sculptor learns to take into consideration not only the soundness of the wood but also its innate contour and complexities. For inspiration, take a look at Nesting Sandpiper, Little Hedgehog, Dakini, and Little Snail. The before and after pictures alone are enough to launch you on a career as a driftwood sculptor. Would you have imagined the possibilities that lay within each of these pieces of raw driftwood? Nesting Sandpiper's inner structure was full of compacted, pulpy decay. Once removed, this maple burl was found to be structurally sound. By not filling the cavern, the eye is enticed to explore within. At the lower right-hand corner of the before picture, you may see the sandpiper's head, the little burl polished to the perfection of a fine brier pipe. Little Hedgehog, when found, had a large, deep cavity on top. Using three or more shades of sawdust (saved from the initial sanding) mixed with white glue, a circular figure in Ihe wood was recreated. Ryes and brows were carved in order that the red alder burl would look less like a brain. Dakini was part of a red cedar root-span mounted on a base of driftwood. Sometimes the "just right" base is as hard to come across as (he innate driftwood itself. Here, the base of driftwood actually enhances the entire presentation. Little Snail had an abundance of compacted resins and decay. Hardened resins were left intact. All surface decay was dug out and replaced with several shades of fine sawdust mixed with white glue. The head and antennae were also formed using sawdust and white glue. BASIC DRIFTWOOD CARVING TECHNIQUES Cleaning—using a pocketknife, dental probe or screwdriver, remove all loose bark, decayed wood and debris. Scraping saturate your driftwood under running water. Going with the grain, scrape the surface skin lromyour wood. Trimming- remove from the sculpture (hat which is distracting or nonessential. Save the pieces. As you become more experienced, you may wish to transpose these from one area to another in order lo rebuild, strengthen or enhance your artform. Cluing and reinforcing breaks—for minor reinforcement, an all-purpose glue may be sufficient. Rubber bands or clamps can be used to clamp wood together while drying. Filling depressions with white glue and sawdust, fill cracks and holes. As you progress, you will leant the art of creating patterns so fillings will blend into the original figure of the wood. Sanding -start with 180 or 220 grit sandpaper, moving to finer grades until you get to 400 grit. Make sure you have sanded out all tool marks, scratches, and rough edges. Mixing and applying finishes—there arc many finishing products from which to choose. The penetrating oil or wax you select will vary depending upon your wood. Boiled linseed oil and lung oil should be mixed with turpentine, while walnut, Danish, teak and other finishes should be used undiluted. Some wood will not require a penetrating oil finish. Avoid varnish, shellac, lacquer, and plastic finishes. Burnishing or boning to flatten out the fine stubble or "whiskers" of raised grain, try using a deer antler, interior-grown knot or dowel as a burnishing tool. Using pressure from your index finger on the tool, force whiskers down into wood. Go with the grain. Immediately, you will see the sheen burnishing produces. Mounting sculpture—keep in mind these three components: the sculpture, the support wire (or dowel), and the base itself. All three are integral parts of the "whole" presentation. All must work together for a unifying cfi'cct. If one is lacking, the whole presentation will be lacking. In my book, Driftwood Sculpture From Finding To Fine Finishing, 1 emphasize two points: 1) "The finest finishing product will never cover up tool marks, scratches and shoddy workmanship.", and 2) "When you have completed your sculpture, it must still be identifiable as having been crafted from raw driftwood. If you have done loo much carving and not left enough of what Nature intended, you will have lost the integrity and spirit of the wood." Patricia M. Bartlett is author of the book, Driftwood Sculpture From Finding To Fine Finishing, a 136-page how-to book in color showing 1QQ photographs of prize-winning waterfalls, wildlife and sculptured art. A signed copy sells for $34.95 (U.S.) plus '$4.00 postage. Signed copies can he ordered from Waterfront Publications. P.O. Box 2451, Port Angeles, WA 98362. ft DRIFTWOOD SCULPTURE /a.;* rinding (, fine finishing 62 • Creative Wuodworks & Crafts Junn 2002 |


