Creative Woodworks & crafts 2002-08, страница 56
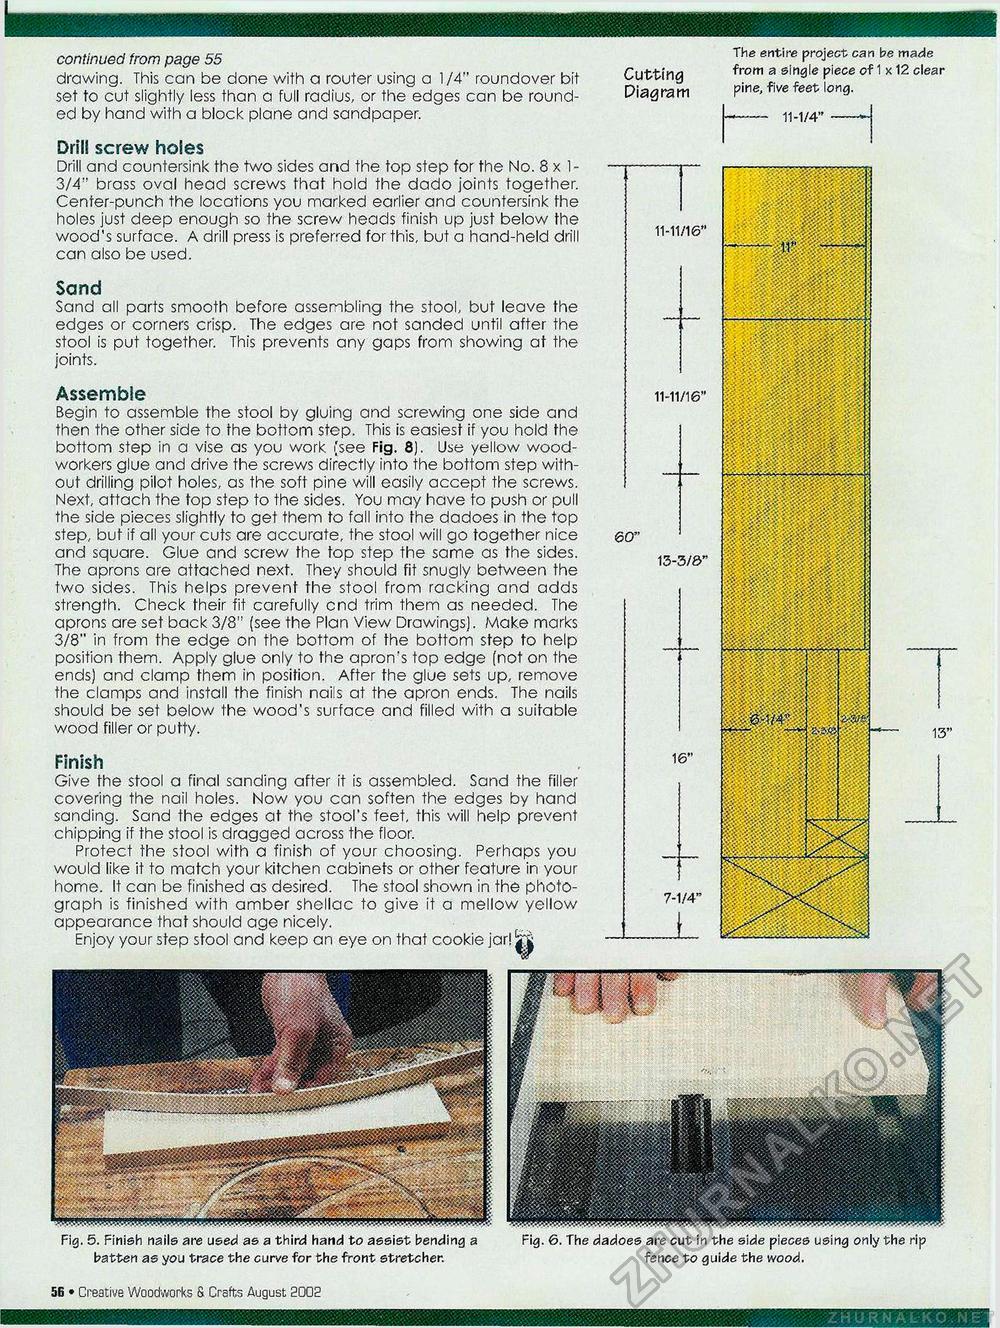
Fig. 5. Finish nails are used as a third hand to assist bending a Fig. 6. The dadoes are cut in the side pieces using only the rip batten as you trace the curve for the front stretcher. fence to guide the wood. continued from page 55 drawing. This can be done with a router using a 1/4" rounaover bit set to cut slightly less than a full radius, or the edges can be rounC-ed by hand with a block plane and sandpaper. Drill screw holes Drill and countersink the two sides and the top step for the No. 8x1-3/4" brass oval head screws that hold the dado joints together. Center-punch the locations you marked earlier and countersink the holes just deep enough so the screw heads finish up just below the wood's surface. A drill press is preferred for this, but a hand-held drill can also be used. Sand Sand all parts smooth before assembling the stool, but leave the edges or corners crisp. The edges are not sandea until after the stool is put together. This prevents any gaps from showing at the joints. Assemble Begin to assemble the stool by gluing and screwing one side and then the other side to the bottom step. This is easiest if you hold the bottom step in a vise as you work (see Fig. 8). Use yellow woodworkers glue and drive the screws directly into the bottom step without drilling pilot holes, as the soft pine will easily accept the screws. Next, attach the top step to the sides. You may have to push or pull the side pieces slightly to get them to fall into the dadoes in the top step, but if all your cuts are accurate, the stool will go together nice and square. Glue and screw the top step the same as the sides. The aprons are attached next. They should fit snugly between the two sides. This helps prevent the stool from racking and adds strength. Check their fit carefully end trim them as needed. The aprons are set back 3/8" (see the Plan View Drawings). Make marks 3/8" in from the edge on the bottom of the bottom step to help position them. Apply glue only to the apron's top edge (not on the ends) and clamp them in position. After the glue sets up, remove the clamps and install the finish nails at the apron ends. The nails should be set below the wood's surface and filled with a suitable wood filler or putty. Finish Give the stool a final sanding after it is assembled. Sand the filler covering the nail holes. Now you can soften the edges by hanC sanCing. Sand the edges at the stool's feet, this will help prevent chipping if the stool is dragged across the floor. Protect the stool with a finish of your choosing. Perhaps you would like it to match your kitchen cabinets or other feature in your home. It can be finished as desired. The stool shown in the photograph is finished with amber shellac to give it a mellow yellow appearance that should age nicely. Enjoy your step stool and keep an eye on that cookie jar! tg The entire project can be made Cutting from a single piece of 1 x 12 clear Diagram pine, five feet long. — 11-1/4" 11-11/16" 11-11/16" 13-3/8" 7-1/4" _L56 • Creative Woodworks & Crafts August 2D02 |


