Creative Woodworks & crafts 2002-08, страница 55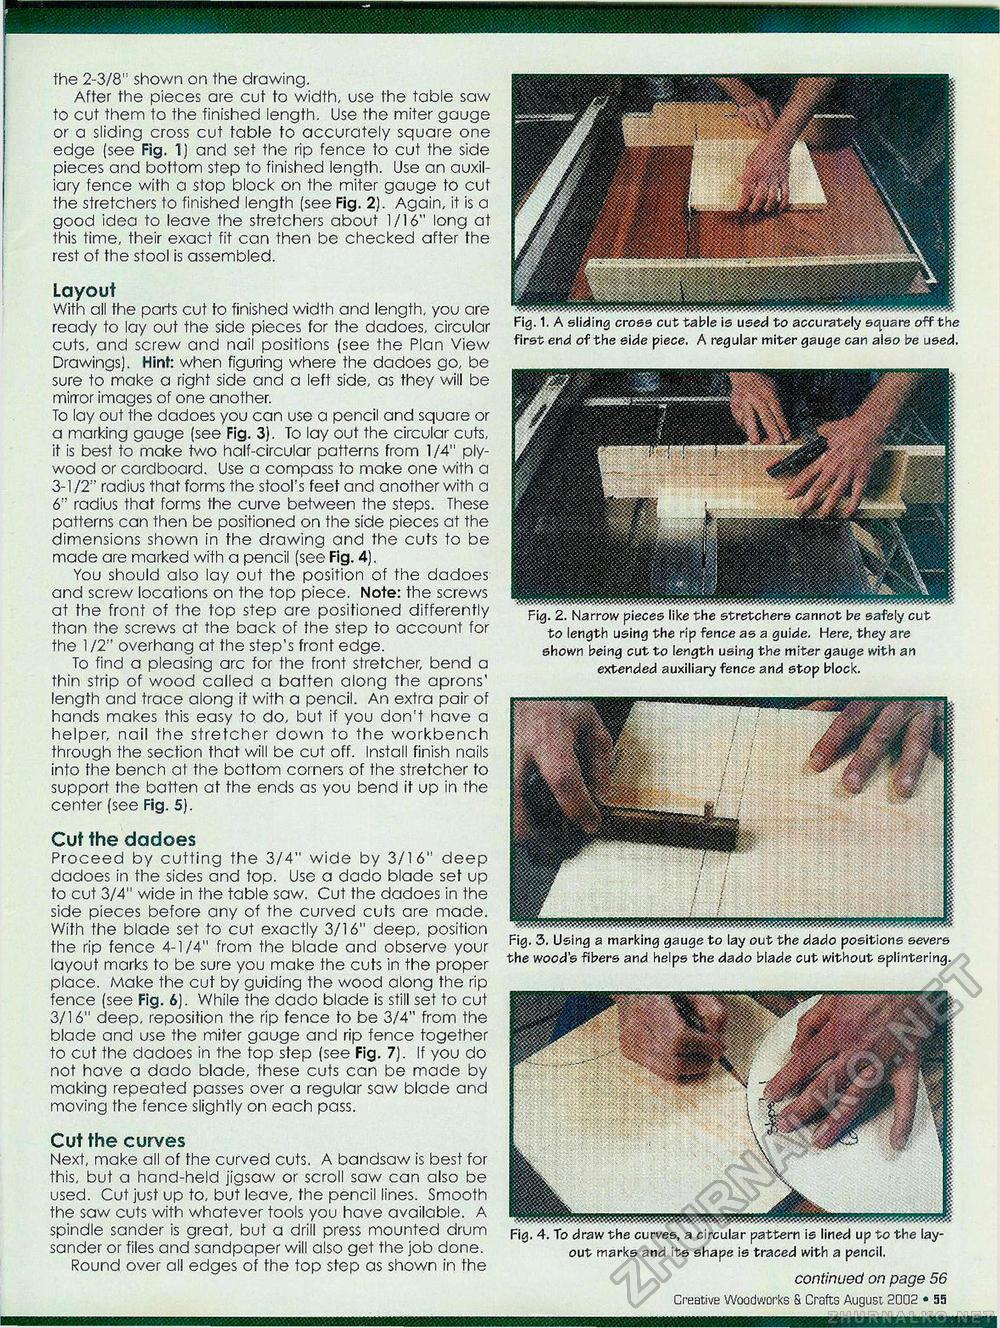
the 2-3/8,: shown on the drawing. After the pieces are cut to width, use the table saw to cut them to the finished length. Use the miter gauge or a sliding cross cut table to accurately square one edge (see Fig. 1) and set the rip fence to cut the side pieces and bottom step to finished length. Use an auxiliary fence with a stop block on the miter gauge to cut the stretchers to finished length (see Fig. 2). Again, it is a good idea to leave the stretchers about 1/16" long at this time, their exact fit can then be checked after the rest of the stool is assembled. Cut the dadoes Proceed by cutting the 3/4" wide by 3/16" deep dadoes in the sides and top. Use a dado blade set up to cut 3/4" wide in the table saw. Cut the dadoes in the side pieces before any of the curved cuts are made. With the blade set to cut exactly 3/16" deep, position the rip fence 4-1/4" from the blade and observe your layout marks to be sure you make the cuts in the proper place. Make the cut by guiding the wood along the rip fence (see Fig. 6). While the dado blade is still set to cut 3/16" deep, reposition the rip fence to be 3/4" from the blade and use the miter gauge and rip fence together to cut the dadoes in the top step (see Fig. 7). If you do not have a dado blade, these cuts can be made by making repeated passes over a regular saw blade and moving the fence slightly on each pass. Layout With all the parts cut to finished width and length, you are ready to lay out the side pieces for the dadoes, circular cuts, and screw and nail positions (see the Plan View Drawings). Hint: when figuring where the dadoes go, be sure to make a right side and a left side, as they will be mirror images of one another. To lay out the dadoes you can use a pencil and square or a marking gauge (see Fig. 3). To lay out the circular cuts, it is best to make two half-circular patterns from 1/4" plywood or cardboard. Use a compass to make one with a 3-1/2" radius that forms the stool's feet and another with a 6" radius that forms the curve between the steps. These patterns can then be positioned on the side pieces at the dimensions shown in the drawing and the cuts to be made are marked with a pencil (see Fig. 4). You should also lay out the position of the dadoes and screw locations on the top piece. Note: the screws at the front of the top step are positioned differently than the screws at the back of the step to account for the 112" overhang at the step's front edge. To find a pleasing arc for the front stretcher, bend a thin strip of wood called a batten along the aprons' length and trace along it with a pencil. An extra pair of hands makes this easy to do, but if you don't have a helper, nail the stretcher down to the workbench through the section that will be cut off. Install finish nails into the bench at the bottom corners of the stretcher to support the batten at the ends as you bend it up in the center (see Fig. 5). Cut the curves Next, make all of the curved cuts. A bandsaw is best for this, but a hand-held jigsaw or scroll saw can also be used. Cut just up to, but leave, the pencil lines. Smooth the saw cuts with whatever tools you have available. A spindle sander is great, but a drill press mounted drum sander or files and sandpaper will also get the job done. Round over all edges of the top step as shown in the Fig. 4. To draw the curves, a circular pattern is lined up to the layout marks and its shape is traced with a pencil. continued on page 56 Creative Woodworks & Crafts August 2002 « 55 first end of the side piece, A regular miter gauge can also be used. to length using the rip fence as a guide. Here, they are shown being cut to length using the miter gauge with an extended auxiliary fence and stop block. Fig. 3. Using a marking gauge to lay out the dado positions severs the wood's fibers and helps the dado blade cut without splintering. |


