Creative Woodworks & crafts 2002-11, страница 46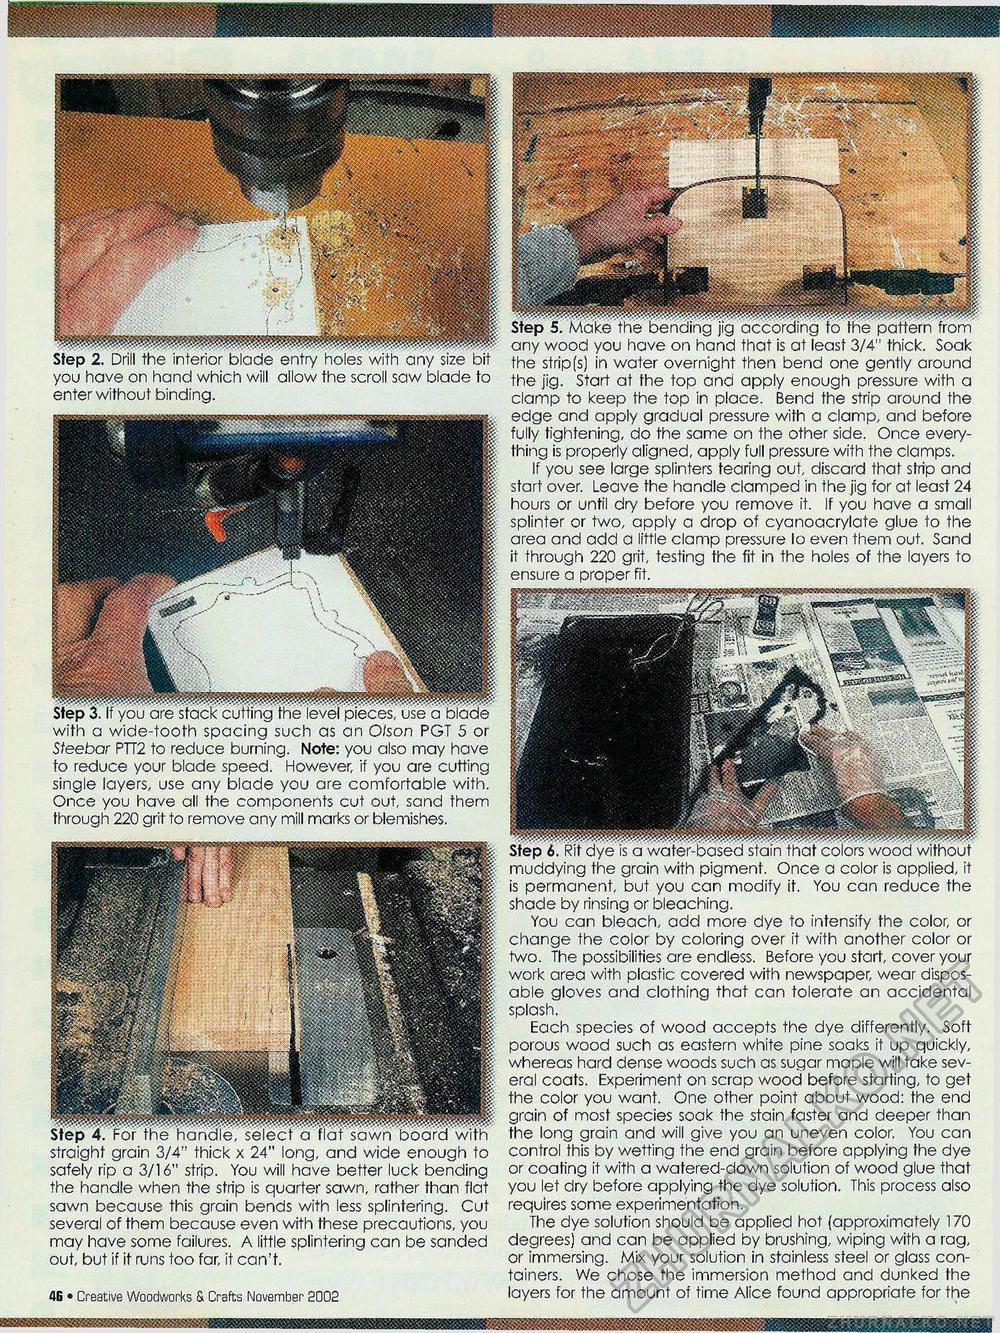
with a wide-tooth spacing such as an Oison PGT 5 or Steebar PTT2 to reduce burning. Note: you also may have to reduce your blade speed. However, if you are cutting single layers, use any blade you are comfortable with. Once you have all the components cut out, sand them through 220 grit to remove any mill marks or blemishes. straight grain 3/4" thick x 24" long, and wide enough to safely rip a 3/16" strip. You will have better luck bending the handle when the strip is quarter sawn, rather than flat sawn because this grain bends with less splintering. Cut several of them because even with these precautions, you may have some failures. A little splintering can be sanded out, but if if runs too far, it can't. Creative Woodworks S. Crafts November 2002 • 29 Step 6. Rit dye is a water-based stain that colors wood without muddying the grain with pigment. Once a color is applied, it is permanent, but you can modify it. You can reduce the shade by rinsing or bleaching. You can bleach, add more dye to intensify the color, or change the color by coloring over it with another color or two. The possibilities are endless. Before you start, cover your work area with plastic covered with newspaper, wear disposable gloves and clothing that can tolerate an accidental splash. Each species of wood accepts the dye differently. Soft porous wood such as eastern white pine soaks it up quickly, whereas hard dense woods such as sugar maple will take several coats. Experiment on scrap wood before starting, to get the color you want. One other point about wood: the end grain of most species soak the stain faster and deeper than the long grain and will give you an uneven color. You can control this by wetting the end grain before applying the dye or coating it with a watered-down solution of wood glue that you let dry before applying the dye solution. This process also requires some experimentation. The dye solution should be applied hot (approximately 170 degrees) and can be applied by brushing, wiping with a rag, or immersing. Mix your solution in stainless steel or glass containers. We chose the immersion method and dunked the layers for the amount of time Alice found appropriate for the
Step 5. Make the bending jig according to the pattern from any wood you have on hand that is at least 3/4" thick. Soak the strip(s) in water overnight then bend one gently around the jig. Start at the top and apply enough pressure with a clamp to keep the top in place. Bend the strip around the edge and apply gradual pressure with a clamp, and before fully tightening, do the same on the other side. Once everything is properly aligned, apply full pressure with the clamps. If you see large splinters tearing out, discard that strip and start over. Leave the handle clamped in the jig for at least 24 hours or until dry before you remove it. If you have a small splinter or two, apply a drop of cyanoacrylate glue to the area and add a little clamp pressure lo even them out. Sand it through 220 grit, testing the fit in the holes of the layers to ensure a proper fit. Step 2. Drill the interior blade entry holes with any size bit you have on hand which will allow the scroll saw blade to enter without binding. |


