Creative Woodworks & crafts 2002-11, страница 50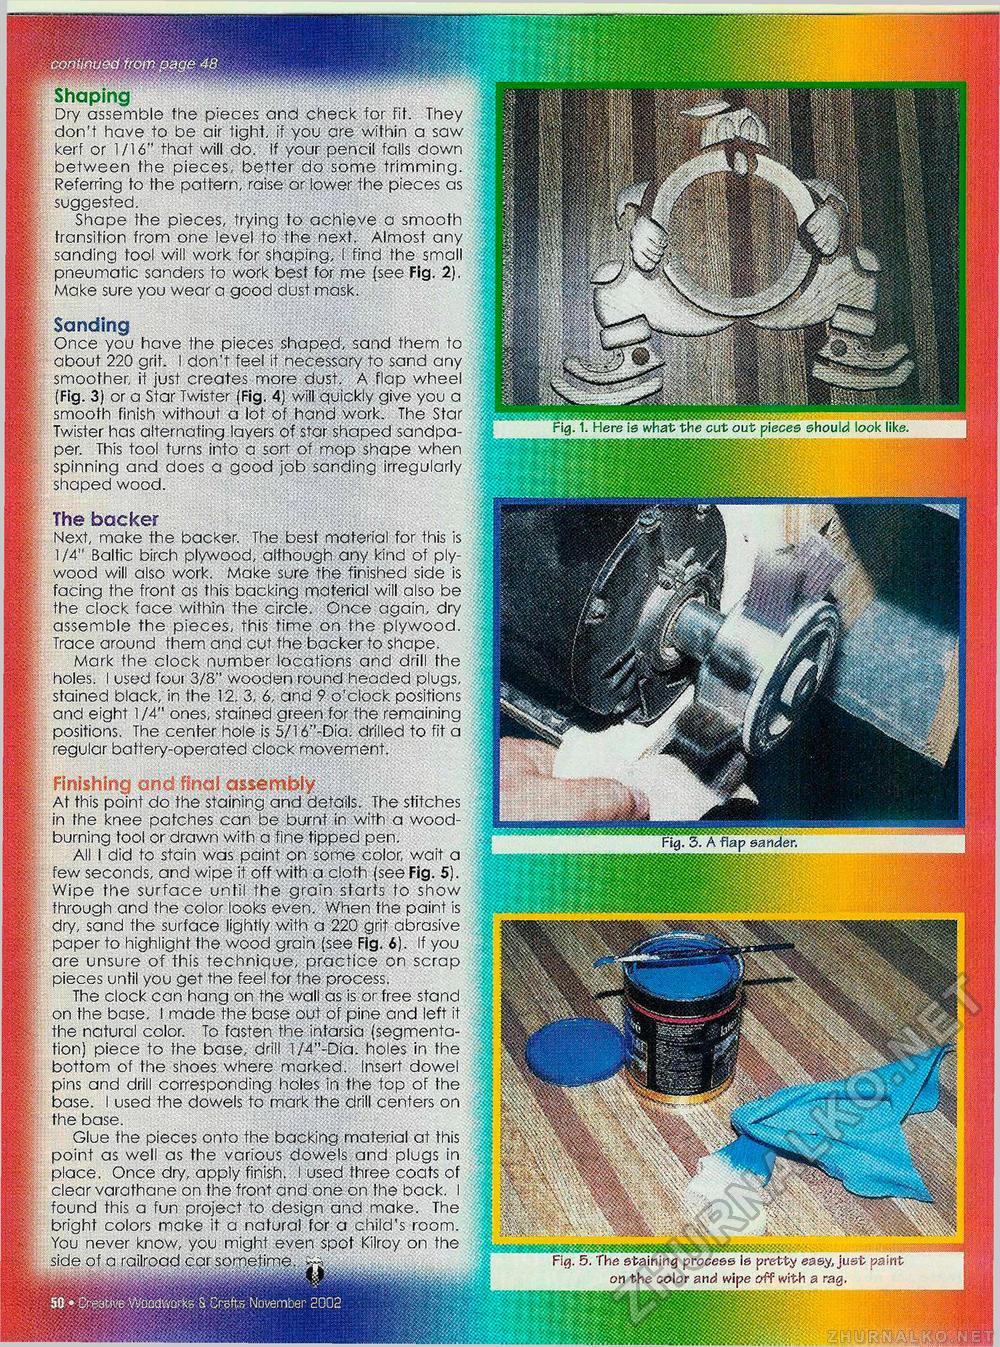
Shaping Dry assemble the pieces and check "for fit. They M don't have to be air tight, if you are within a saw M kerf or 1/16" that will do. If your pencil falls down m between the pieces, better do some trimming. || Referring to the pattern, raise or lower the pieces as || suggested. Shape the pieces, trying to achieve a smooth v-i transition from one level to the next. Almost any m sanding tool will work for shaping, I find the small m pneumatic sanders to work best for me (see Fig. 2). Make sure you wear a good dust mask. Sanding Once you have the pieces shaped, sand them to about 220 grit. I don't feel it necessary to sand any M smoother, it just creates more dust. A flap wheel I (Fig. 3) or a Star Twister (Fig. 4) will quickly give you a smooth finish without a lot of hand work. The Star , | Twister has alternating layers of star shaped sandpa- ? per. This tool turns into a sort of mop shape when || spinning and does a good job sanding irregularly J| shaped wood. The backer Next, make the backer. The best material for this is |ij 1/4" Baltic birch plywood, although any kind of ply- j wood will also work. Make sure the. finished side is )j facing the front as this backing material will also be 1 the clock face within the circle. Once again, dry 1 assemble the pieces, this time on the plywood. 1 Trace around them and cut the backer to shape. Mark the clock number locations and drill the 1 holes. I used foui 3/8" wooden round headed plugs, j stained black, in the 12, 3, 6, and 9 o'clock positions j and eight 1/4" ones, stained green for the remaining ] positions. The center hole is 5/16"-Dia. drilled to fit a I regular battery-operated clock movement. Finishing and: final assembly At this point do the staining and details. The stitches in the knee patches can be burnt in with a wood- i|j burning tool or drawn with a fine tipped pen. All I did to stain was paint on some color, wait a few seconds, and wipe it off with a cloth (see Fig. 5). Wipe the surface until the grain starts to show through and the color looks even. When the paint is ;V;i dry, sand the surface lightly with a 220 grit abrasive paper to highlight the wood grain (see Fig. 6). If you are unsure of this technique, practice on scrap pieces until you get the feel for the process. The clock can hang on the wall as is or free stand on the base. I made the base out of pine and left it the natural color. To fasten the infarsia (segmenta- $< tion) piece to the base, drill l/4"-Dia. holes in the . bottom of the shoes where marked. Insert dowel jf§ pins and drill corresponding holes in the top of the base. I used the dowels to mark the drill centers on the base. Glue the pieces onto the backing material at this || point as well as the various dowels and plugs in place. Once dry, apply finish. I used three coats of | clear varathane on the front and one on the back. I found this a fun project to design and make. The || bright colors make it a natural for a child's room. M You never know, you might even spot Kilroy on the side of a railroad car sometime. Fig. 1. Here is what the cut out pieces should look like. Fig. 3. A flap Sander. Fig. 5. the staining process is pretty easy, just paint on the color and wipe off with a rag. |


