Creative Woodworks & crafts 2003-01, страница 14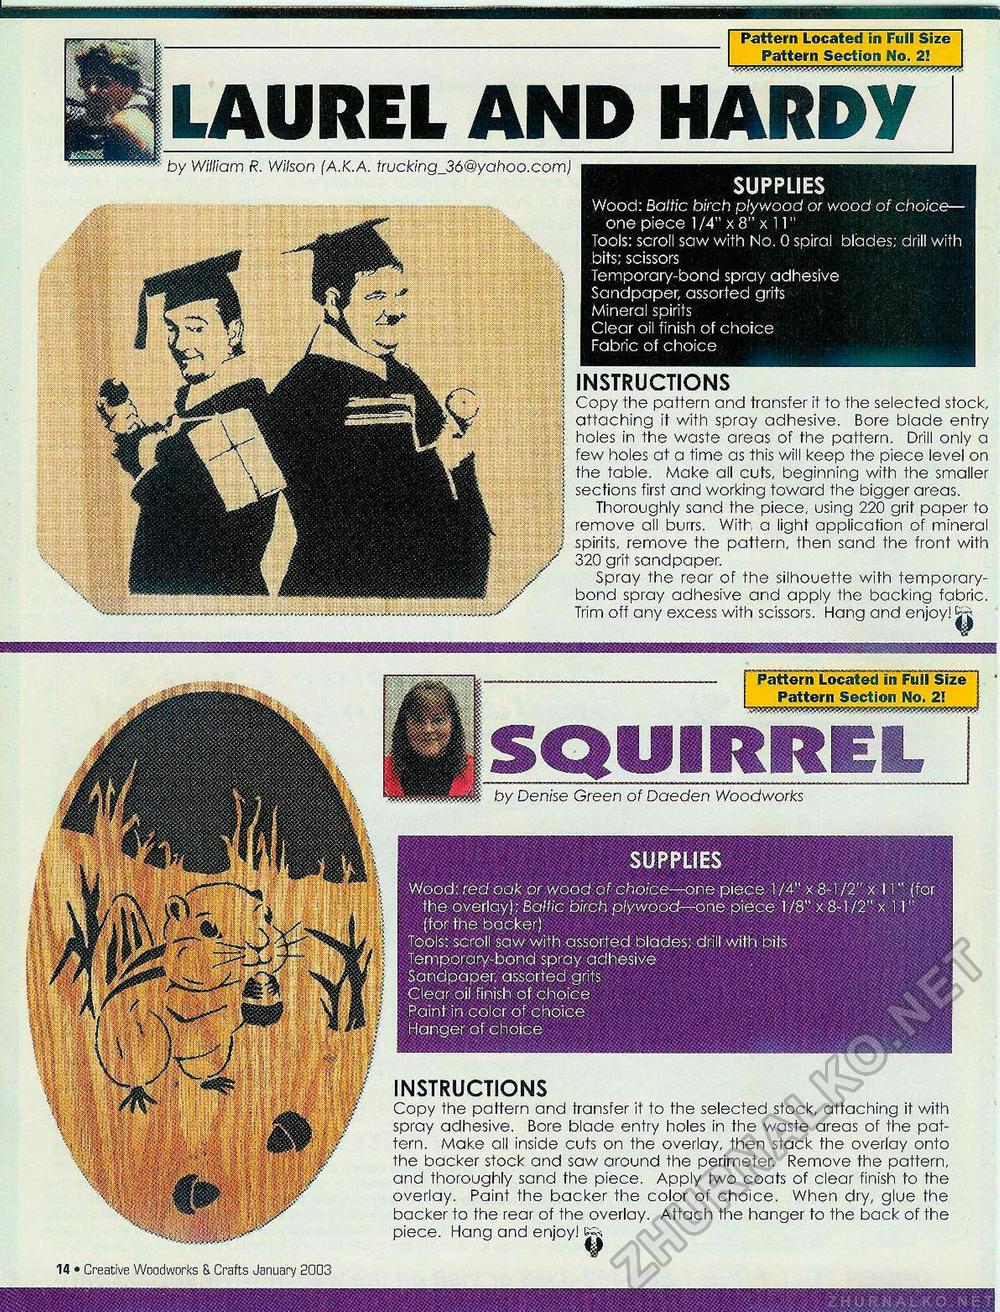
I SUPPLIES Wood: Baltic birch plywood or wood of choice— one piece 1/4"x8"x11" Tools: scroll sow with No. 0 spiral blades: drill with bits; scissors Temporary-bond spray adhesive Sandpaper, assorted grits Mineral spirits Clear oil finish of choice Fabric of choice _ I Pattern Located in Full Size Pattern Section No. 2! LAUREL AND HARDYby William R. Wilson (A.K.A. trucking_36@yahoo.com) INSTRUCTIONS Copy the pattern and transfer it to the selected stock, attaching it with spray adhesive. Bore blade entry holes in the waste areas of the pattern. Drill only a few holes at a time as this will keep the piece level on the table. Make all cuts, beginning with the smaller sections first and working toward the bigger areas. Thoroughly sand the piece, using 220 grit paper to remove all burrs. With a light application of mineral spirits, remove the pattern, then sand the front with 320 grit sandpaper. Spray the rear of the silhouette with temporary-bond spray adhesive and apply the backing fabric. Trim off any excess with scissors. Hang and enjoy! SUPPLIES Wood: red oak or wood of choice—one piece 1 /4" x8-112" x 11" the overlay); Baliic birch plywood—one piece 1 /8" x 8-1/2" x ! 1 (for the backer) Tools: scroll saw with assorted blades; drill with bits Temporary-bond spray adhesive Sandpaper, assorted grits Clear oil finish of choice Paint in colcr of choice Hanger of choice Pattern Located in Full Size Pattern Section No. 2! 14 • Creative Woodworks & Crafts January 2003 by Denise Green of Daeden Woodworks INSTRUCTIONS Copy the pattern and transfer it to the selected stock, attaching it with spray adhesive. Bore blade entry holes in the waste areas of the pattern. Make all inside cuts on the overlay, then stack the overlay onto the backer stock and saw around the perimeter. Remove the pattern, and thoroughly sand the piece. Apply two coats of clear finish to the overlay. Paint the backer the color of choice. When dry, glue the backer to the rear of the overlay. Attach the hanger to the back of the piece. Hang and enjoy! |


