Creative Woodworks & crafts 2003-01, страница 19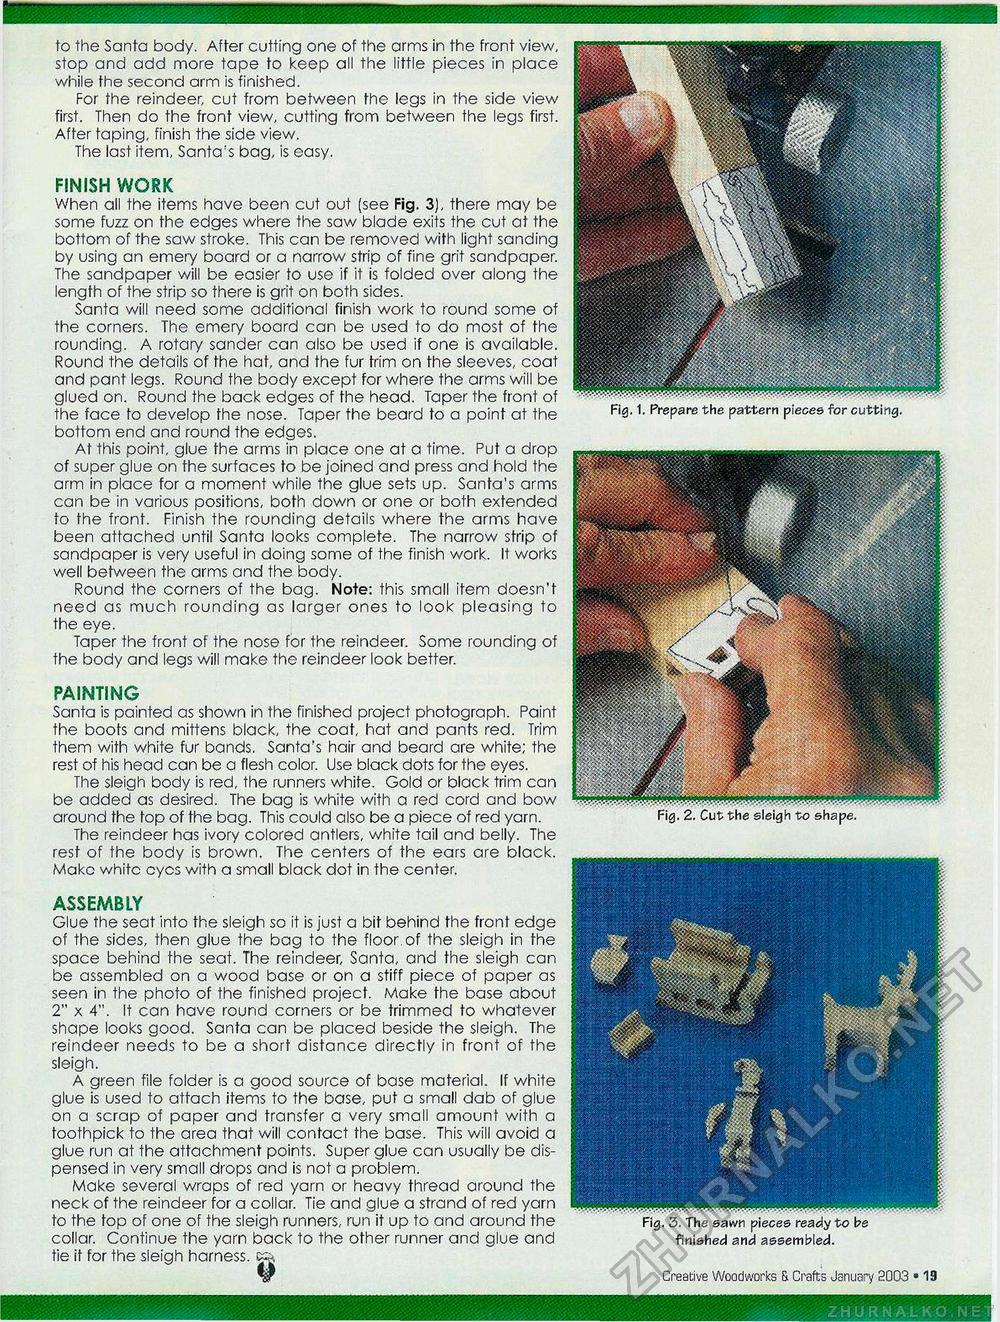
to the Santo body. After cutting one of the arms in the front view, stop and add more tape to keep all the little pieces in place while the second arm is finished. For the reindeer, cut from between the legs in the side view first. Then do the front view, cutting from between the legs first. After taping, finish the side view. The last item, Santa's bag, is easy. FINISH WORK When all the items have been cut out (see Fig. 3), there may be some fuzz on the edges where the saw blade exits the cut at the bottom of the saw stroke. This can be removed with light sanding by using an emery board or a narrow strip of fine grit sandpaper. The sandpaper will be easier to use if it is folded over along the length of the strip so there is grit on both sides. Santa will need some additional finish work to round some of the corners. The emery board can be used to do most of the rounding. A rotary sander can also be used if one is available. Round the details of the hat, and the fur trim on the sleeves, coat and pant legs. Round the body except for where the arms will be glued on. Round the back edges of the head. Taper the front of the face to develop the nose. Taper the beard to a point at the bottom end and round the edges. At this point, glue the arms in place one at a time. Put a drop of super glue on the surfaces to be joined and press and hold the arm in place for a moment while the glue sets up. Santa's arms can be in various positions, both down or one or both extended to the front. Finish the rounding details where the arms have been attached until Santa looks complete. The narrow strip of sandpaper is very useful in doing some of the finish work. It works well between the arms and the body. Round the corners of the bag. Note: this small item doesn't need as much rounding as larger ones to look pleasing to the eye. Taper the front of the nose for the reindeer. Some rounding of the body and legs will make the reindeer look better. PAINTING Santa is painted as shown in the finished project photograph. Paint the boots and mittens black, the coat, hat and pants red. Trim them with white fur bands. Santa's hair and beard are white; the rest of his head can be a flesh color. Use black dots for the eyes. The sleigh body is red, the runners white. Gold or black trim can be added as desired. The bag is white with a red cord and bow around the top of the bag. This could also be a piece of red yarn. The reindeer has ivory colored antlers, white tail and belly. The rest of the body is brown. The centers of the ears are black. Make white eyes with a small black dot in the center. ASSEMBLY Glue the seat into the sleigh so it is just a bit behind the front edge of the sides, then glue the bag to the floor of the sleigh in the space behind the seat. The reindeer, Santa, and the sleigh can be assembled on a wood base or on a stiff piece of paper as seen in the photo of the finished project. Make the base about 2" x 4". It can have round corners or be trimmed to whatever shape looks good. Santa can be placed beside the sleigh. The reindeer needs to be a short distance directly in front of the sleigh. A green file folder is a good source of base material. If white glue is used to attach items to the base, put a small dab of glue on a scrap of paper and transfer a very small amount with a toothpick to the area that will contact the base. This will avoid a glue run at the attachment points. Super glue can usually be dispensed in very small drops and is not a problem. Make several wraps of red yarn or heavy thread around the neck of the reindeer for a collar. Tie and glue a strand of red yarn to the top of one of the sleigh runners, run it up to and around the collar. Continue the yarn back to the other runner and glue and tie if for the sleigh harness. Fig. 1. Prepare the pattern pieces for cutting. finished and assembled. Creative Woodworks S. Crafts January 2003 • 25 |


