Creative Woodworks & crafts 2003-01, страница 28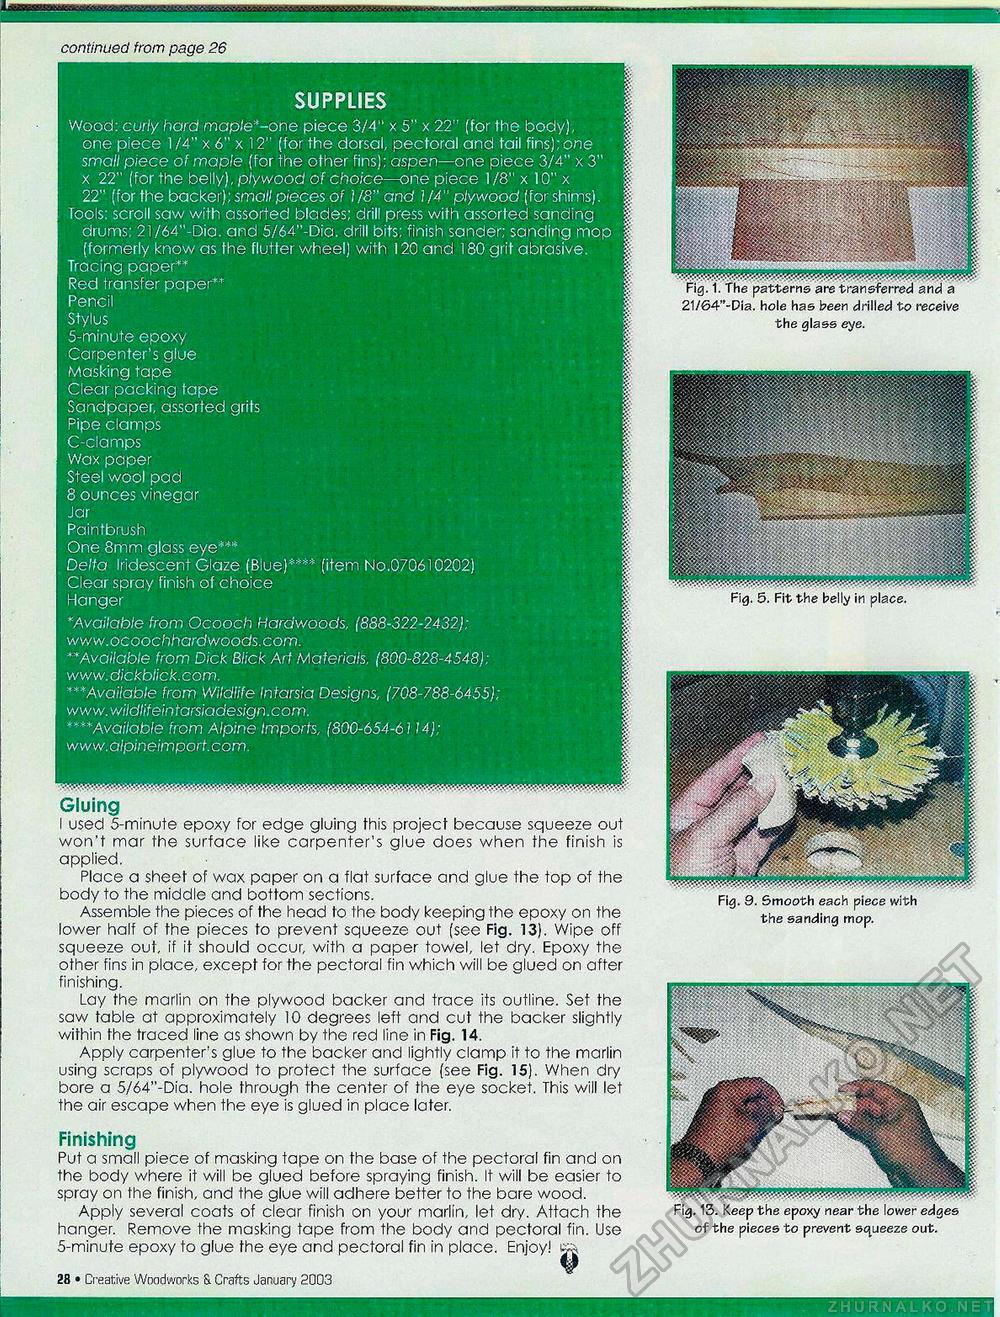
continued from page 26 SUPPLIES Wood: curly bard maple*-one piece 3/4" x 5" x 22" (for the body), one piece 1 /4" x 6" x 12" (for the dorsal, pectoral and tail fins); one small piece of maple (for the other fins); aspen—one piece 3/4" x 3" x 22" (for the belly), ply wood of choice—one piece 1/8" x 10" x 22" (for the backer); small pieces of 118" and 1 /4" plywood (for shims). Tools: scroll saw with assorted blades; drill press with assorted sanding drums; 21 /64"-Dia. and 5/64"-Dia. drill bits; finish sander; sanding mop (formerly know as the flutter wheel) with 120 and 180 grit abrasive. Tracing paper** Red transfer paper** Pencil Stylus 5-minute epoxy Carpenter's glue Masking tape Clear packing tape Sandpaper, assorted grits Steel wool pad 8 ounces vinegar Jar | Paintbrush One 8mm glass eye*** ; Delta Iridescent Glaze (Blue)**** (item No.070610202) Clear spray finish of choice Hanger *Available from Ocooch Hardwoods, (888-322-2432); ] **Available from Dick Blick Art Materials, (800-828-4548); \ www. dickblick. com. ***Available from Wildlife Intarsia Designs, (708-788-6455); www.wiidlifeinfarsiadesign.com. ****Available from Alpine Imports, (800-654-6114); Gluing I used 5-minute epoxy for edge gluing this project because squeeze out won't mar the surface like carpenter's glue does when the finish is applied. Place a sheet of wax paper on a flat surface and glue the top of the body to the middle and bottom sections. Assemble the pieces of the head lo the body keeping the epoxy on the lower half of the pieces to prevent squeeze out (see Fig. 13). Wipe off squeeze out, if it should occur, with a paper towel, let dry. Epoxy the other fins in place, except for the pectoral fin which will be glued on after finishing. Lay the marlin on the plywood backer and trace its outline. Set the saw table at approximately 10 degrees left and cut the backer slightly within the traced line as shown by the red line in Fig. 14. Apply carpenter's glue to the backer and lightly clamp it to the marlin using scraps of plywood to protect the surface (see Fig. 15). When dry bore a 5/64"-Dia. hole through the center of the eye socket. This will let the air escape when the eye is glued in place later. Finishing Put a small piece of masking tape on the base of the pectoral fin and on the body where it will be glued before spraying finish. It will be easier to spray on the finish, and the glue will adhere better to the bare wood. Apply several coats of clear finish on your marlin, let dry. Attach the hanger. Remove the masking tape from the body and pectoral fin. Use 5-minute epoxy to glue the eye and pectoral fin in place. Enjoy! isa Fig. 1. The patterns are transferred and a 21/64"-Dia. hole has been drilled to receive the glass eye. Fig. 5. Fit the belly in place. Fig. 9. Smooth each piece with the sanding mop. jjSjpj Fig. 13. Keep the epoxy near the lower edges of the pieces to prevent squeeze out. 28 • Creative Woodworks a Crafts January 2DD3 |


