Creative Woodworks & crafts 2003-01, страница 26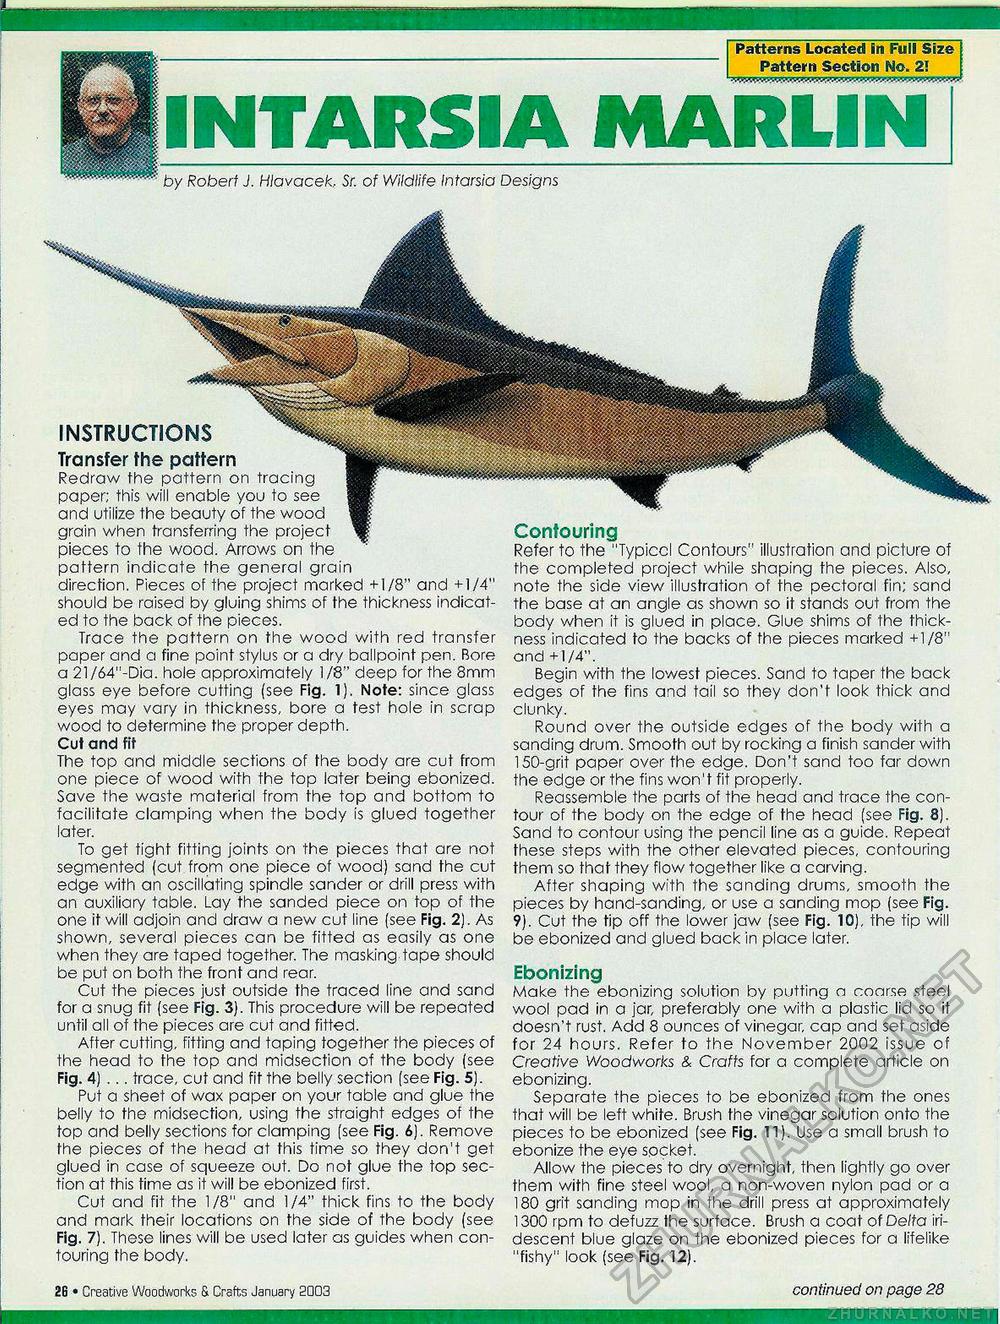
Patterns Located Pattern Section in Rill Size I m No. 21 INTARS1A MARLIN by Robert J. Hlavacek, Sr. of Wildlife In tarsi a Designs INSTRUCTIONS Transfer the pattern Redraw the pattern on tracing paper; this will enable you to see and utilize the beauty of the wood grain when transferring the project pieces to the wood. Arrows on the pattern indicate the general grain direction. Pieces of the project marked +1/8" and +1/4" should be raised by gluing shims of the thickness indicated to the back of the pieces. Trace the pattern on the wood with red transfer paper and a fine point stylus or a dry ballpoint pen. Bore a 21/64"-Dia. hole approximately 1/8" deep for the 8mm glass eye before cutting (see Fig. 1). Note: since glass eyes may vary in thickness, bore a test hole in scrap wood to determine the proper depth. Cut and fit The top and middle sections of the body are cut from one piece of wood with the top later being ebonized. Save the waste material from the top and bottom to facilitate clamping when the body is glued together later. To get tight fitting joints on the pieces that are not segmented (cut from one piece of wood) sand the cut edge with an oscillating spindle sander or drill press with an auxiliary table. Lay the sanded piece on top of the one it will adjoin and draw a new cut line (see Fig. 2). As shown, several pieces can be fitted as easily as one when they are taped together. The masking tape should be put on both the front and rear. Cut the pieces just outside the traced line and sand for a snug fit (see Fig. 3). This procedure will be repeated until all of the pieces are cut and fitted. After cutting, fitting and taping together the pieces of the head to the top and midsection of the body (see Fig. 4) ... trace, cut and fit the belly section (see Fig. 5). Put a sheet of wax paper on your table and glue the belly to the midsection, using the straight edges of the top and belly sections for clamping (see Fig. 6). Remove the pieces of the head at this time so they don't get glued in case of squeeze out. Do not glue the top section at this time as it will be ebonized first. Cut and fit the 1/8" and 1/4" thick fins to the body and mark their locations on the side of the body (see Fig. 7). These lines will be used later as guides when contouring the body. Contouring Refer to the "Typiccl Contours" illustration and picture of the completed project while shaping the pieces. Also, note the side view illustration of the pectoral fin; sand the base at an angle as shown so it stands out from the body when it is glued in place. Glue shims of the thickness indicated to the backs of the pieces marked +1/8" and +1/4". Begin with the lowest pieces. Sand to taper the back edges of the fins and tail so they don't look thick and clunky. Round over the outside edges of the body with a sanding drum. Smooth out by rocking a finish sander with 150-grit paper over the edge. Don't sand too far down the edge or the fins won't fit properly. Reassemble the parts of the head and trace the contour of the body on the edge of the head (see Fig. 8). Sand to contour using the pencil line as a guide. Repeat these steps with the other elevated pieces, contouring them so that they flow together like a carving. After shaping with the sanding drums, smooth the pieces by hand-sanding, or use a sanding mop (see Fig. 9). Cut the tip off the lower jaw (see Fig. 10), the tip will be ebonized and glued back in place later. Ebonizing Make the ebonizing solution by putting a coarse steel wool pad in a jar, preferably one with a plastic lid so it doesn't rust. Add 8 ounces of vinegar, cap and set aside for 24 hours. Refer to the November 2002 issue of Creative Woodworks & Crafts for a complete article on ebonizing. Separate the pieces to be ebonized from the ones that will be left white. Brush the vinegar solution onto the pieces to be ebonized (see Fig. 11). Use a small brush to ebonize the eye socket. Allow the pieces to dry overnight, then lightly go over them with fine steel wool, a non-woven nylon pad or a 180 grit sanding mop in the drill press at approximately 1300 rpm to defuzz the surface. Brush a coat of Delta iridescent blue glaze on the ebonized pieces for a lifelike "fishy" look (see Fig. 12). 2B • Creative Woodworks & Crafts January 2003 continued on page 28 |


