Creative Woodworks & crafts 2003-09, страница 10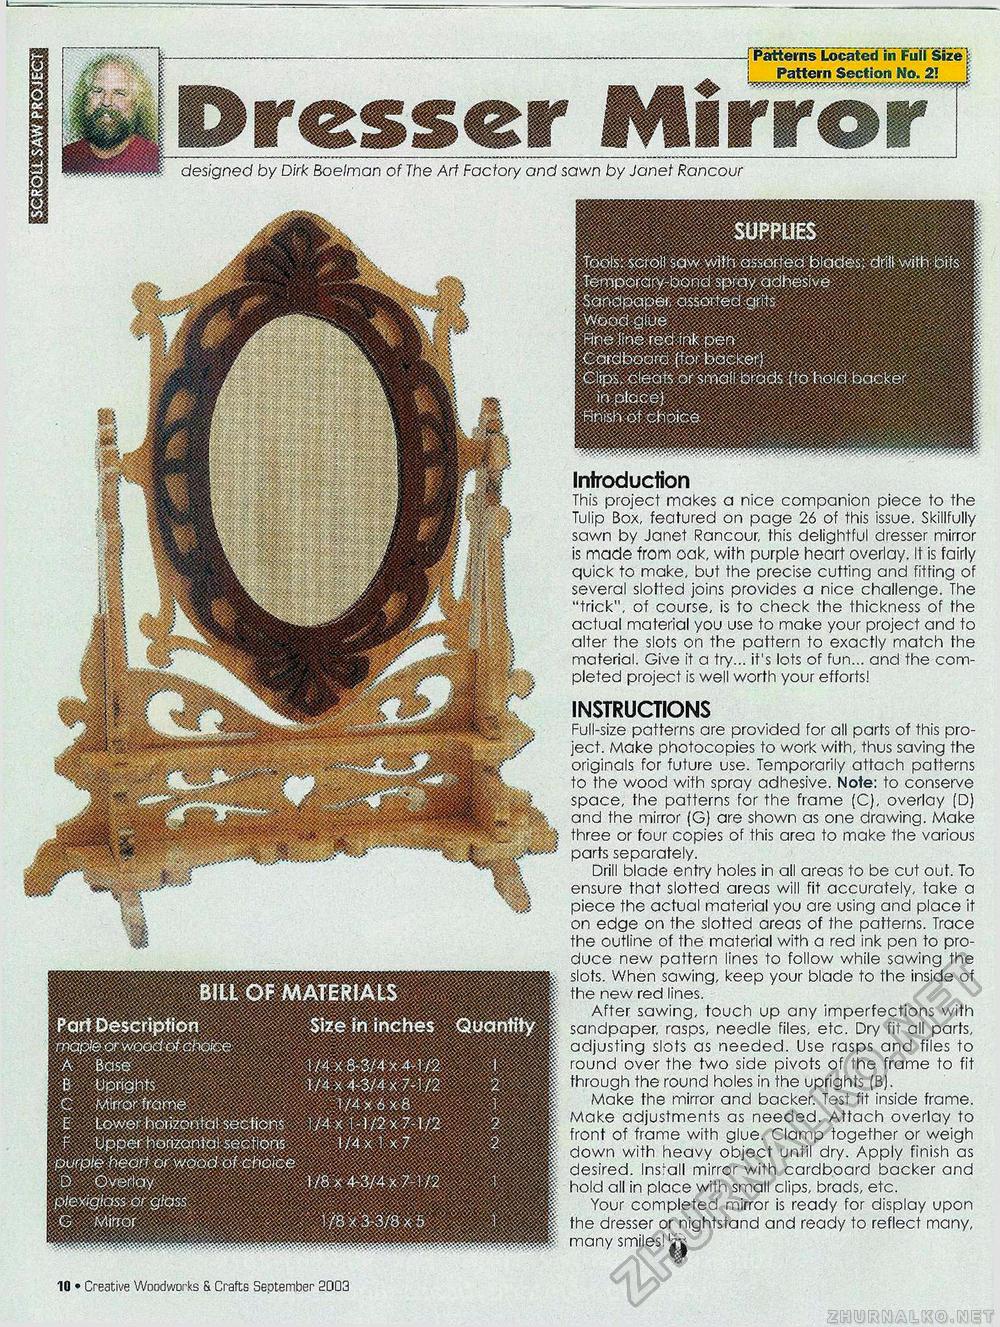
SUPPLIES Tools: sofoil sow wilft assorted blqdes, drill with bits i Terrjporary-bood spray adhesive 5<afidpape» assorted grits mgm - Wood gfoe | \ Rri^lri^redinJcpen : Cordfooard^of backer) V CtysC Beats orsmolf brads (to'hold backet" '■■inplacej: Iniroduction This project makes a nice companion piece to the Tulip Box, featured on page 26 of this issue. Skillfully sawn by Janet Rancour, this delightful dresser mirror is made from oak, with purple heart overlay. It is fairly quick to make, but the precise cutting and fitting of several slotted joins provides a nice challenge. The "trick", of course, is to check the thickness of the actual material you use to make your project and to alter the slots on the pattern to exactly match the material. Give it a try... it's lots of fun... and the completed project is well worth your efforts! INSTRUCTIONS Full-size patterns are provided for all parts of this project. Make photocopies to work with, thus saving the originals for future use. Temporarily attach patterns to the wood with spray adhesive. Note: to conserve space, the patterns for the frame (C), overlay (D) and the mirror (G) are shown as one drawing. Make three or four copies of this area to make the various parts separately. Drill blade entry holes in all areas to be cut out. To ensure that slotted areas will fit accurately, take a piece the actual material you are using and place it on edge on the slotted areas of the patterns. Trace the outline of the material with a red ink pen to produce new pattern lines to follow while sawing the slots. When sawing, keep your blade to the inside of the new red lines. After sawing, touch up any imperfections with sandpaper, rasps, needle files, etc. Dry fit all parts, adjusting slots as needed. Use rasps and files to round over the two side pivots of the frame to fit through the round holes in the uprights (B). Make the mirror and backer. Test fit inside frame. Make adjustments as needed. Attach overlay to front of frame with glue. Clamp together or weigh down with heavy object until dry. Apply finish as desired. Insrall mirror with cardboard backer and hold all in place with small clips, brads, etc. Your completed mirror is ready for display upon the dresser or nightstand and ready to reflect many, many smiles! jjjj| designed by Dirk Boelman of The Art Factory and sawn by Janet Rancour purple Mart orwoocTof choice' Overlay, § plcwgioss or c/fqss mKSm mmmmms 118(818mSnBmmmKmm 10 • Creative Woodworks & Crafts September 2003 the bottom supports. shelf supports. |


