Creative Woodworks & crafts 2003-09, страница 14
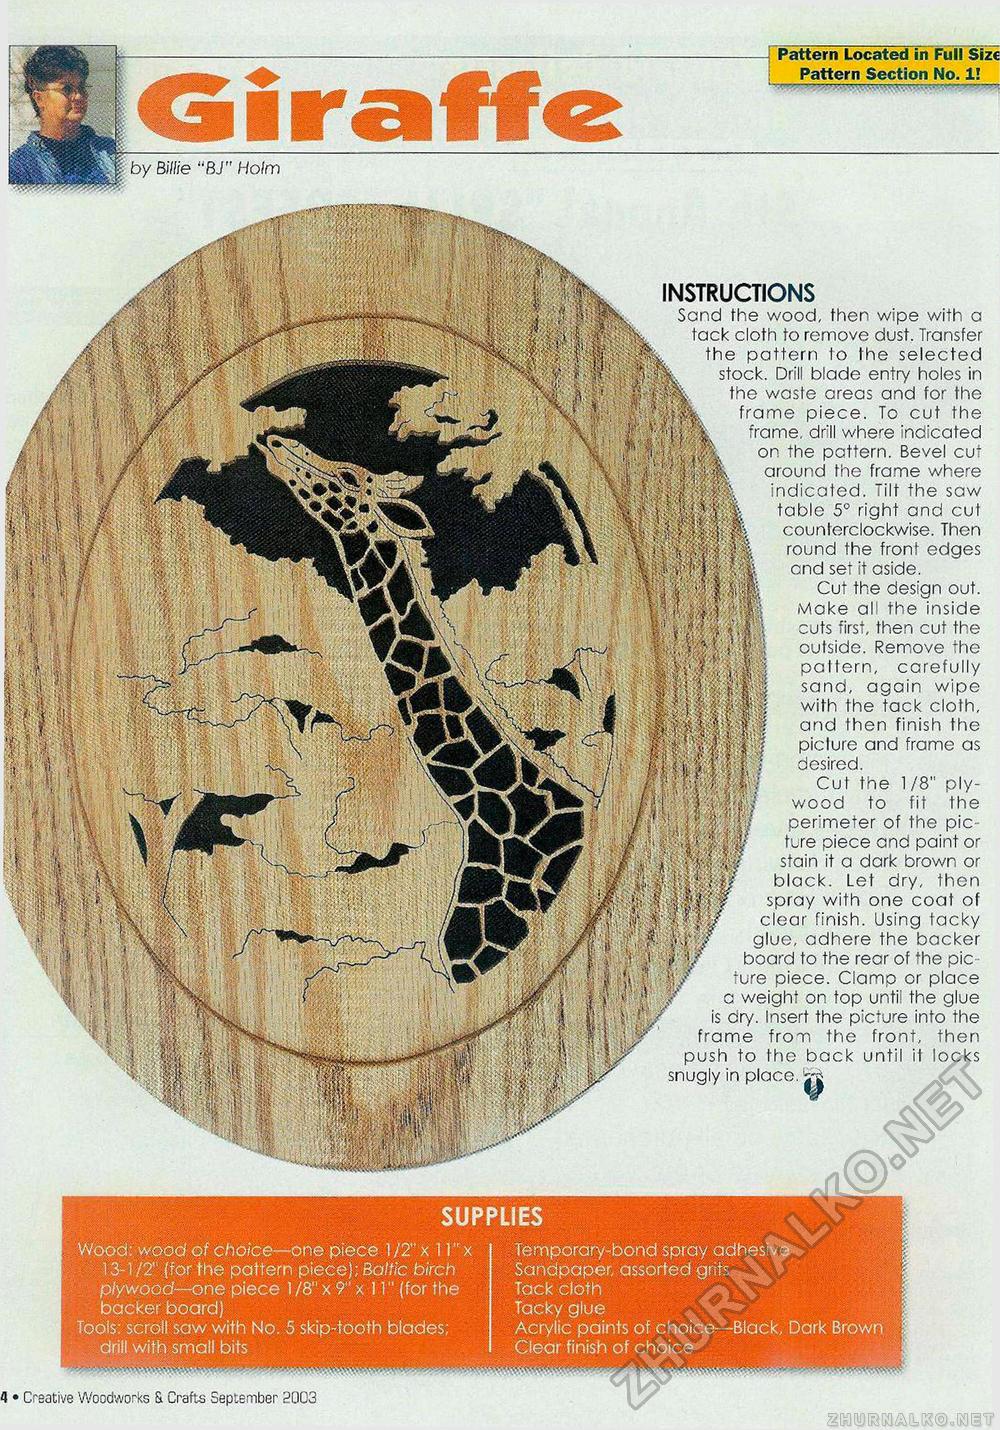
INSTRUCTIONS Sand the wood, then wipe with a tack cloth to remove dust. Transfer the pattern to the selected stock. Drill blade entry holes in the waste areas and for the frame piece. To cut the frame, drill where indicated on the pattern. Bevel cut around the frame where indicated. Tilt the saw tabic 5° right and cut counterclockwise. Then round the front edges and set it aside. Cut the design out. Make all the inside cuts first, then cut the outside. Remove the paltern, carefully sand, again wipe with the tack cloth, and then finish the piclure and frame as desired. Cut the 1/8" plywood to fit the perimeter of the picture piece and paint or stain it a dark brown or black. Let dry, then spray with one coat of clear finish. Using tacky glue, adhere the backer board to the rear of the pic ture piece. Clamp or place a weight on top until the glue is dry. Insert the picture into the frame from the front, then push to the back until it locks snugly in place, Pattern Located in Full Size Pattern Section No. 1!
4 • Creative Woodworks & Crafts September 2003 the bottom supports. shelf supports. |
||||||||||||||


