Creative Woodworks & crafts 2004-03, страница 53
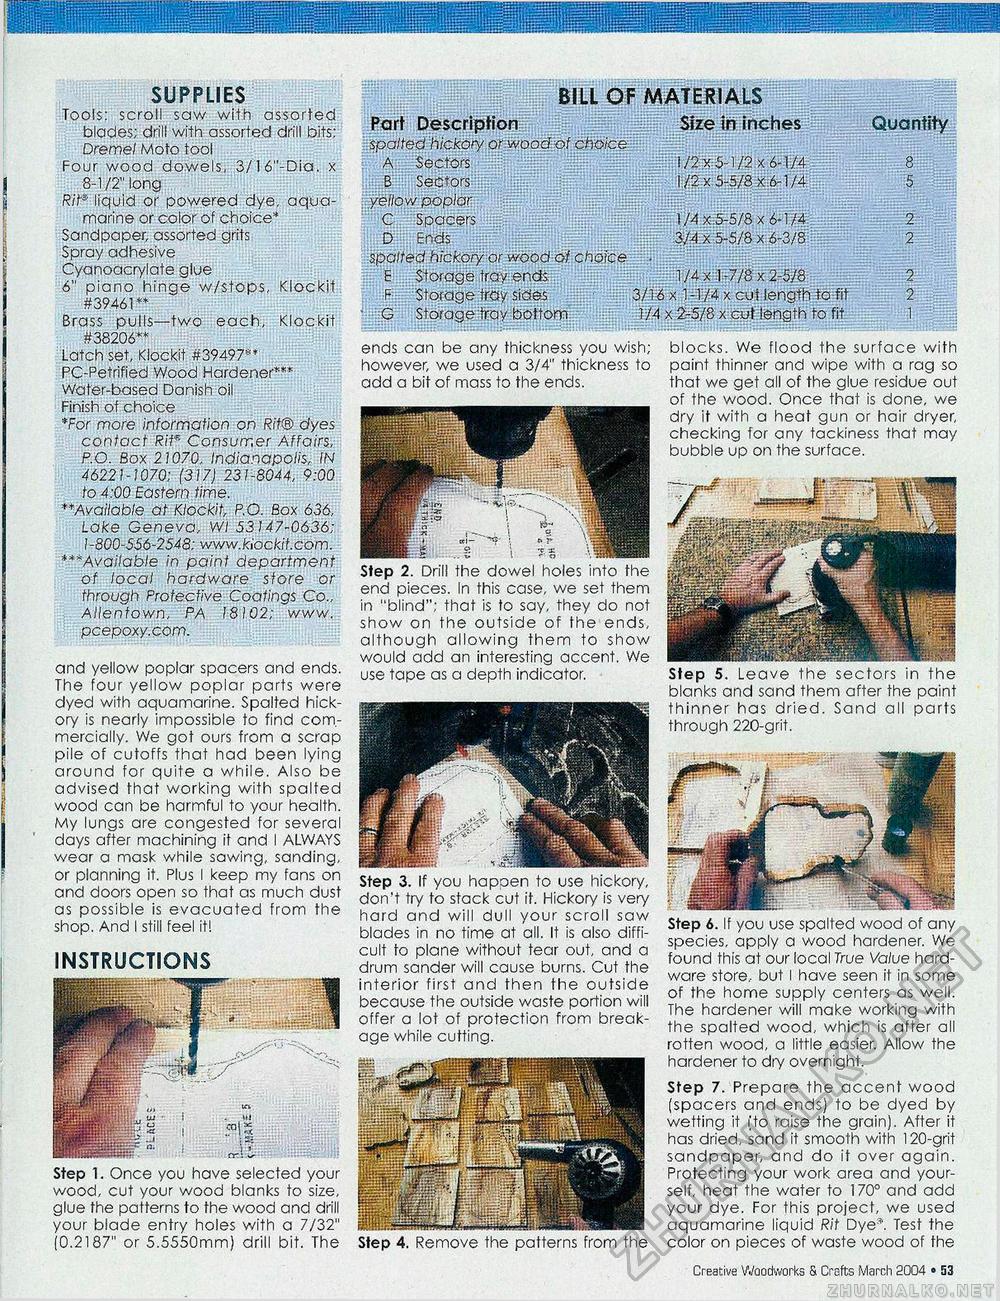
BILL OF MATERIALS Part Description Size in inches Quantity spalted hickory or wood of choice A Sectors . 1/2x5 1/2 k 6-1/4 8 B Sectors 1/2x5-5/8x6-1/4 5 yellow poplar C Spacers . 1/4 x.5-5/8 x 6-1/4 2 |p§~jlf: Ends 3/4 x 5-5/8 x 6-3/8 . 2 spalted hickofy or wood of choice ■ E Storage tray ends 1 /4 x 1 -7/8 x 2-5/8 2 F Storage tray sides 3/16x1 -1/4 x cut length to fit 2 G Storage tray bottom 1/4 x 2-5/8 x cot length to fit 1 SUPPLIES Tools: scroll saw with assorted blades; drill with assorted drill bits; Dremel Moto tool Four wood dowels, 3/16"-Dia. x 8-1/2" long Rits liquid or powered dye, aquamarine or color of choice* Sandpaper, assorted grits Spray adhesive Cyanoacrylate glue 6" piano hinge w/stops, Klockit #39461 ** Brass pulls—two each, Klockit #38206** Latch set, Klockit #39497** PC-Petrified Wood Hardener*" Wafer-based Danish oil Finish of choice *For more information on Rif® dyes contact Rif* Consumer Affairs, P.O. Box 21070, Indianapolis, IN 46221-1070; (317) 231-8044, 9:00 to 4:00 Eastern time. **Available at Klockit P.O. Box 636, Lake Geneva, Wl 53147-0636; 1-800-556-2548; www.kiockit.com. ***Availabie in paint department of local hardware store or through Protective Coatings Co., Allenfown, PA 18102; "www. pcepoxy.com. and yellow poplar spacers and ends. The four yellow poplar parts were dyed with aquamarine. Spalted hickory is nearly impossible to find commercially. We got ours from a scrap pile of cutoffs that had been lying around for quite a while. Also be advised that working with spalted wood can be harmful to your health. My lungs are congested for several days after machining it and I ALWAYS wear a mask while sawing, sanding, or planning it. Plus I keep my fans on and doors open so that as much dust as possible is evacuated from the shop. And I still feel it! INSTRUCTIONS ends can be any thickness you wish; however, we used a 3/4" thickness to add a bit of mass to the ends. Step 2. Drill the dowel holes into the end pieces. In this case, we set them in "blind"; that is to say, they do not show on the outside of the ends, although allowing them to show would add an interesting accent. We use tape as a depth indicator. Step 3. If you happen to use hickory, don't try to stack cut it. Hickory is very hard and will dull your scroll saw blades in no time at all. It is also difficult fo plane without tear out, and a drum sander will cause burns. Cut the interior first and then the outside because the outside waste portion will offer a lot of protection from breakage while cutting. Step 4. Remove the patterns from the Step 1. Once you have selected your wood, cut your wood blanks to size, glue the patterns to the wood and drill your blade entry holes with a 7/32" (0.2187" or 5.5550mm) drill bit. The blocks. We flood the surface with paint thinner and wipe with a rag so that we get all of the glue residue out of the wood. Once that is done, we dry it with a heat gun or hair dryer, checking for any tackiness that may bubble up on the surface. Step 5. Leave the sectors in the blanks and sand them after the paint thinner has dried. Sand all parts through 220-grit. Step 6. If you use spalted wood of any species, apply a wood hardener. We found this at our local True Value hardware store, but I have seen it in some of the home supply centers as well. The hardener will make working with the spalted wood, which is after all rotten wood, a little easier. Allow the hardener to dry overnight. Step 7. Prepare the accent wood (spacers and ends) to be dyed by wetting it (to raise the grain). After it has dried, sand it smooth with 120-grit sandpaper, and do it over again. Protecting your work area and yourself, heat the water to 170° and add your dye. For this project, we used aquamarine liquid Rit Dye3'. Test the color on pieces of waste wood of the Creative Woodworks S Crcfts Marr.h 2004 • 53 |


