Creative Woodworks & crafts 2004-03, страница 54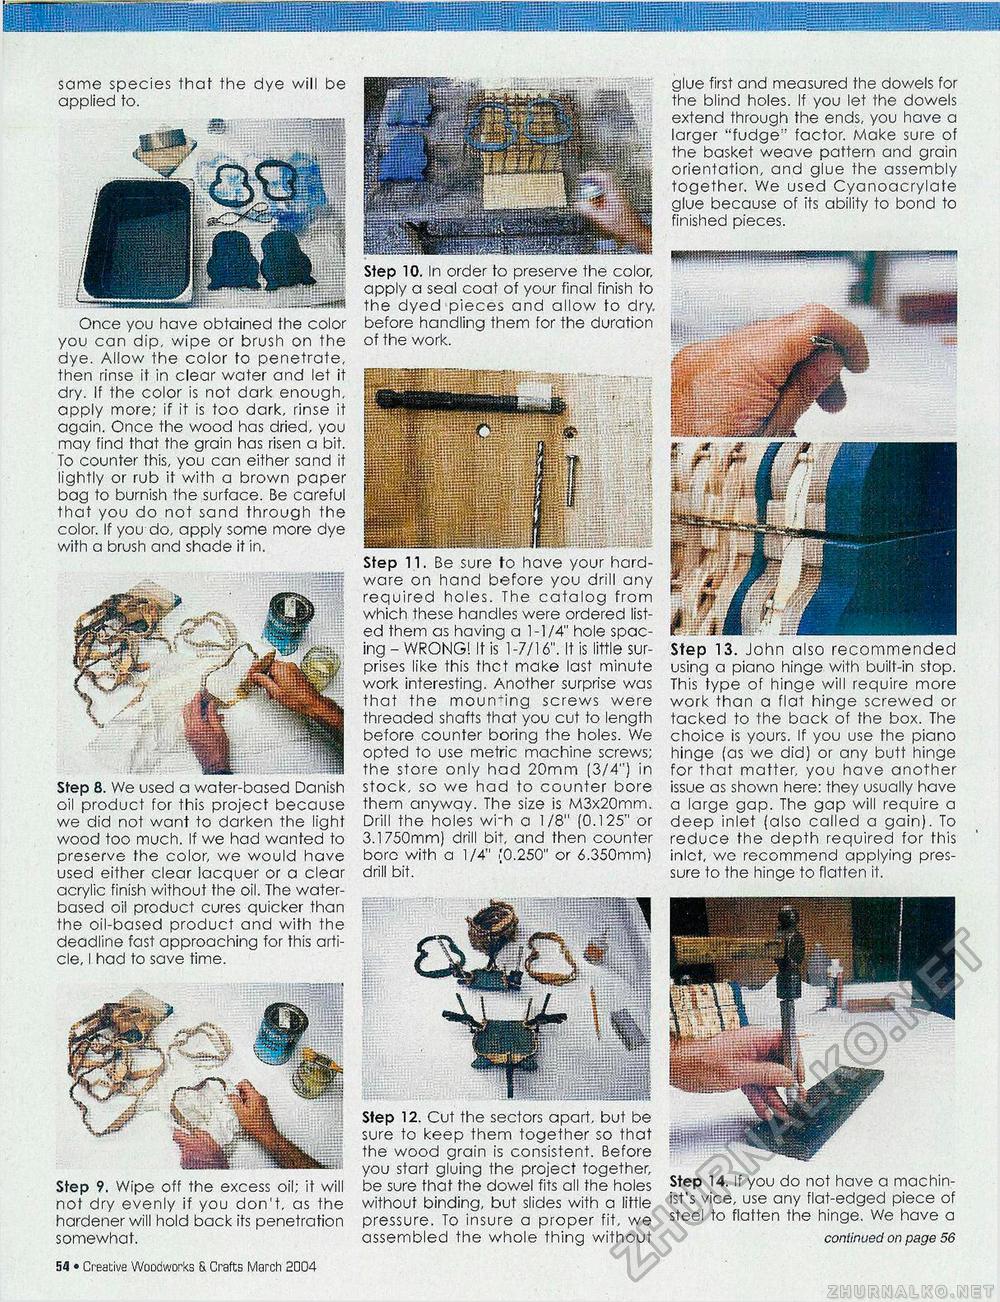
same species that the dye will be applied to. Step 8. We used a water-based Danish oil product for this project because we did not want to darken the light wood too much. If we had wanted to preserve the color, we would have used either clear lacquer or a clear acrylic finish without the oil. The water-based oil product cures quicker than the oil-based product and with the deadline fast approaching for this article, I had to save time. Step 9. Wipe off the excess oil; it will not dry evenly if you don't, as the hardener will hold back its penetration somewhat. 14 • Creative Woodworks S. Crafts March 2004 Step 10. In order to preserve the color, apply a seal coat of your final finish to the dyed pieces and allow to dry, before handling them for the duration of the work. Step 11. Be sure to have your hardware on hand before you drill any required holes. The catalog from which these handles were ordered listed them as having a 1-1/4" hole spacing - WRONG! It is 1 -7/16". It is little Surprises like this thct make last minute work interesting. Another surprise was that the mouning screws were threaded shafts that you cut to length before counter boring the holes. We opted to use metric machine screws; the store only had 20mm (3/4") in stock, so we had to counter bore them anyway. The size is M3x20mm. Drill the holes wrh a 1/8" (0.125" or 3.1750mm) drill bit, and then counter bore with a 1/4" '0.250" or 6.350mm) drill bit. Step 12. Cut the sectors apart, but be sure to keep them together so that the wood grain is consistent. Before you start gluing the project together, be sure that the dowel fits all the holes without binding, but slides with a little pressure. To insure a proper fit, we assembled the whole thing without glue first and measured the dowels for the blind holes. If you let the dowels extend through the ends, you have a larger "fudge" factor. Make sure of the basket weave pattern and grain orientation, and glue the assembly together. We used Cyanoacrylate glue because of its ability to bond to finished pieces. Step 13. John also recommended using a piano hinge with built-in stop. This type of hinge will require more work than a flat hinge screwed or tacked to the back of the box. The choice is yours. If you use the piano hinge (as we did) or any butt hinge for that matter, you have another issue as shown here: they usually have a large gap. The gap will require a deep inlet (also called a gain). To reduce the depth required for this inlet, wo recommend applying pressure to the hinge to flatten it. Step 14. If you do not have a machinist's vice, use any flat-edged piece of steel to flatten the hinge. We have a continued on page 56 Once you have obtained the color you can dip, wipe or brush on the dye. Allow the color to penetrate, then rinse it in clear water and let it dry. If the color is not dark enough, apply more; if it is too dark, rinse it again. Once the wood has dried, you may find that the grain has risen a bit. To counter this, you can either sand it lightly or rub it with a brown paper bag to burnish the surface. Be careful that you do not sand through the color. If you do, apply some more dye with a brush and shade it in. |


