Creative Woodworks & crafts 2004-03, страница 70
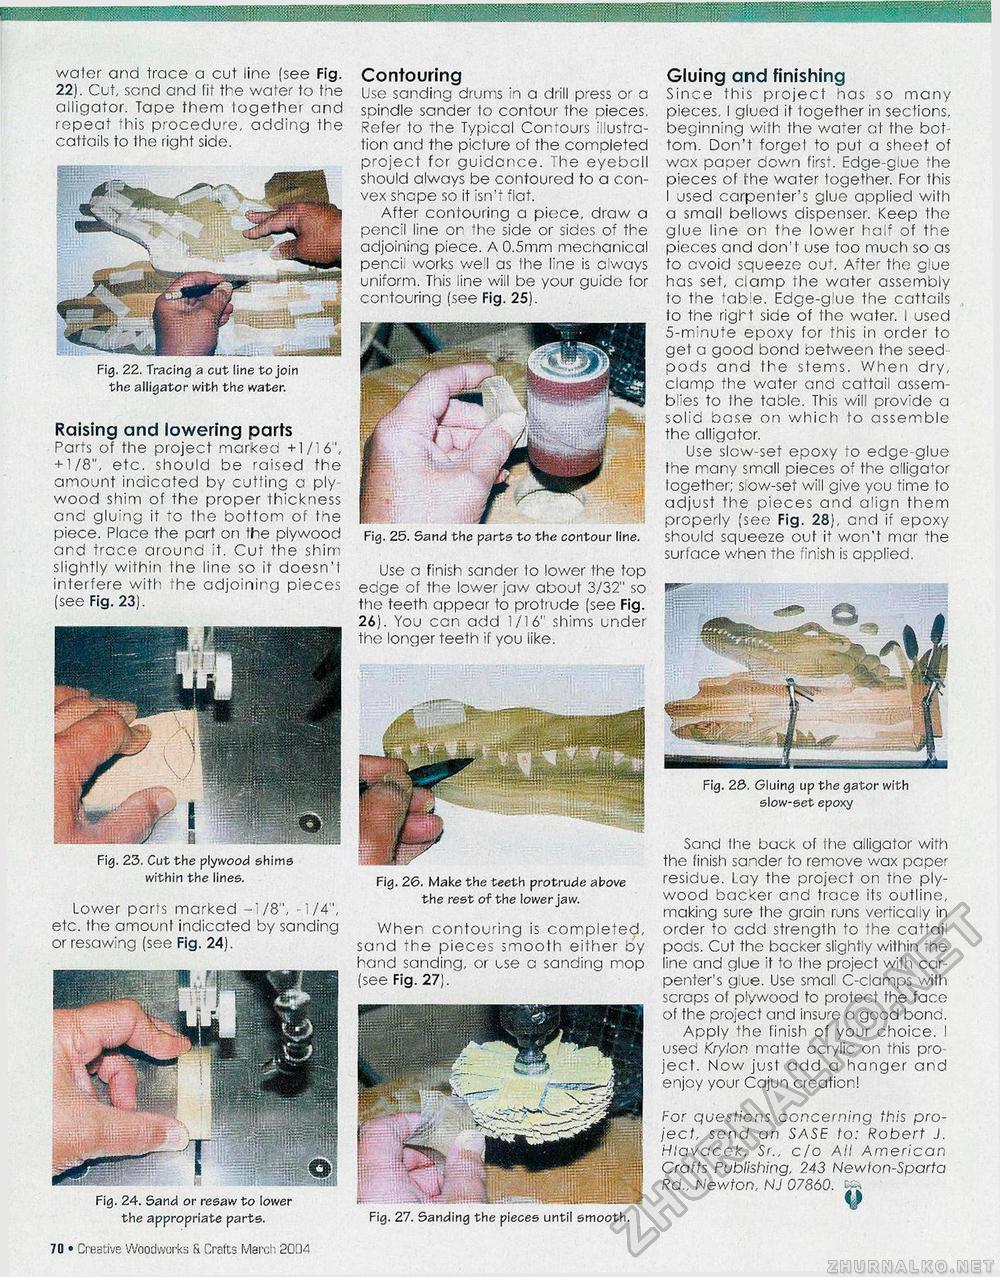
fflSMMM water and trace a cut lino (see Fig. 22). Cut, sand and fit the water to the alligator. Tape them together and repeat this procedure, adding the cattails to Ihe right side. Fig. 22. Tracing a cut line to join the alligator with the water. Raising and lowering parts Parts of the project marked +1/7 6", + 1/8", etc. should be raised the amount indicated by cutting a ply wood shim of the proper thickness and gluing it to the bottom of Me piece. Place the part on the plywood and trace around it. Cut the shim slightly within the line so it doesn'l interfere with the adjoining pieces (see Fig. 23). Fig. 23. Cut the plywood shims within the lines. Lower ports marked -1/8", -1/4", etc. the amount indicated by sanding or resawing (see Fig. 24). Fig. 24. Sand or resaw to lower the appropriate parts. 14 • Creative Woodworks S. Crafts March 2004 Contouring Use sanding drums in a drill press or a spindle sander 1o contour the pieces. Refer to the Typical Contours illustration and the picture of the completed project for guidance. The eyeball should always be contoured to a convex shape so it isn't flat. After contouring a piece, draw a pencil line on 1he side or sides of the adjoining piece. A 0.5mm mechanical penci works well as the line is c ways uniform. This line will be your guide for contouring (see Fig. 25). Fig. 25. Sand the parts to the contour line. Use a finish sander to lower the top edge of the lower jaw about 3/32" so the teeth appear to protrude (see Fig. 26). You ccn add 1/16' shims under the longer teeth if you like. Fig. 26. Make the teeth protrude above the rest of the lower jaw. When contouring is completed, sand the pieces smooth either by hand sanding, or use a sanding mop (see Fig. 27). Fig. 27. Sanding the pieces until smooth. Gluing and finishing Since this project has so many pieces. I glued if together in sections, beginning with the wafer at the bottom. Don't forgel to put a sheet of wax paper down first. Edge-glue the pieces of the water together. For this I jsed carpenter's glue applied with a small bellows dispenser. Keep the glue line on the lower half of the pieces and don'I use too much so as to avoid squeeze out. After tho glue has set, clamp the water assembly to the table. Edge-g!ue the cattails to the right side of the water. I used 5-minute epoxy for this in order to get a good bond between the seed pods and the stems. When dry, clamp the water and cattail assemblies to Ihe table. This will provide a solia base on which fo assemble the alligator. Use slow-set epoxy to edge-glue the many small pieces of the alligator logether; siow-set will give you time to adjust the pieces and align them properly (see- Fig. 28), and if epoxy should squeeze out it won't mar the surface when the finish is applied. Fig. 20. Gluing up the gator with slow-set epoxy Sand the back of ttie alligator with the finish sander to remove wax paper residue. Lay the project on the plywood backer and trace its outline, making sure Ihe grain runs vertically in order to add strength to the cattail poas. Cut the backer slightly within the line and glue ;f to the project wilh carpenter's glue. Use smal. C-clamps with scraps of plywood to protect the face of the project and insure a good bond. Apply the finish of your choice. I used Krylon matte acrylic on this pro jecl. Now just add a hanger and enjoy your Cajun creation! For questions concerning this project, send an SASE lo: Robert J. Hiavacck, Sr., c/o AH American Crafts Publishing, 243 Newton-Sparta Rd„ Newton, NJ 07860. |


