Creative Woodworks & crafts 2004-06, страница 36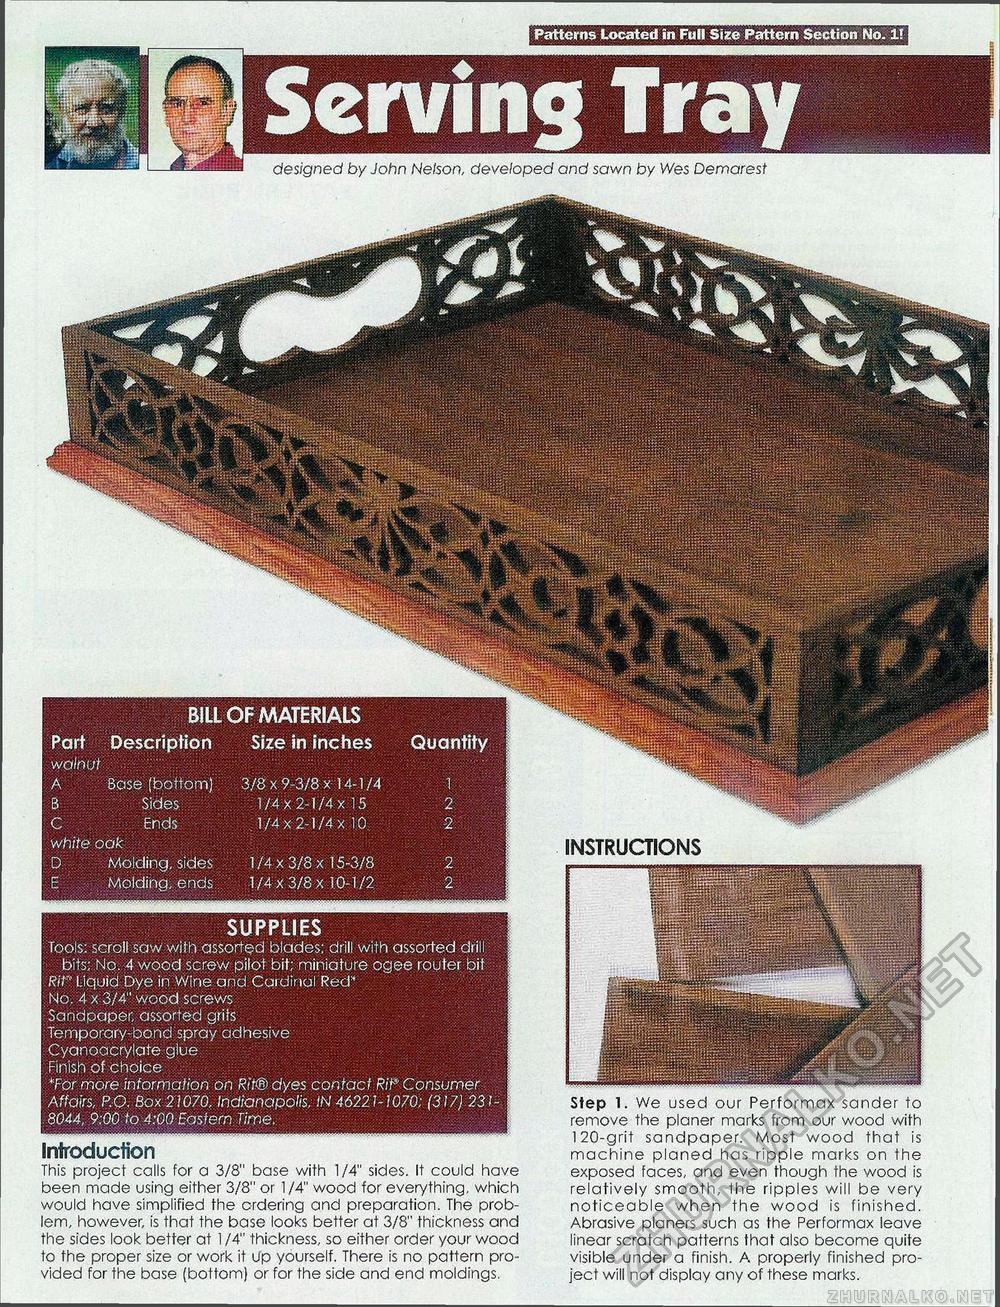
Patterns Located in Full Size Pattern Section No. 1! Serving Traydesigned by John Nelson, developed and sawn by Wes Demarest BILL OF MATERIALS Part Description Size in inches Quantity walnut. A Base (bottom) 3/8x9-3/8 x14-1/4 1 B Sides 1/4x2-1/4x15 2 C Ends 1/4x2-1/4x10 2 white oak D Molding, sides 1/4x3/8x15-3/8 2 E Molding; ends. 1/4x3/8x10-1/2 2 SUPPLIES Tools; scroll saw with assorted blades; drill with assorted drill bits; No. 4 wood screw pilot bit; miniature ogee router bit Rit" Liquid Dye in Wine and Cuidinul Red" No. 4 x 3/4" wood screws^ Sandpaper, assorted grits Temporary-bond spray adhesive Cyanoacrylate glue Finish of choice *For more information on Rit® dyes contact R/P Consumer Affairs, P.O. Box 21070, Indianapolis, IN 46221-1070; (317) 231-8044, 9:00 to 4:00 Eastern Time, Introduction This project calls for a 3/8" base with 1/4" sides. It could have been made using either 3/8" or 1 /4" wood for everything, which would have simplified the ordering and preparation. The problem, however, is that the base looks better at 3/8" thickness and the sides look better at 1/4" thickness, so either order your wood to the proper size or work it Op yourself. There is no pattern provided for the base (bottom) or for the side and end moldings. Step 1. We used our Performax sander to remove the planer marks from our wood with 120-grit sandpaper. Most wood that is machine planed has ripple marks on the exposed faces, and even though the wood is relatively smooth, the ripples will be very noticeable when the wood is finished. Abrasive planers such as the Performax leave linear scratch patterns that also become quite visible under a finish. A properly finished project will not display any of these marks. INSTRUCTIONS |


