Creative Woodworks & crafts 2004-06, страница 58
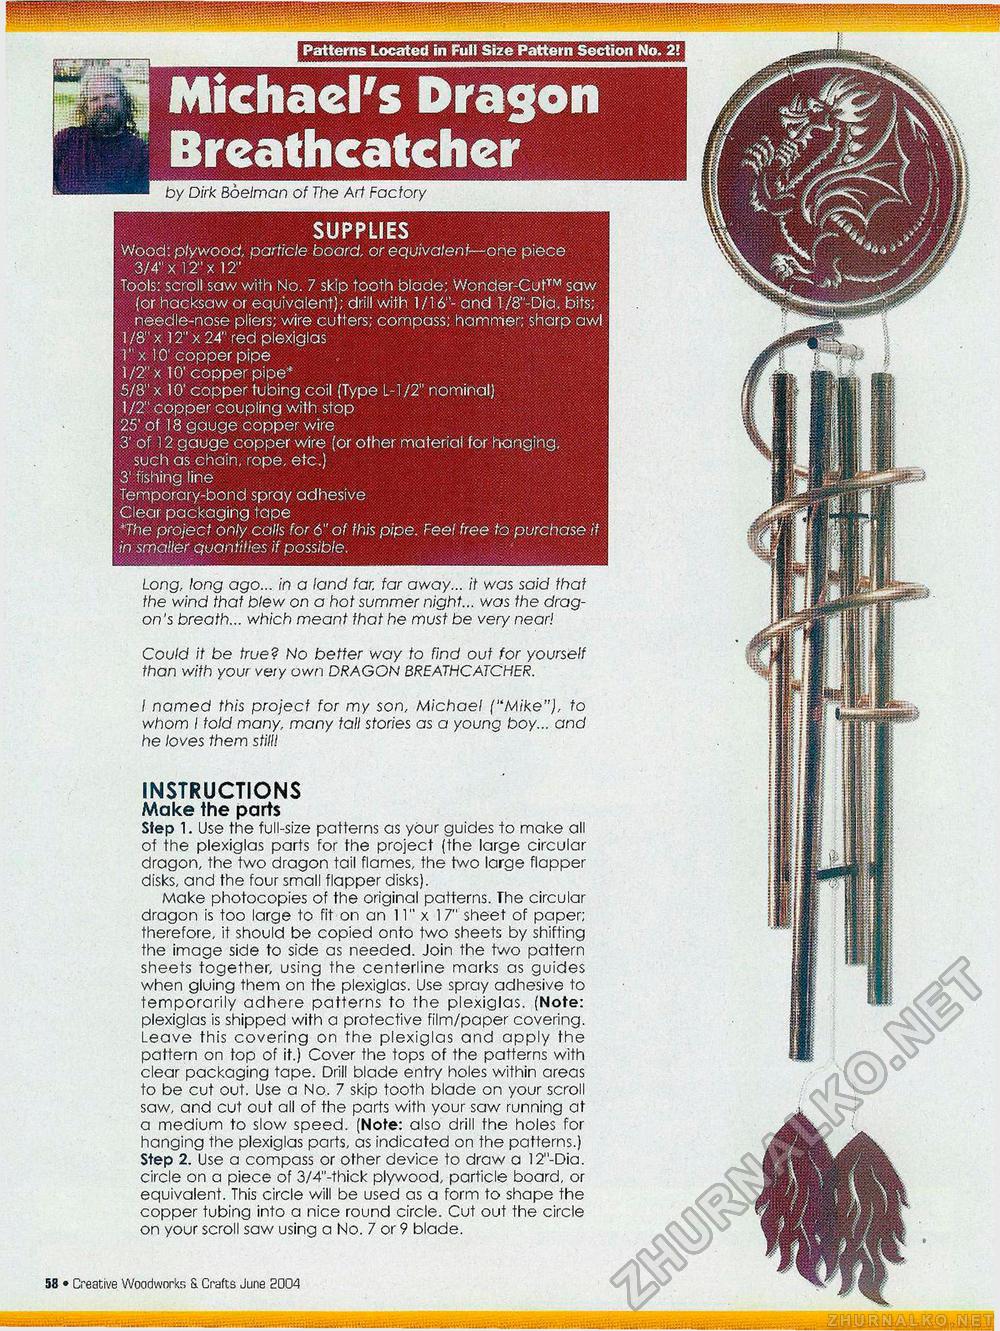
Patterns Located in Full Size Pattern Section No. 2! SUPPLIES Wood: plywood, particle board, or equivalent— one piece 3/4" x 12" x 12" Tools: scroll saw with No. 7 skip tooth blade; Wonder-Cut™ saw (or hacksaw or equivalent); drill with 1/16"- and l/8"-Dia, bits; needle-nose pliers; wire cutters; compass; hammer; sharp awl 1 /$" x 12" x 24" red plexiglas l"x i.O' copper pipe 1/2" x TO" copper pipe* 5/8" x 10' copper tubing coil (Type L-l/2" nominal) 1/2" copper coupling with stop 25' of 18 gauge copper wire 3' of 12 gauge copper wire (or other material for hanging, such as chain, rope, etc.) 3' fishing line Temporary-bond spray adhesive Clear packaging tape *The project only calls for 6" of this pipe. Feel free to purchase if in smaller quantities if possible. Michael's Dragon Breathcatchcr 4fi • Creative Woodworks S. Crafts June 2004 Could it be true? No better way to find out for yourself than with your very own DRAGON BREATHCATCHER. I named this project for my son, Michael ("Mike"), to whom I told many, many tall stories as a young boy... and he loves them still! INSTRUCTIONS Make the parts Step 1. Use the full-size patterns as yOur guides to make all of the plexiglas parts for the project (the large circular dragon, the two dragon tail flames, the two large flapper disks, and the four small flapper disks). Make photocopies of the original patterns. The circular dragon is too large to fit on an 11" x 17" sheet of paper; therefore, it should be copied onto two sheets by shifting the image side to side as needed. Join the two pattern sheets together, using the centerline marks as guides when gluing them on the plexiglas. Use spray adhesive to temporarily adhere patterns to the plexiglas. (Note: plexiglas is shipped with a protective film/paper covering. Leave this covering on the plexiglas and apply the pattern on top of it.) Cover the tops of the patterns with clear packaging tape. Drill blade entry holes within areas to be cut out. Use a No. 7 skip tooth blade on your scroll saw, and cut out all of the parts with your saw running at a medium to slow speed. (Note: also drill the holes for hanging the plexiglas parts, as indicated on the patterns.) Step 2. Use a compass or other device to draw a I2"-Dia. circle on a piece of 3/4"-thick plywood, particle board, or equivalent. This circle will be used as a form to shape the copper tubing into a nice round circle. Cut out the circle on your scroll saw using a No. 7 or 9 blade. by Dirk Boelman of The Art Factory Long, long ago... in a land far. far away... it was said that the wind that blew on a hot summer night... was the dragon's breath... which meant that he must be very near! |


