Creative Woodworks & crafts 2004-08, страница 35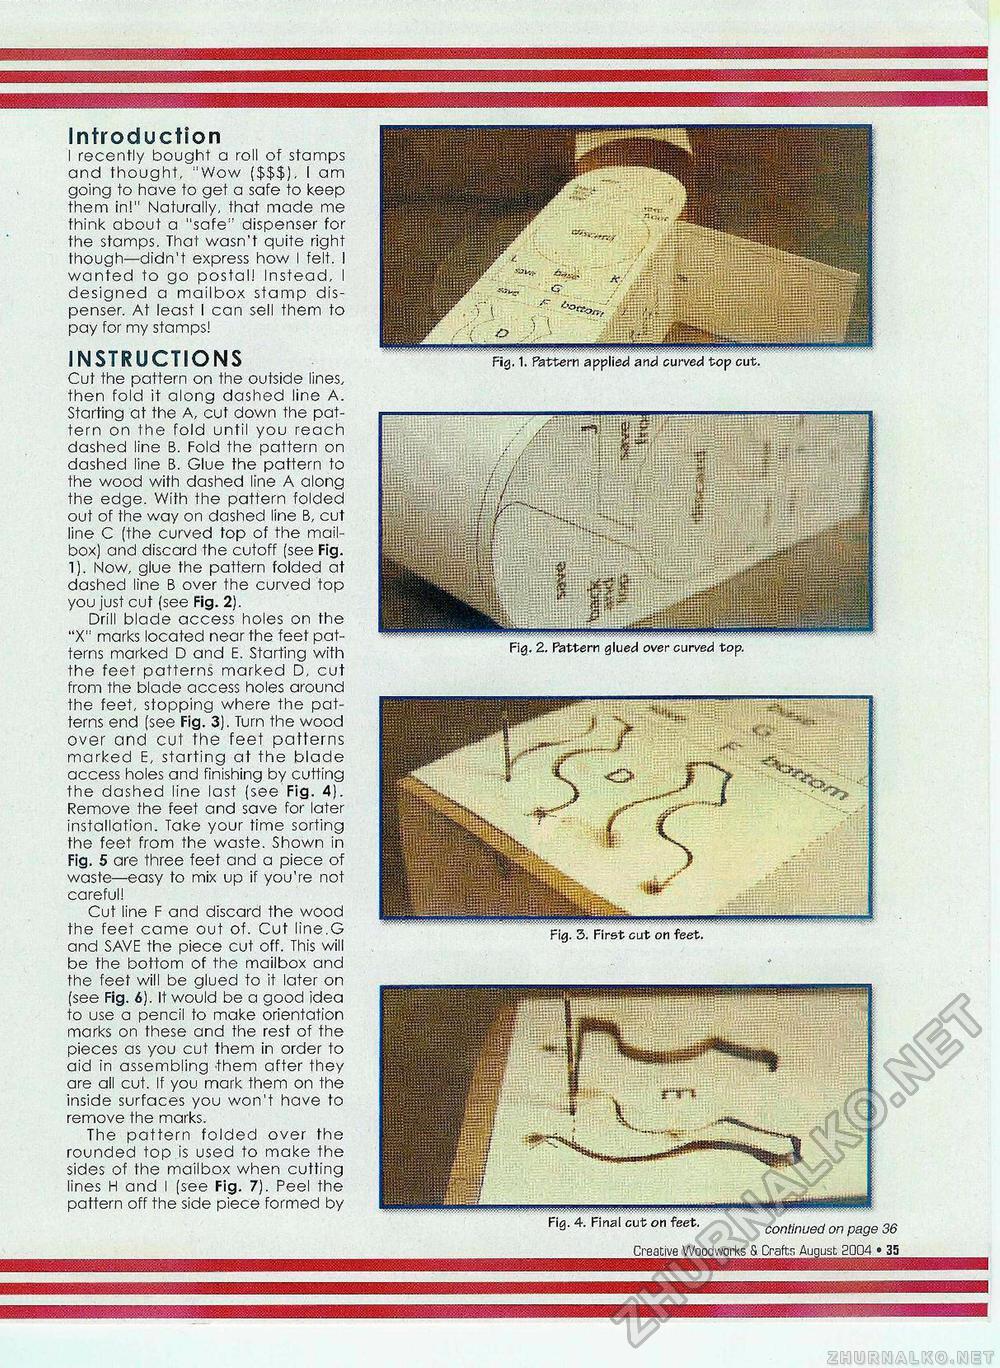
Introduction I recently bought a roll of stamps and thought, "Wow ($$$), I am going to have to get a safe to keep them in!" Naturally, that made me think about a "safe" dispenser for the stamps. That wasn't quite right though—didn't express how I felt. I wanted to go postal! Instead, I designed a mailbox stamp dispenser. At least I can sell them to pay for my stamps! INSTRUCTIONS Cut the pattern on the outside lines, then fold it along dashed line A. Starting at the A, cut down the pattern on the fold until you reach dashed line B. Fold the pattern on dashed line B. Glue the pattern to the wood with dashed line A along the edge. With the pattern folded out of the way on dashed line B, cut line C (the curved top of the mailbox) and discard the cutoff (see Fig. 1). Now, glue the pattern folded at dashed line B over the curved top you just cut (see Fig. 2). Drill blade access holes on the "X" marks located near the feet patterns marked D and E. Starting with the feet patterns marked D, cut from the blade access holes around the feet, stopping where the patterns end (see Fig. 3). Turn the wood over and cut the feet patterns marked E, starting at the blade access holes and finishing by cutting the dashed line last (see Fig. 4). Remove the feet and save for later installation. Take your time sorting the feet from the waste. Shown in Fig. 5 are three feet and a piece of waste—easy to mix up if you're not careful! Cut line F and discard the wood the feet came out of. Cut line.G and SAVE the piece cut off. This will be the bottom of the mailbox and the feet will be glued to it later on (see Fig. 6). It would be a good idea to use a pencil to make orientation marks on these and the rest of the pieces as you cut them in order to aid in assembling them after they are all cut. If you mark them on the inside surfaces you won't have to remove the marks. The pattern folded over the rounded top is used to make the sides of the mailbox when cutting lines H and I (see Fig. 7). Peel the pattern off the side piece formed by Fig. 2, Pattern glued over curved top. —............36 Creative Woodworks S Crate August 2004 » 35 |


