Creative Woodworks & crafts 2004-08, страница 36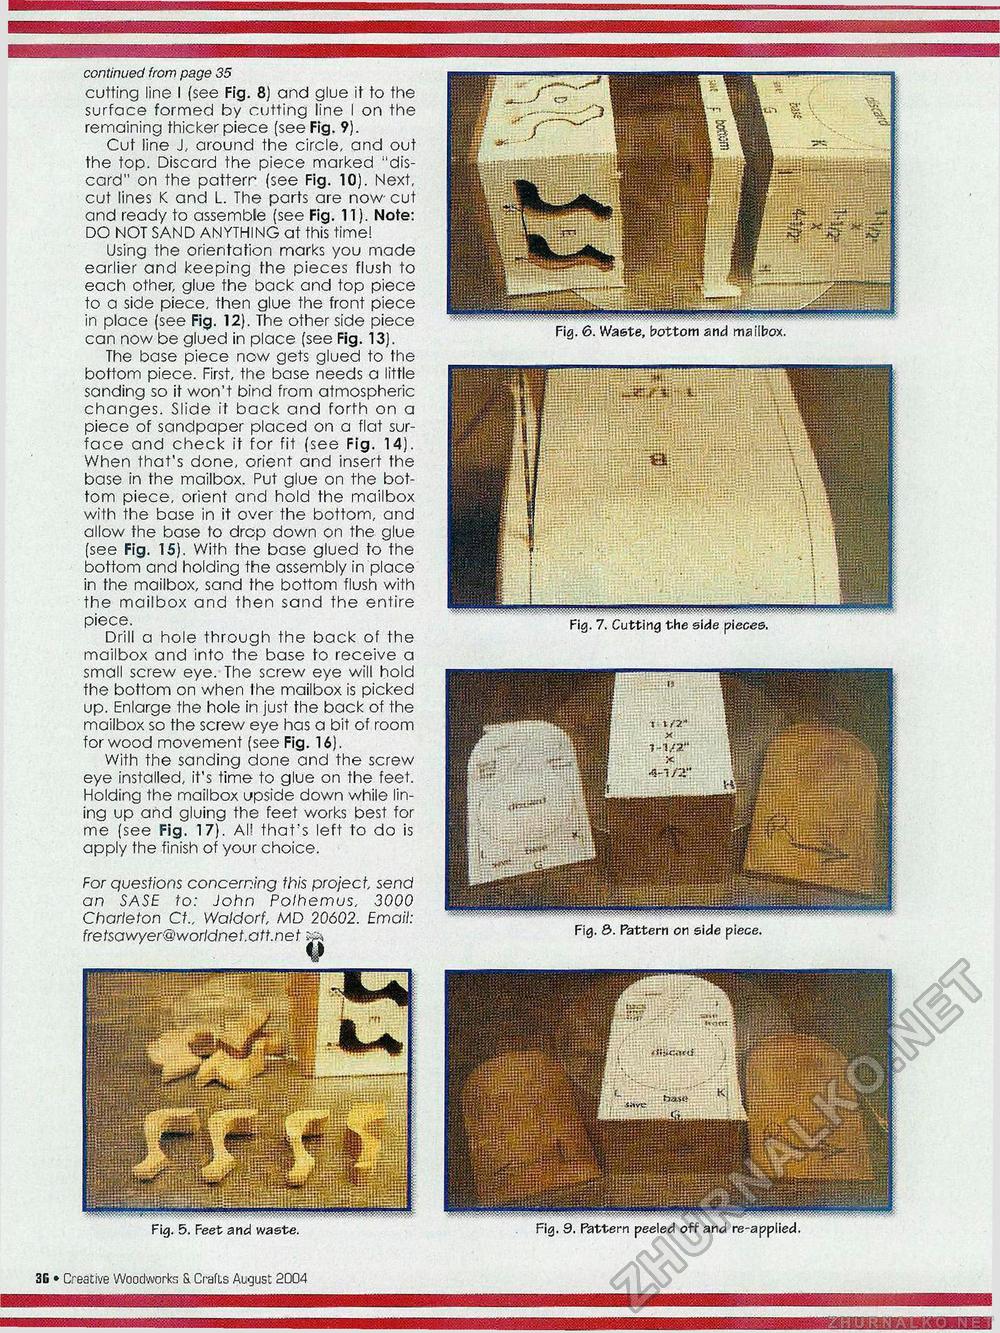
continued from page 35 cutting line I (see Fig. 8) and glue it to the surface formed by cutting line I on the remaining thicker piece (see Fig. 9). Cut line J, around the circle, and out the top. Discard the piece marked "discard" on the pattern (see Fig. 10). Next, cut lines K and L. The parts are now cut and ready to assemble (see Fig. 11). Note: DO NOT SAND ANYTHING at this time! Using the orientation marks you made earlier and keeping the pieces flush to each other, glue the back and top piece to a side piece, then glue the front piece in place (see Fig. 12). The other side piece can now be glued in place (see Fig. 13). The base piece now gets glued to the bottom piece. First, the base needs a little sanding so it won't bind from atmospheric changes. Slide it back and forth on a piece of sandpaper placed on a flat surface and check it for fit (see Fig. 14). When that's done, orient and insert the base in the mailbox. Put glue on the bottom piece, orient and hold the mailbox with the base in it over the bottom, and allow the base to drop down on the glue (see Fig. 15). With the base glued to the bottom and holding the assembly in place in the mailbox, sand the bottom flush with the mailbox and then sand the entire piece. Drill a hole through the back of the mailbox and into the base to receive a small screw eye. The screw eye will hold the bottom on when I he mailbox is picked up. Enlarge the hole in just the back of the mailbox so the screw eye has a bit of room for wood movement (see Fig. 16). With the sanding done and the screw eye installed, it's time to glue on the feet. Holding the mailbox upside down while lining up and gluing the feet works best for me (see Fig. 17). Al! that's left to do is apply the finish of your choice. For questions concerning this project, send an SASE to: John Polhemus, 3000 Charieton Ct„ Waldorf, A/ID 20602. Email: fretsawyer@worldnet.att.net Creative Woodworks 3. Crafts August 2004 • 18 Fig. 6. waste, bottom and mailbox. Fig. 3. Pattern on side piece. Fig. 9. Pattern peeled off and |


