Creative Woodworks & crafts 2004-08, страница 67
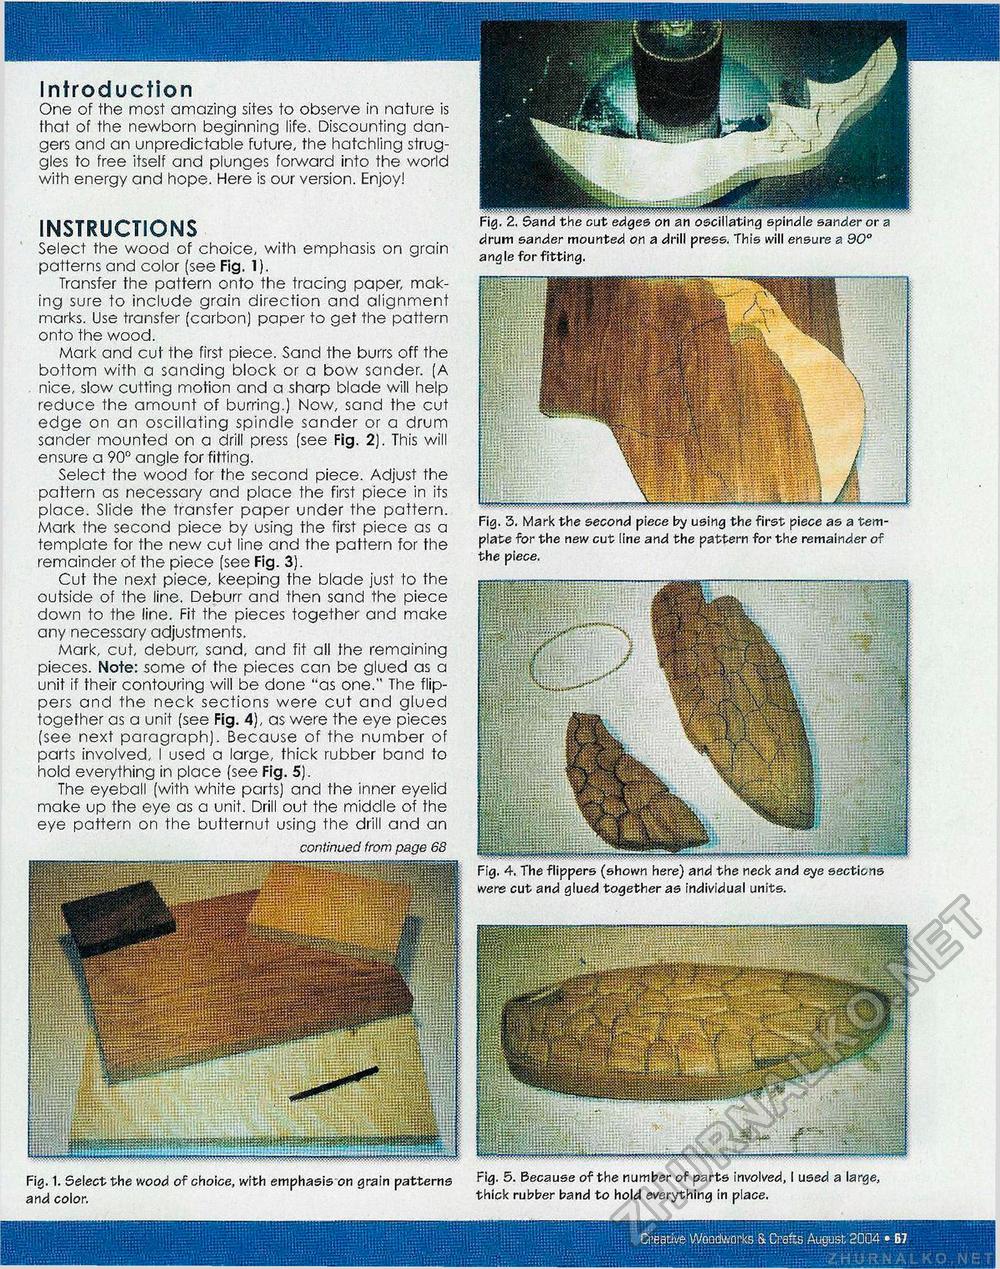
Fig. 1. Select the wood of choice, with emphasis on grain patterns 5- Because of the number of parts involved, I used a large, and color. thick rubber band to hold everything in place. INSTRUCTIONS Select the wood of choice, with emphasis on grain patterns and color (see Fig. 1). Transfer the pattern onto the tracing paper, making sure to include grain direction and alignment marks. Use transfer (carbon) paper to get the pattern onto the wood. Mark and cut the first piece. Sand the burrs off the bottom with a sanding block or a bow sander. (A nice, slow cutting motion and a sharp blade will help reduce the amount of burring.) Now, sand the cut edge on an oscillating spindle sander or a drum sander mounted on a drill press (see Fig. 2). This will ensure a 90° angle for fitting. Select the wood for the second piece. Adjust the pattern as necessary and place the first piece in its place. Slide the transfer paper under the pattern. Mark the second piece by using the first piece as a template for the new cut line and the pattern for the remainder of the piece (see Fig. 3). Cut the next piece, keeping the blade just to the outside of the line. Deburr and then sand the piece down to the line. Fit the pieces together and make any necessary adjustments. Mark, cut, deburr, sand, and fit all the remaining pieces. Note: some of the pieces can be glued as a unit if their contouring will be done "as one." The flippers and the neck sections were cut and glued together as a unit (see Fig. 4), as were the eye pieces (see next paragraph). Because of the number of parts involved, I used a large, thick rubber band to hold everything in place (see Fig. 5). The eyeball (with white parts) and the inner eyelid make up the eye as a unit. Drill out the middle of the eye pattern on the butternut using the drill and an continued from page 68 Fig. 3. Mark the second piece by using the first piece as a template for the new cut line and the pattern for the remainder of the piece. Fig. 4. The flippers (shown here) and the neck and eye sections were cut and glued together as individual units. Introduction One of the most amazing sites to observe in nature is that of the newborn beginning life. Discounting dangers and an unpredictable future, the hatchling struggles to free itself and plunges forward into the world with energy and hope. Here is our version. Enjoy! drum sander mounted on a drill press. This angle for fitting. Creative Woodworks & Crafts August 2004 • 67 |


