Creative Woodworks & crafts 2004-08, страница 75
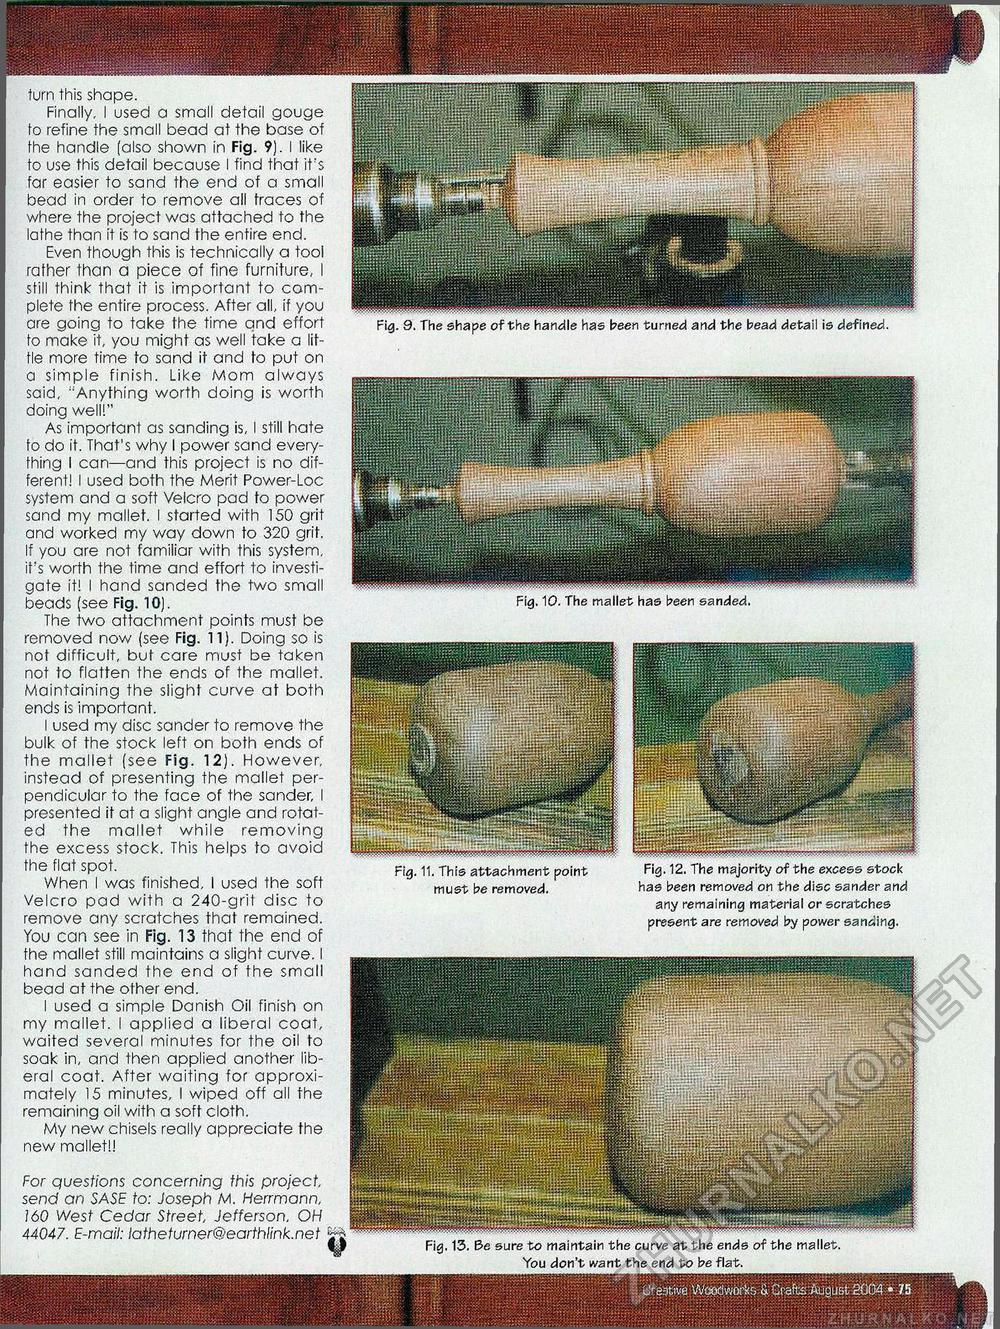
turn this shape. Finally, I used a small detail gouge to refine the small bead at the base of fhe handle (also shown in Fig. 9). I like to use this detail because I find that it's far easier to sand the end of a small bead in order to remove all traces of where the project was attached to the lathe than it is to sand the entire end. Even though this is technically a tool rather than a piece of fine furniture, I still think that it is important to complete the entire process. After all, if you are going to take the time and effort to make it, you might as well take a little more time to sand it and to put on a simple finish. Like Mom always said, "Anything worth doing is worth doing well!" As important as sanding is, I still hate to do it. That's why I power sand everything I can—and this project is no different! I used both the Merit Power-Loc system and a soft Velcro pad to power sand my mallet. I started with 150 grit and worked my way down to 320 grit. If you are not familiar with this system, it's worth the time and effort to investigate it! I hand sanded the two small beads (see Fig. 10). The two attachment points must be removed now (see Fig. 11). Doing so is not difficult, but care must be taken not to flatten the ends of the mallet. Maintaining the slight curve at both ends is important. I used my disc sander to remove the bulk of the stock left on both ends of the mallet (see Fig. 12). However, instead of presenting the mallet perpendicular to the face of the sander, I presented it at a slight angle and rotated the mallet while removing the excess stock. This helps to avoid the flat spot. When I was finished, I used the soft Velcro pad with a 240-grit disc to remove any scratches that remained. You can see in Fig. 13 that the end of fhe mallet still maintains a slight curve. I hand sanded the end of the small bead at the other end. I used a simple Danish Oil finish on my mallet. I applied a liberal coat, waited several minutes for the oil to soak in, and then applied another liberal coat. After waiting for approximately 15 minutes, I wiped off all the remaining oil with a soft cloth. My new chisels really appreciate the new mallet!! For questions concerning this project, send an SASE to: Joseph M. Herrmann, 160 West Cedar Street, Jefferson, OH 44047. E-mail: latheturner@earthlink.net ^ Fig. 9. The shape of the handle has been turned and the bead detail is defined. Fig. 10. The mallet has been sanded. Fig. 11. This attachment point Fig. 12. The majority of the excess stock must be removed. has been removed on the disc sander and any remaining material or scratches present are removed by power sanding. Fig. 13. Be sure to maintain the curve at the ends of the mallet. You don't want the end to be flat. |


