Creative Woodworks & crafts 2004-09, страница 69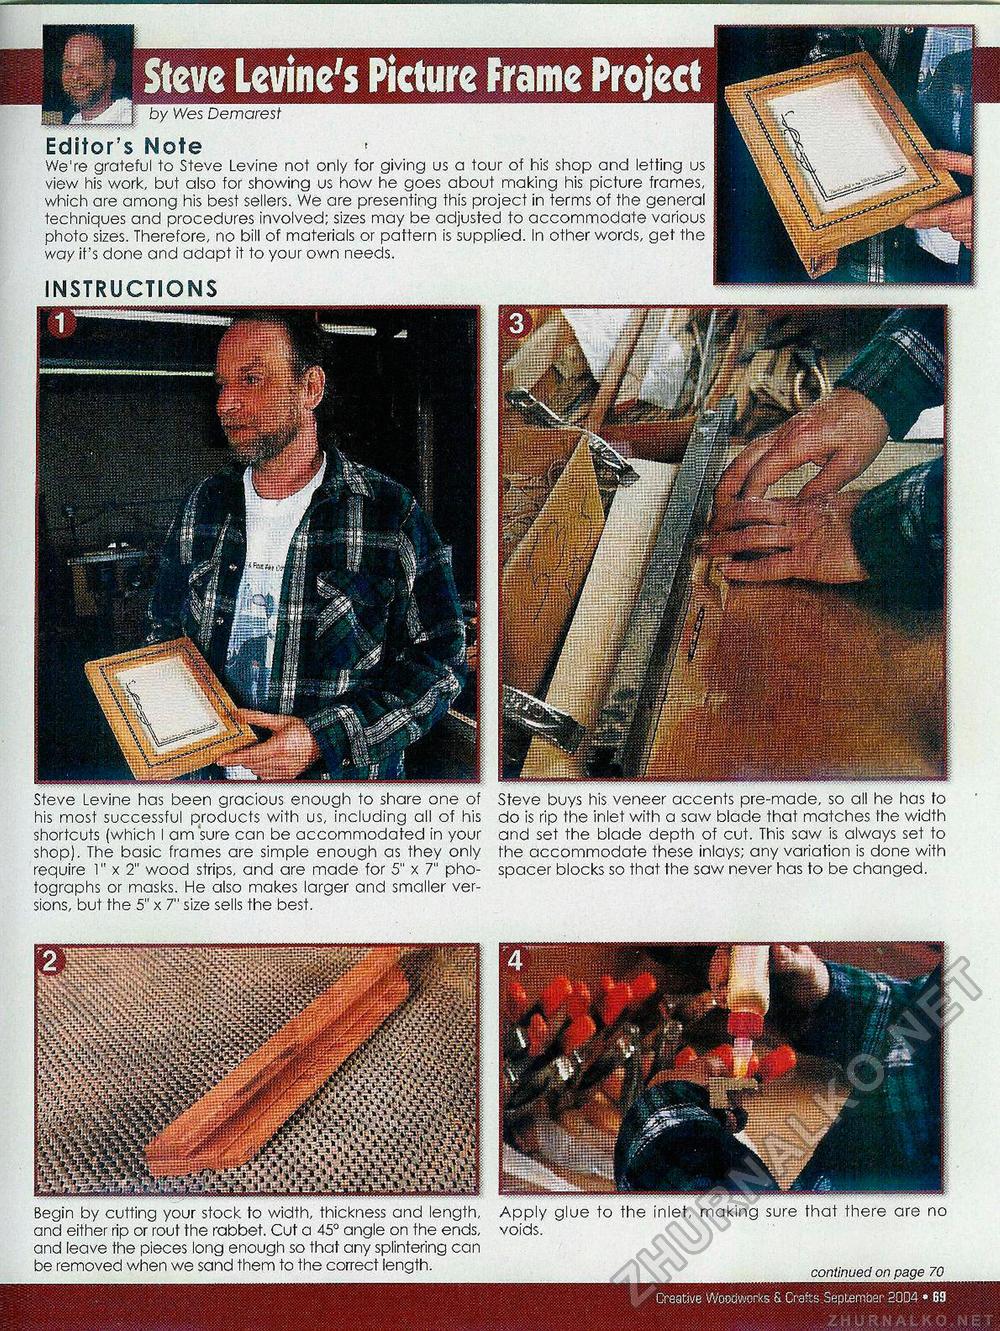
Steve Levine has been gracious enough to share one of his most successful products with us, including all of his shortcuts (which I am sure can be accommodated in your shop). The basic frames are simple enough as they only require 1" x 2" wood strips, and are made for 5" x 7" photographs or masks. He also makes larger and smaller versions, but the 5" x 7" size sells the best. Steve buys his veneer accents pre-made, so all he has fo do is rip the inlet with a saw blade that matches the width and set the blade depth of cut. This saw is always set to the accommodate these inlays; any variation is done with spacer blocks so that the saw never has to be changed. INSTRUCTIONS Editor's Note We're grateful to Steve Levine not only for giving us a tour of his shop and letting us view his work, but also for showing us how he goes about making his picture frames, which are among his best sellers. We are presenting this project in terms of the general techniques and procedures involved; sizes may be adjusted to accommodate various photo sizes. Therefore, no bill of materials or pattern is supplied. In other words, get the way it's done and adapt it to your own needs. Begin by cutting your stock to width, thickness and length, and either rip or rout the rabbet. Cut a 45° angle on the ends, and leave the pieces long enough so that any splintering can be removed when we sand them to the correct length. Apply glue to the inlet, making sure that there are no voids. continued on page 70 1(1 • Creative Woodworks & Crafts September 3004 |


