Creative Woodworks & crafts 2004-11, страница 28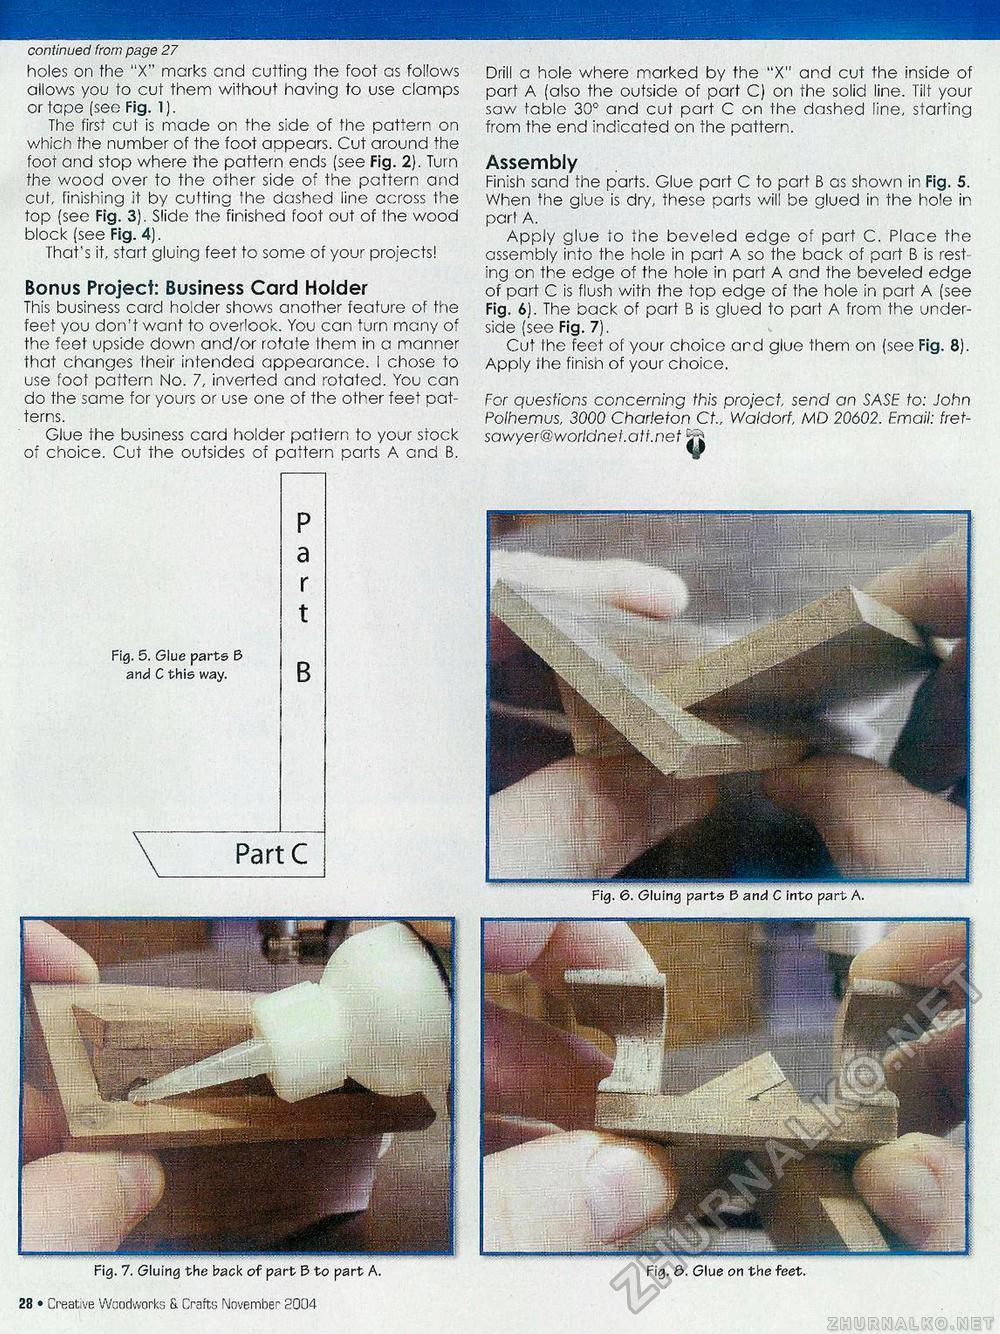
continued from page 27 holes on the "X" marks and cutting the foot as follows allows you to cut them without having to use clamps or tape (see Fig. 1). The first cut is made on. the side of the pattern on which the number of the foot aopears. Cut around the foot and stop where the pattern ends (see Fig. 2). Turn the wood over to the other side of the pattern and cut, finishing it by cutting the dashed line across the top (see Fig. 3). Slide the finished foot out of the wood block (see Fig. 4). That's it, start gluing feet to some of your projects! Bonus Project: Business Card Holder This business card holder shows another feature of the feet you don't want to overlook. You can turn many o£ the feet upside down and/or rotate Ihem in a manner that changes Iheir intended appearance. I chose to use foot pattern No. 7, inverted and rotated. You can do the same for yours or use one of the other feet patterns. Glue the business card holder pattern to your stock of choice. Cut the outsides of pattern parts A and B. Drill a hole where marked by the "X" and cut the inside of part A (also the outside of part C) on the solid line. Tilt your saw tabic 30° and cut part C on the dashed line, starting from the end indicated on the pattern. Assembly Finish sand the parts. Glue part C to part B as shown in Fig. 5. When the glue is dry, these parts will be glued in the hole in pari A. Apply glue to the beveled edge of part C. Place the assembly into the hole in part A so the back of part B is rest ing on the edge of the hole in part A and the beveled edge of part C is flush with the top edge of the hole in part A (see Fig. 6). The back of part B is glued to part A from the underside (see Fig. 7). Cut Ihe feet of your choice ard glue them on (see Fig. 8). Apply ihe finish of your choice. For questions concerning this project, send an SASE to: John Polhemus, 3000 Charleton Ct, Waldorf, MD 20602. Email: fretsaw yer@ world n et.att.net Ijrfi
Fig. 7. Gluing the back of part 3 to part A. 28 • Creative Woodworks S. Crafts November 2004 Fig. 6. (Sluing parts E5 and C into part A. |
|||||||||||||


