Creative Woodworks & crafts 2004-11, страница 52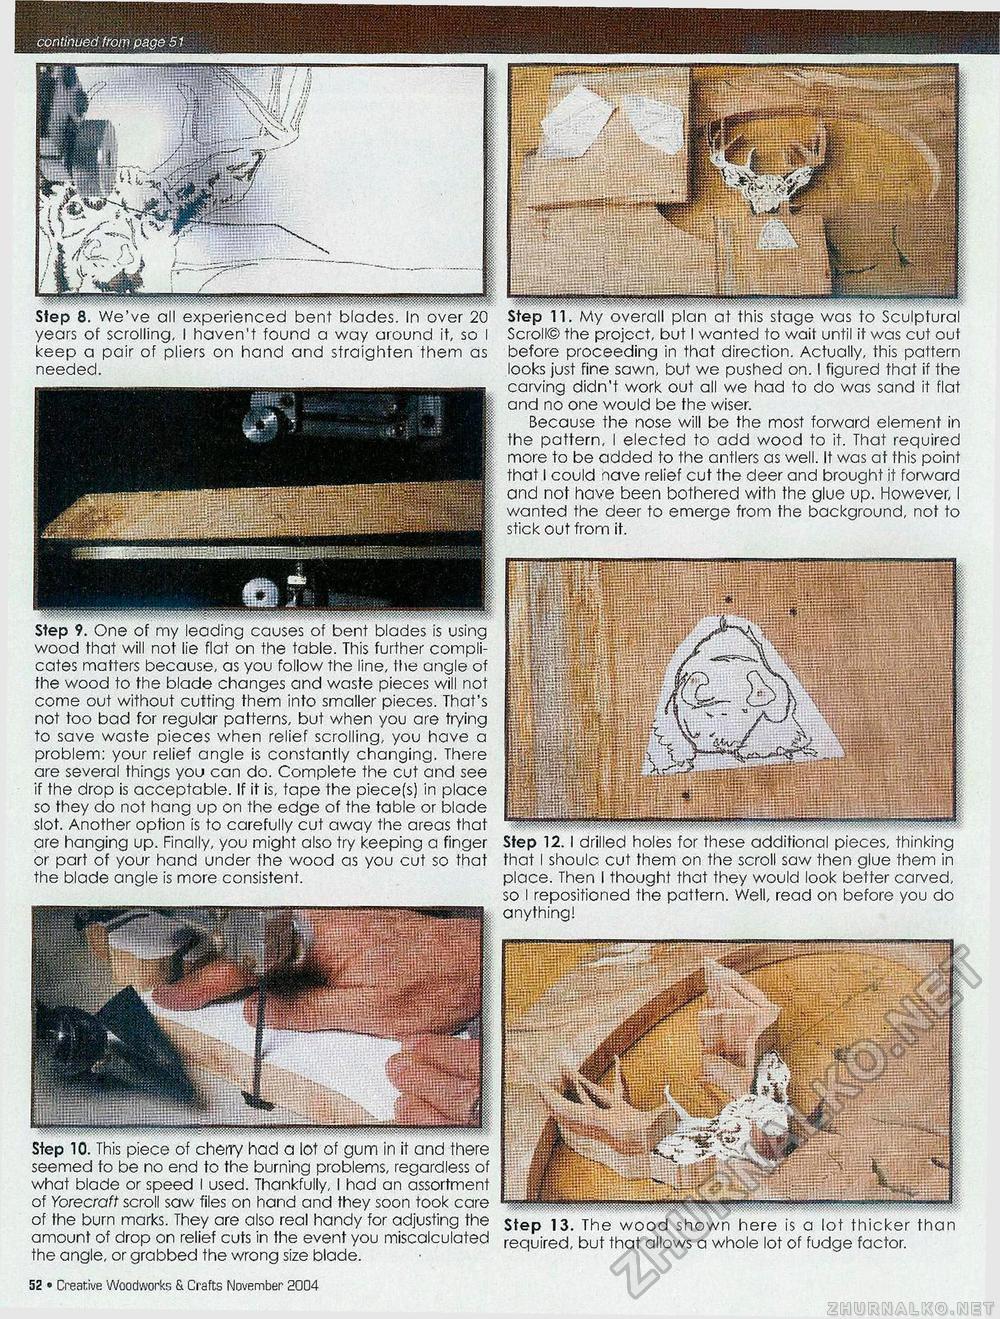
continued from page 51 Step 8. We've all experienced bent blades. In over 20 years of scrolling, I haven't found a way around it, so I keep a pair of pliers on hand and straighten them as needed. Step 11. My overall plan at this stage was to Sculptural Scroll© the projcct, but I wanted to wait until it was cut out before proceeding in that direction. Actually, this pattern looks just fine sawn, but we pushed on. I figured that if the carving didn't work out all we had to do was sand it flat and no one would be the wiser. Because the nose will be the most forward element in the pattern, I elected to add wood to it. That required more to be added to the antlers as well. It was at this point that I could nave relief cut the deer and brought it forward and not have been bothered with the glue up. However, I wanted the deer to emerge from the background, not to stick out from it. Step 9. One of my leading causes of bent blades is using wood that will not lie flat on the table. This further complicates matters because, as you follow the line, the angle of the wood to the blade changes and waste pieces will not come out without cutting them into smaller pieces. That's not too bad for regular patterns, but when you are trying to save waste pieces when relief scrolling, you have a problem: your relief angle is constantly changing. There are several things you can do. Complete the cut and see if the drop is acceptable. If it is, tape the piece(s) in place so they do not hang up on the edge of the table or blade slot. Another option is to carefully cut away the areas that are hanging up. Finally, you might also try keeping a finger or part of your hand under the wood as you cut so that the blade angle is more consistent. Step 10. This piece of cherry had a lot of gum in it and there seemed to be no end to the burning problems, regardless of what blade or speed I used. Thankfully, I had an assortment of Yorecraft scroll saw files on hand and they soon took care of the burn marks. They are also real handy for adjusting the amount of drop on relief cuts in the event you miscalculated the angle, or grabbed the wrong size blade. Step 12. I drilled holes for these additional pieces, thinking that I shoulc cut them on the scroll saw then glue them in place. Then I thought that they would look better carved, so I repositioned the pattern. Well, read on before you do anything! Step 13. The wood shown here is a lot thicker than required, but that allows a whole lot of fudge factor. 52 • Creative Woodworks S. Crafts November 2004 |


