Creative Woodworks & crafts 2004-11, страница 49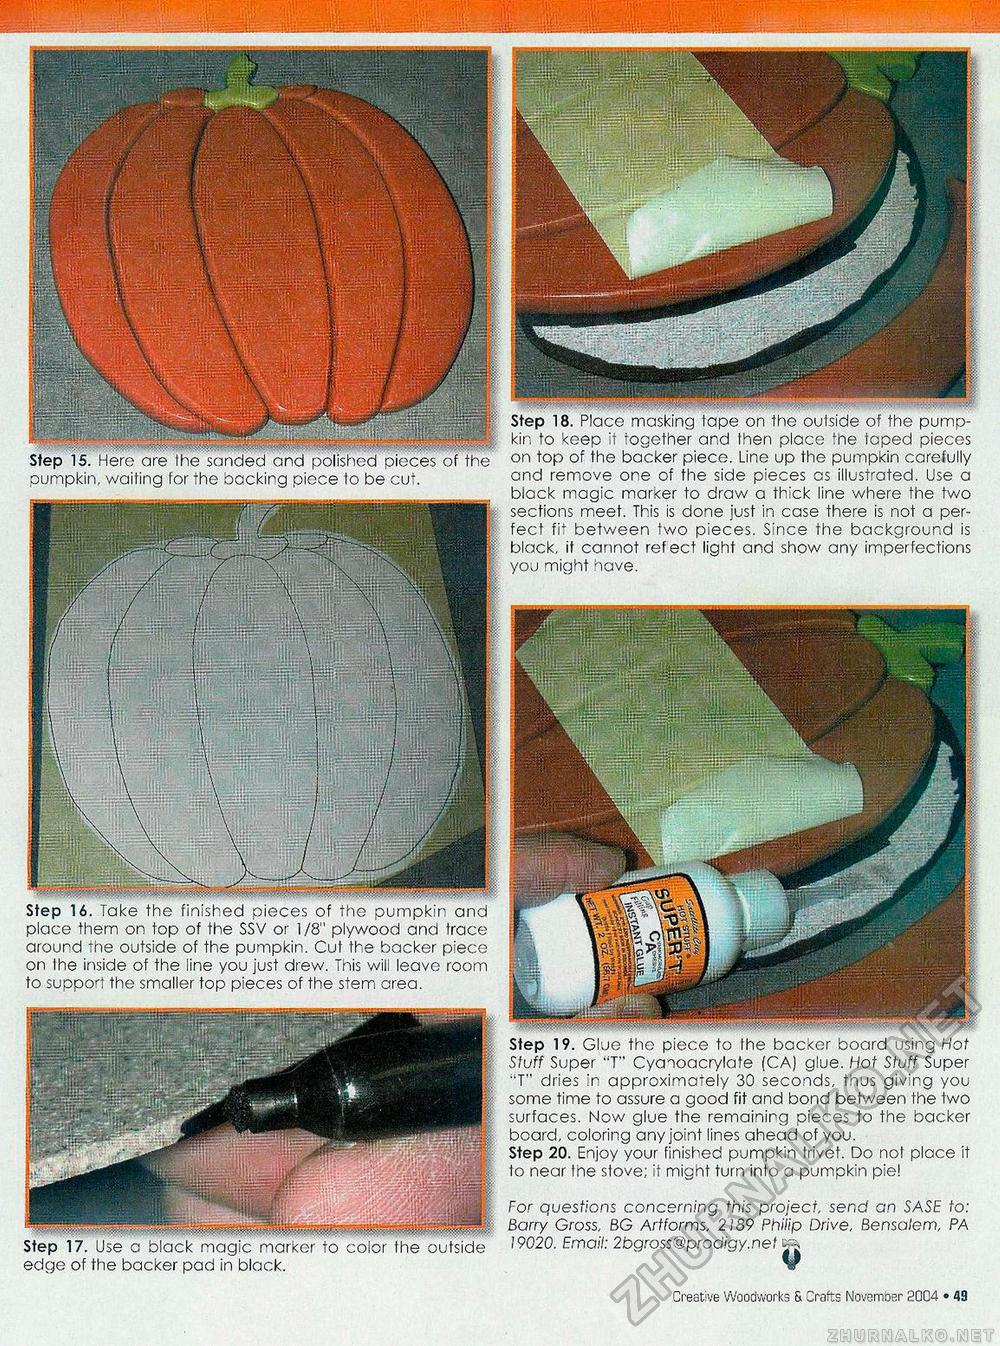
pumpkin, waiting for the backing pioce to be cut. Step 16. Take the finished pieces of the pumpkin and place them on top of the SSV or 1 /8" plywood and trace around The outside of the pumpkin. Cut the backer piece on Ihe inside of the line you just drew. This will leave room to support the smaller fop pieces of the stem area. edge of the backer pad in black. las «§ i Step 18. Place masking tape on the outside of the pumpkin to keep it together and then place "he toped pieces on top of the backer piece. Line up the pumpkin carefully and remove one of the side pieces as illustrated. Use a black magic marker to draw a thick line where the two sections meet. This is done just in case there is not a perfect fit between two pieces. Since the background is black, it cannot refect light and show any imperfections you might have. Step 19. Glue the piece to Ihe bac<er board using Hot Stuff Super "T" Cyanoacn/late (CA) glue. Hot Stuff Super "T" dries in approximately 30 seconds, thus giving you some time to assure a good fit and bond between the two surfaces. Now glue the remaining pieces to the backer board, coloring any joint lines ahead of you. Step 20. Enjoy your finished pumpkin trivet. Do nol place it to near the stove; if might turn into a pumpkin pie! For questions concerning this project, send an SASE to: Barry Gross. BG Artforms, 2189 Philip Drive, Bensalem, PA 19020. Email: 2bgross@prodigy.net - Creative Woodworks & Cr afts November 2004 • 49 |


