Creative Woodworks & crafts 2005-01, страница 27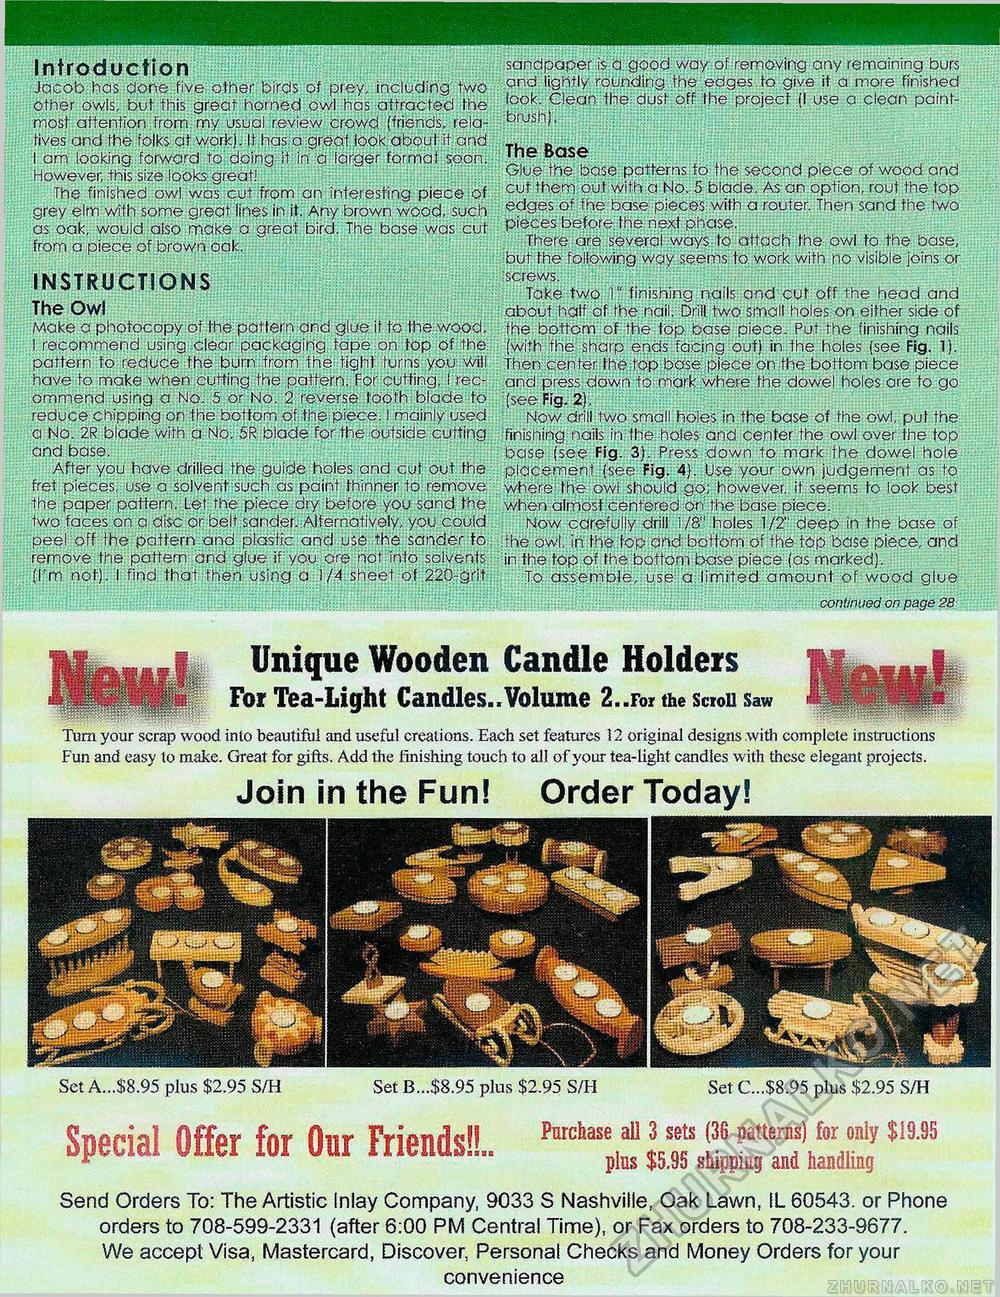
Introduction Jacob has done five other birds of prey, including two other owls, but this great horned owl has attracted the most attention from my usual review crowd (friends; relatives and the folks at work}. II has a great look about It and I am looking forward to doing it in a larger format soon. However, this size looks-great! The finished owl was cut from an interesting piece of grey elm with some great lines in it. Any brown wood, such as oak, would also make a great bird. The base was.cut from a piece of brown oak. INSTRUCTIONS The Owl Make a photocopy of the pattern and glue it to the wood. I recommend using clear packaging tape on top of the pattern to reduce the burn from the tight turns you will have to make when cutting the pattern. For cutting, I recommend using a No. 5 or No. 2 reverse tooth blade to reduce chipping on the bottom of the piece. I mainly used a No. 2R blade with a No. 5R blade for the outside cutting and base. After you have drilled the guide holes and cut out the fret pieces, use a solvent such as paint thinner to remove the paper pattern. Let the piece dry before you sand the two faces on a disc or belt sander. Alternatively; you could peel off the pattern and plasfic and use the sander to remove the pattern and gfue if you are not into solvents (I'm not). I find that then using a 1/4 sheet of 220-grit sandpaper is c good way of removing .any remaining burs and lightly rounding "the edges to give it a more finished look. Clean the dust off the project (I use a clean paintbrush), The Base Glue the base patterns to the second piece of wood and cut them out with a No. 5 blade. As an option, rout the. top edges of the base pieces with a router. Then sand the two pieces before, the next phase. There are several ways to attach the owl to the base, but fhe following way seems to work with no visible joins or screws. Take two 1" finishing nails and cut off the head and about half of the nail, Drill two small holes on either side of the bottom, of the fop base piece. Put the finishing nails (with the sharp ends facing out) in the holes (see Fig. 1). Then: center Ihe lop base piece on the bottom base piece and press down to mark where the dowel holes are to go (see Fig. 2) . Now drill two small holes in the base of the owl, put the finishing nails in the holes and center the owl over the top base (see: Fig. 3). Press down to mark the dowel hole placement (see Fig. 4). Use your own judgement as'to where the owl should go; however, it seems to look best when almost centered on the base piece. Now carefu.i.ly drill 1/8" holes 1/2" deep in the base of the owl, in the top and bottom of the top base piece, and in the top of the bottom base piece (as marked). To assemble, use a limited amount of wood glue continued on page 28 Set A...$8.95 plus $2.95 S/H Set B...$8.95 plus $2.95 S/H Set C...$8.95 plus $2.95 S/H Unique Wooden Candle Holders For Tea-Light Candles..Volume 2..For the scroll saw turn your scrap wood into beautiful and useful creations. Each set features 12 original designs with complete instructions Fun and easy lo make. Great for gifts. Add the finishing touch to all of your tea-light candies with these elegant projects. Join in the Fun! Order Today! Special Offer for Our Friends!!.. W Send Orders To: The Artistic Inlay Company, 9033 S Nashville, Oak Lawn, IL 60543. or Phone orders to 708-599-2331 (after 6:00 PM Central Time), or Fax orders to 708-233-9677. We accept Visa, Mastercard, Discover, Personal Checks and Money Orders for your convenience |


