Creative Woodworks & crafts 2005-01, страница 36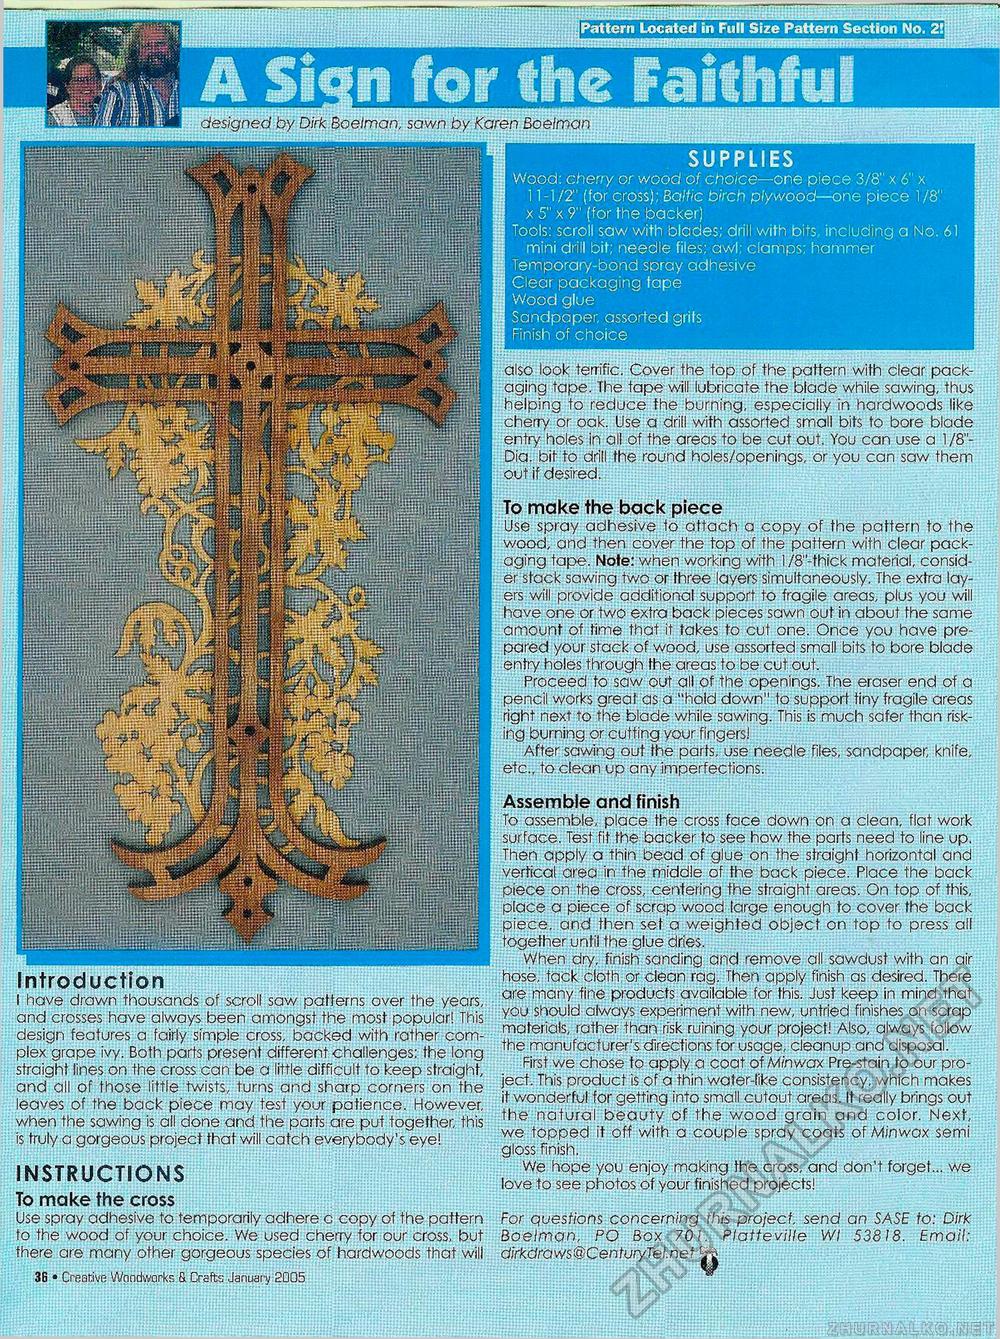
Pattern Located in Full Size Pattern Section No. 2!| SUPPLIES Wood: cherry or wood of choice—one piece 3/8" x 6" x 11-1/2" (for cross); Baltic birch plywood—one piece 1/8" x 5" x 9" (for the backer) Tools: scroll saw with blades; drill with bits, including a No. 61 mini drill bit; needle files; awl; clamps; hammer Temporary-bond spray adhesive Clear packaging tape Wood glue Sandpaper, assorted grits Finish of choice designed by Dirk Boelman, sawn by Karen Boelman also look terrific. Coyer the top of the pattern with clear packaging tape. The tape will lubricate, the blade while sawing, thus helping to reduce the burning, especially in hardwoods like cherry or oak. Use a drill with assorted small bits to bore blade entry holes in all of the areas to be cut out. You can use a 1/8"-Dia. bit'to drill the round holes/openings, or you can saw them out if desired. To make the back piece Use spray adhesive to attach a copy of the pattern to the wood, and then cover the top of the pattern with clear packaging tape. Note: when working with 1 /8"-thick material, consider stack sawing two or three layers simultaneously. The extra layers will provide additional support to fragile areas, plus you will have one or two extra back pieces sawn out in about fhe same amount of time that it takes to cut one. Once you have prepared your stack of wood, use assorted small bits to bore blade entry holes through the areas to be cut out. Proceed to saw out all of the openings. The eraser end of a pencil works great as a "hold down" to support tiny fragile areas right next to the blade while sawing. This is much safer than risking burning or cutting your fingers! After sawing out the parts, use needle files, sandpaper, knife, etc., to clean up any imperfections. Assemble and finish To assemble, place the cross face down on a clean, flat work surface. Test fit the backer to see how the parts need to line up. Then apply a thin bead of glue on the straight horizontal and vertical area in the middle of the back piece. Place the back piece on the cross, centering the straight areas. On top of this, place a piece of scrap wood large enough to cover the back piece, and then set a weighted object on top to press all together until the glue dries. When dry, finish sanding and remove all sawdust with an air hose, tack cloth, or clean rag. Then apply finish as desired. There are many fine products available for this. Just keep in mind that you should always experiment with new, untried finishes on scrap materials, rather than risk ruining your project! Also, always follow the manufacturer's directions for usage, cleanup and disposal. First we chose to apply a coat of Minwax Pre-stain to our project. This product is of a thin water-like consistency, which makes it wonderful for getting into small cutout areas. It really brings out the natural beauty of the wood grain and color. Next, we topped it off with a couple spray coats of M/nwax semi gloss finish. We hope you enjoy making the cross, and don't forget... we love to see photos of your finished projects! For questions concerning this project, send an SASE fo: Dirk Boelman, PO Box 701. Platteville Wl 53818. Email: dirkdraws@CenturyTel.nef Introduction I have drawn thousands of scroll saw patterns over the years, and crosses have always been amongst the most popular! This design features a fairly simple cross, backed with rather complex grape ivy. Both parts present different challenges: the long straight lines on the cross can be a little difficult to keep straight, and all of those little twists, turns and sharp corners on the leaves of the back piece may test your patience. However, when the sawing is all done and the parts are put together, this is truly a gorgeous project that will catch everybody's eye! INSTRUCTIONS To make the cross Use spray adhesive to temporarily adhere c copy of the pattern to the wood of your choice. We used cherry for our cross, but there are many other gorgeous species of hardwoods that will 36 • Creative Wnndworks & Crafts January 2005 |


