Creative Woodworks & crafts 2005-01, страница 70
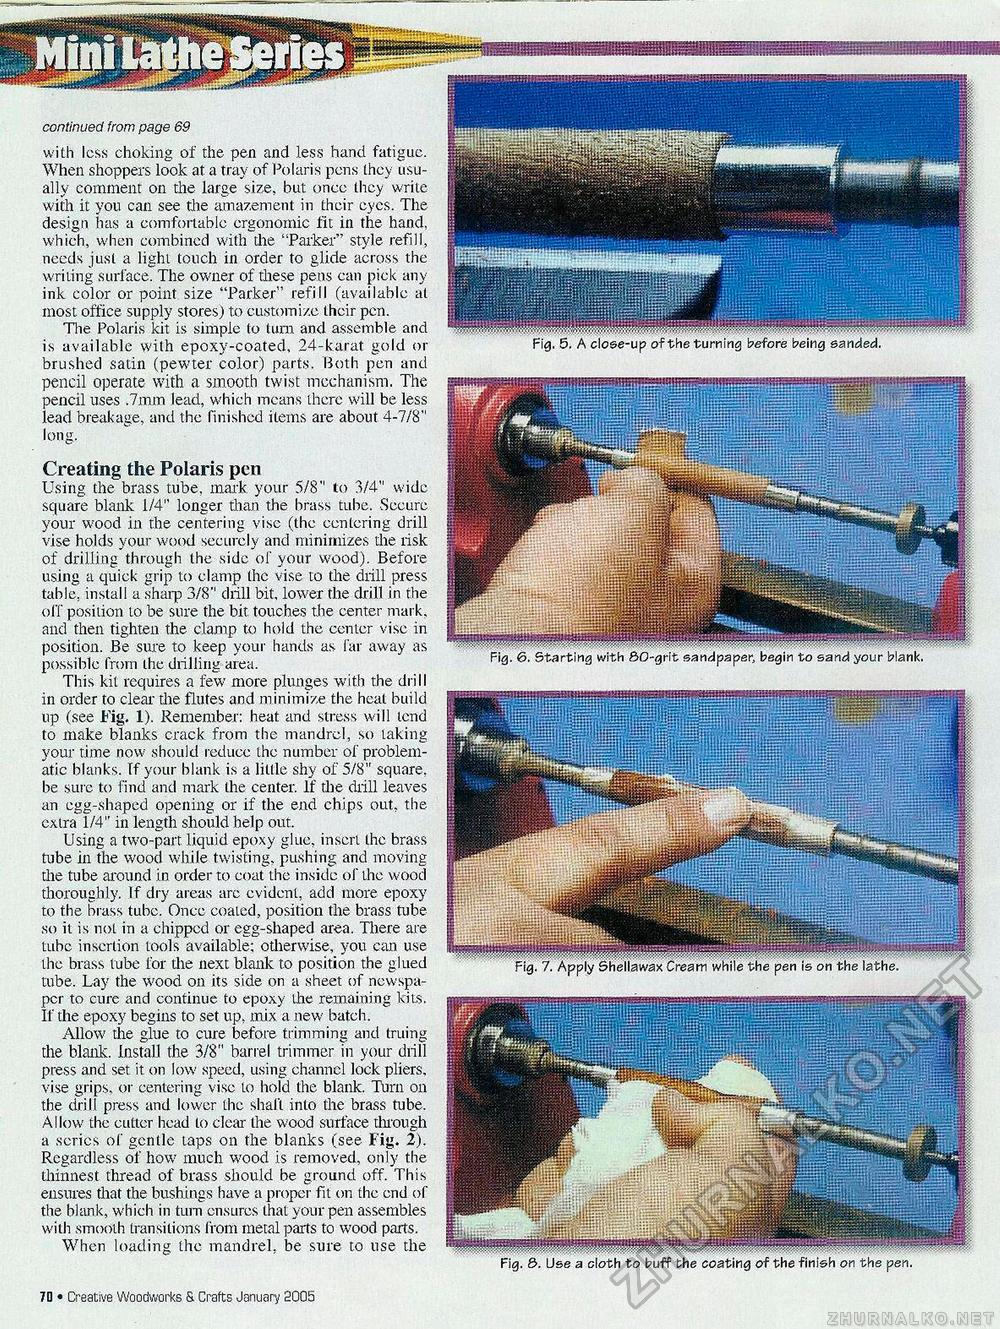
continued from page 69 with less choking of the pen and less hand fatigue. When shoppers look at a tray of Polaris pens they usually comment on the large size, but once they write with it you can see the amazement in their eyes. The design has a comfortable crgonomic fit in the hand, which, when combined with the "Parker" style refill, needs just a light touch in order to glide across the writing surface. The owner of diese pens can pick any ink color or point size "Parker'* refill (available at most office supply stores) to customize their pen. The Polaris kit is simple to turn and assemble and is available with epoxy-coated, 24-karat gold or brushed satin (pewter color) parts. Both pen and pencil operate with a smooth twist mechanism. The pencil uses .7mm lead, which means there will be less lead breakage, and the finished items are about 4-7/8" long. Creating the Polaris pen Using the brass tube, mark your 5/8" to 3/4" wide square blank 1/4" longer than the brass tube. Secure your wood in the centering vise (the centering drill vise holds your wood securely and minimizes the risk of drilling through the side of your wood). Before using a quick grip to clamp the vise to the drill press table, install a sharp 3/8" drill bit, lower the drill in the off position to be sure the bit. touches the center mark, and then tighten the clamp to hold the center vise in position. Be sure to keep your hands as far away as possible from the drilling area. This kit requires a few more plunges with the drill in order to clear the flutes and minimize the heat build up (see Fig. 1). Remember: heat, and stress will tend to make blanks crack from the mandrel, so taking your time now should reduce the number of problematic blanks. If your blank is a little shy of 5/8" square, be sure to find and mark the center. If the drill leaves an egg-shaped opening or if the end chips out, the extra 1/4" in length should help out. Using a two-part liquid epoxy glue, insert the brass tube in the wood while twisting, pushing and moving the tube around in order to coat the inside of the wood thoroughly. If dry areas are evident, add more epoxy to the brass tube. Once coaled, position the brass tube so it is not in a chipped or egg-shaped area. There are tube insertion tools available; otherwise, you can use ihe brass tube for the next blank to position the glued tube. Lay the wood on its side on a sheet of newspaper to curc and continue to epoxy the remaining kits. If the epoxy begins to set up, mix a new batch. Allow tile glue to cure before trimming and truing the blank. Install the 3/8" barrel trimmer in your drill press and set. it on low speed, using channel lock pliers, vise grips, or centering vise to hold the blank. Turn on the drill press and lower the shaft into the brass tube. Allow the cutter head to clear the wood surface through a series of gentle taps on the blanks (see Fig. 2). Regardless of how much wood is removed, only the thinnest thread of brass should be ground off. This ensures that the bushings have a proper fit on the end of the blank, which in turn ensures that your pen assembles with smooth transitions from metal parts to wood parts. When loading the mandrel, be sure to use the Fig. 5. A close-up of the turning before being sanded. Fig. 6. Starting with SO-grit sandpaper, begin to sand your blank. Fig. 7. Apply 5hellawax Cream while the pen is on the lathe. Fig. 8>. Use a cloth to buff the coating of the finish on the pen. 70 • Creative Woodworks & Crafts January 9005 |


