Creative Woodworks & crafts 2005-01, страница 71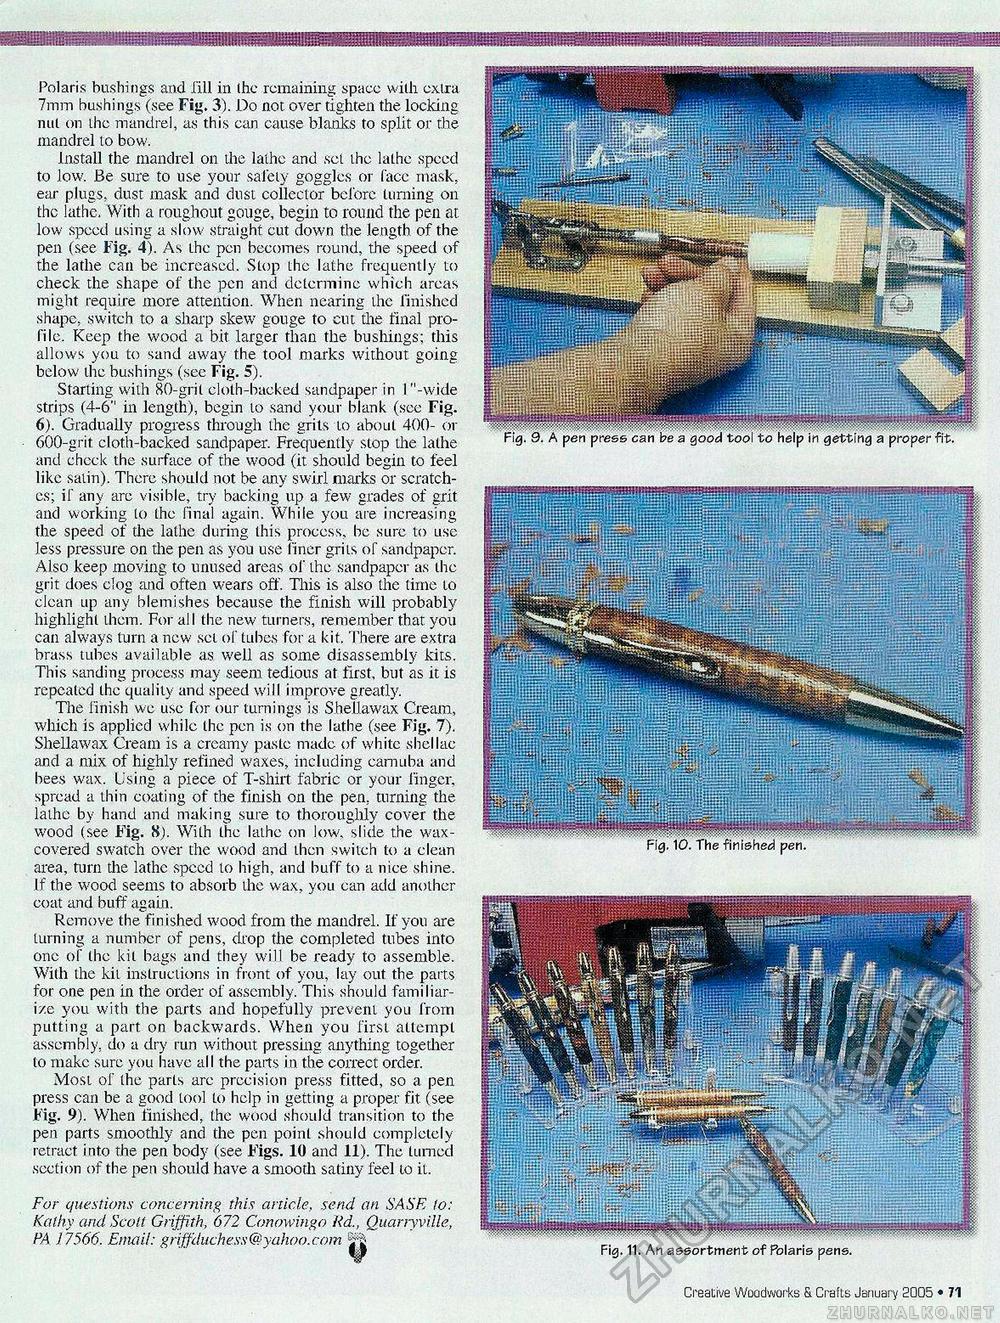
Polaris bushings and fill in the remaining space with extra 7mm bushings (see Fig. 3). Do not over tighten the locking nut on the mandrel, as this can cause blanks to split or the mandrel to bow. Install the mandrel on the lathe and set the lathe speed to low. Be sure to use your safety goggles or face mask, ear plugs, dust mask and dust collector before turning on the lathe. With a roughout gouge, begin to round the pen at low speed using a slow straight cut down the length of the pen (see Fig. 4). As the pen becomes round, the speed of the lathe can be increased. Stop the lathe frequently to check the shape of the pen and determine which areas might require more attention. When nearing the finished shape, switch to a sharp skew gouge to cut die final profile. Keep the wood a bit larger than the bushings; this allows you to sand away the tool marks without going below the bushings (sec Fig. 5). Starting with 80-grit cloth-backed sandpaper in I "-wide strips (4-6" in length), begin to sand your blank (see Fig. 6). Gradually progress through the grits to about 400- or 600-grit. cloth-backed sandpaper. Frequently slop the lathe and check the surface of rbe wood (it should begin to feel like satin). There should not be any swirl marks or scratches; if any are visible, try backing up a few grades of grit and working (o the final again. While you are increasing the speed of the lathe during this process, be sure to use less pressure on the pen as you use finer grits of sandpaper. Also keep moving to unused areas of the sandpaper as the grit does clog and often wears off. This is also the time to clean up any blemishes because the finish will probably highlight them. For all the new turners, remember that you can always turn a new set of tubes for a kit. There are extra brass tubes available as well as some disassembly kits. This sanding process may seem tedious at first, but as it is repeated the quality and speed will improve greatly. The finish we use for our turnings is Shellawax Cream, which is applied while the pen is on the lathe (see Fig. 7). Shellawax Cream is a creamy paste made of white shellac and a mix of highly refined waxes, including camuba and bees wax. Using a piece of T-shirt fabric or your finger, spread a thin coating of the finish on the pen. turning the lathe by hand and making sure to thoroughly cover the wood ( see Fig. 8). With the lathe on low, slide the wax-covered swatch over the wood and then switch to a clean area, turn the lathe speed to high, and buff to a nice shine, if the wood seems to absorb the wax, you can add another coat and buff again. Remove the finished wood from the mandrel. If you are turning a number of pens, drop the completed tubes into one of the kit bags and they will be ready to assemble. With the kit instructions in front of you, lay out the parts for one pen in the order of assembly. This should familiarize you with the parts and hopefully prevent you from putting a part on backwards. When you first attempt assembly, do a dry run without pressing anything together to make sure you have all the parts in the correct order. Most of the parts are precision press fitted, so a pen press can be a good tool to help in getting a proper fit (see Fig. 9). When finished, (he wood should transition to the pen parts smoothly and the pen point should completely retract into the pen body (see Figs. 10 and 11). The turned section of the pen should have a smooth satiny feel to it. For questions concerning this article, send an SASR to: Kalhy and Scott Griffith, 672 Conowingo Rd., Quarryville, PA J 7566. Email: griffduchess@yahoo.com i-g 48 • Creative Woodworks S. Crafts January 2005 Fig. 9. A pen press can be a good tool to help in getting a proper fit. Fig. 10. the finished pen, Fig. 11. An assortment of Polaris pens. |


