Creative Woodworks & crafts 2005-03, страница 27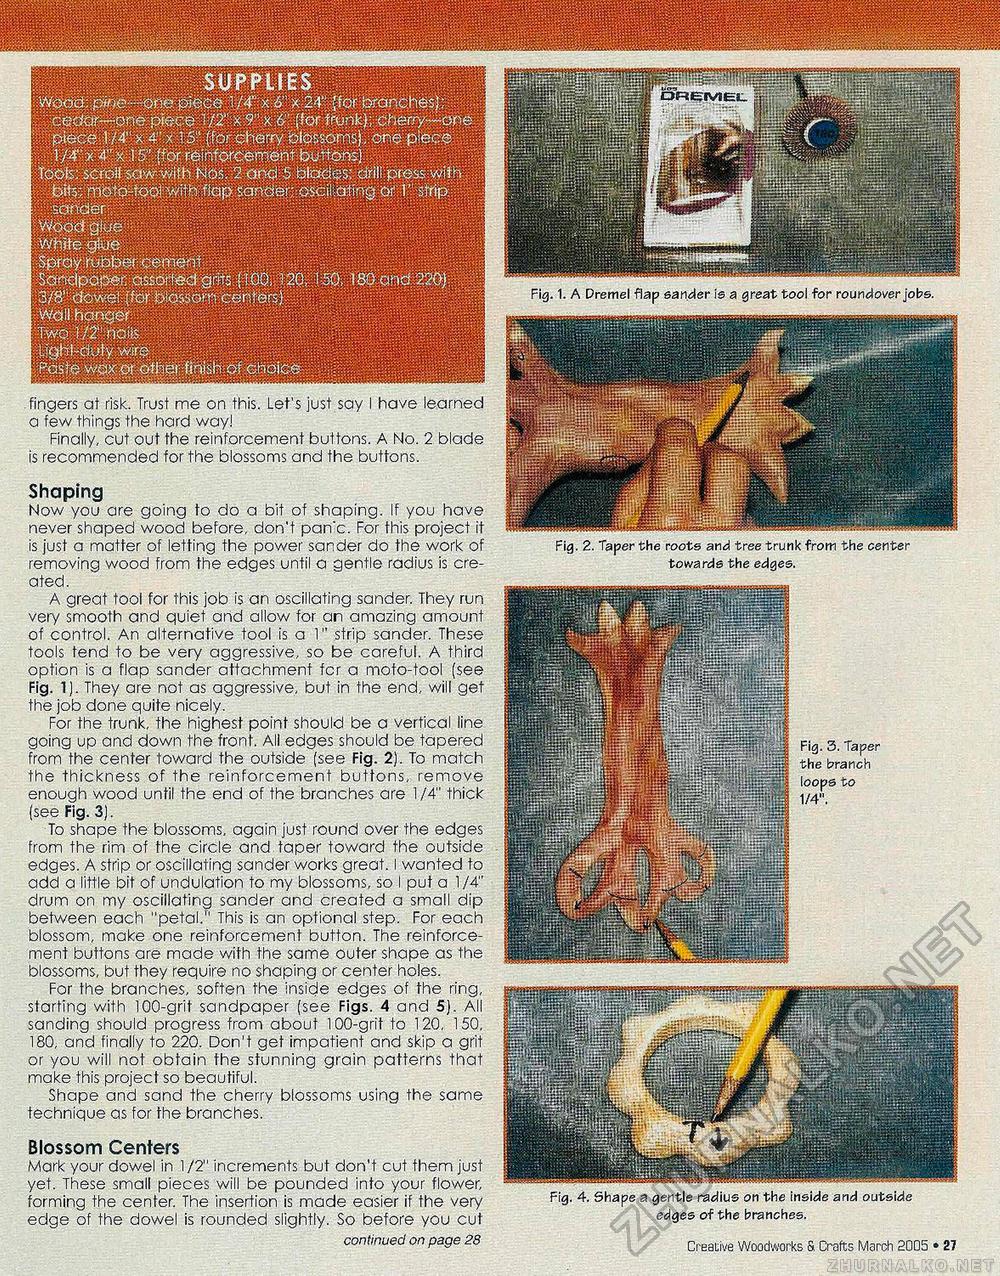
Ij§r SUPPLIES Wood: pine......one piece 1/4" x 6" x 24" (for branches); 1 'i^Sp l /4" xi.4' x Wmmf sfi&ray §i&sorraJ, one £t©fb 1/4" x ■■1" x 15" (for reinforcement buttons) Took: scroll sa'Ar™ih ||§pi or^ci 5 btdggs; ciril;:ptesswth ^m^^PiwHHHMniiK sander - i , ' "if ' " ! ' H fcis^R^bWpc n <?i ipHSHililil iT^-dufywre ^ fingers at risk. Trust me on this. Let's just say I have learned a few things the hard way! Finally, cut out the reinforcement buttons. A No. 2 blade is recommended for the blossoms and the buttons. Shaping Now you are going to do a bit of shaping. If you have never shaped wood before, don't pan'c. For this project it is just a matter of letting the power sander do the work of removing wood from the edges until a gentle radius is created. A great tool for this job is an oscillating sander. They run very smooth and quiet and allow for an amazing amount of control. An alternative tool is a 1" strip sander. These tools tend to be very aggressive, so be careful. A third option is a flap sander attachment for a moto-tool (see Fig. 1). They are not as aggressive, but in the end, will get the job done quite nicely. For the trunk, the highest point should be a vertical line going up and down the front. All edges should be tapered from the center toward the outside (see Fig. 2). To match the thickness of the reinforcement buttons, remove enough wood until the end of the branches are 1 /4" thick (see Fig. 3). To shape the blossoms, again just round over the edges from the rim of the circle and taper toward the outside edges. A strip or oscillating sander works great. I wanted to add a little bit of undulation to my blossoms, so I put a 1/4" drum on my oscillating sander and created a small dip between each "petal." This is an optional step. For each blossom, make one reinforcement button. The reinforcement buttons are made with the same outer shape as the blossoms, but they require no shaping or center holes. For the branches, soften the inside edges of the ring, starling with 100-grit sandpaper (see Figs. 4 and 5). All sanding should progress from about 100-grit to 120, 150. 180, and finally to 220. Don't get impatient and skip a grit or you will not obtain the stunning grain patterns that make this project so beautiful. Shape and sand the cherry blossoms using the same technique as for the branches. Blossom Centers Mark your dowel in 1 /2" increments but don't cut them just yet. These small pieces will be pounded into your flower, forming the center. The insertion is made easier if the very edge of the dowel is rounded slightly. So before you cut continued on page 28 Fig. 1. A Dremel flap sander is a great tool for roundover jobs. Fig. 2. Taper the roots and tree trunk from the center towards the edges. Fig. 4. Shape a gentle radius on the inside and outside edges of the branches. Creative Woodworks a Crafts March 2005 • 27 |


