Creative Woodworks & crafts 2005-03, страница 25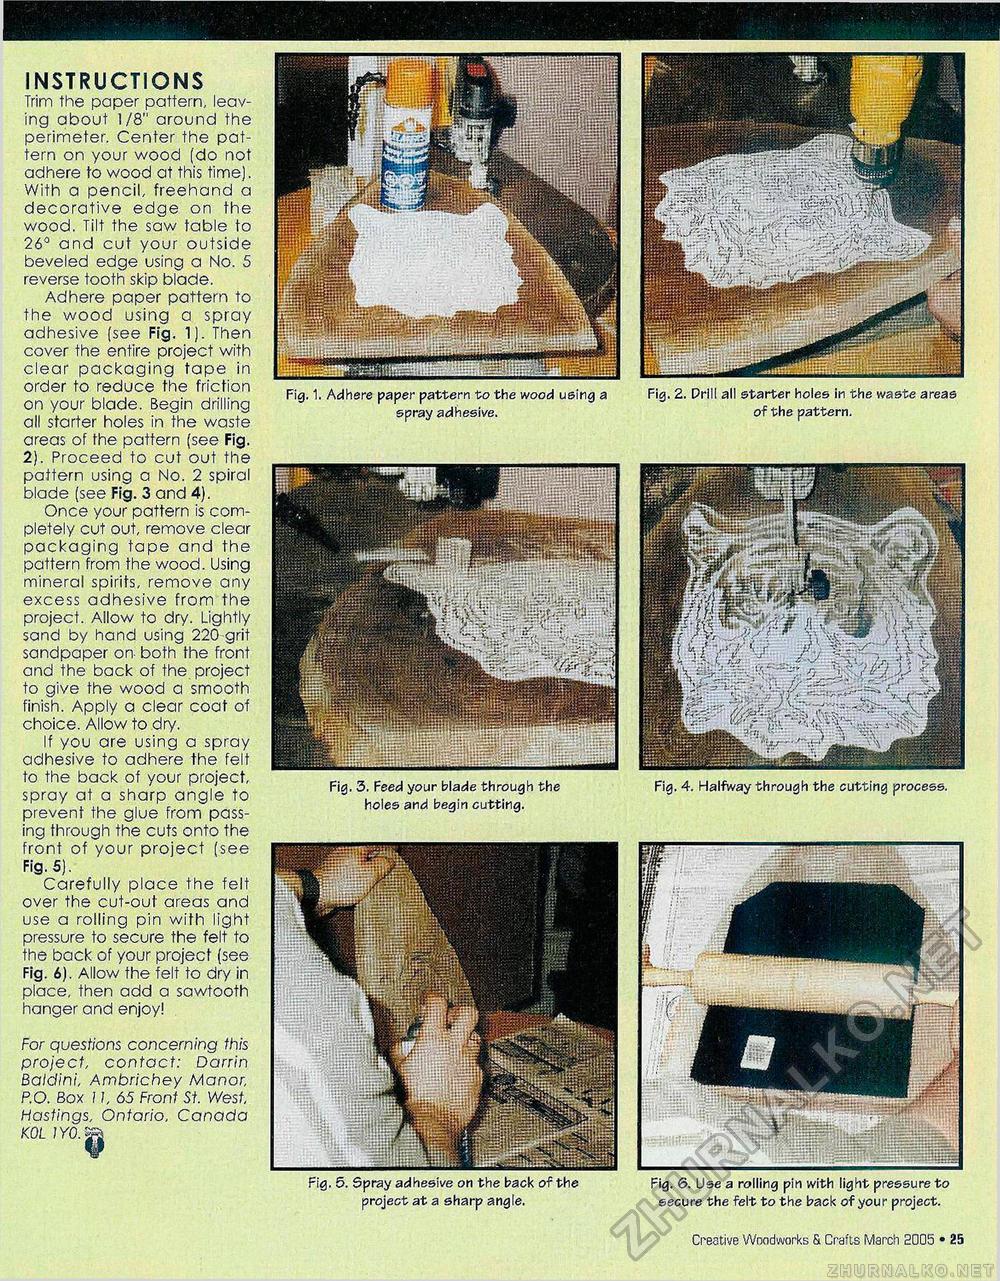
INSTRUCTIONS Trim the paper pattern, leaving about 1/8" around the perimeter. Center the pattern on your wood (do not adhere to wood at this time). With a pencil freehand a decorative edge on the wood. Tilt the saw table to 26° and cut your outside beveled edge using a No. 5 reverse tooth skip blade. Adhere paper pattern to the wood using a spray adhesive (see Fig. 1). Then cover the entire project with clear packaging tape in order to reduce the friction on your blade. Begin drilling all starter holes in the waste areas of the pattern (see Fig. 2). Proceed to cut out the pattern using a No. 2 spiral blade (see Fig. 3 and 4). Once your pattern is completely cut out, remove clear packaging tape and the pattern from the wood. Using mineral spirits, remove any excess adhesive from the project. Allow to dry. Lightly sand by hand using 220 grit sandpaper on- both the front and the back of the project to give the wood a smooth finish. Apply a clear coat of choice. Allow to dry. If you are using a spray adhesive to adhere the felt to the back of your project, spray at a sharp angle to prevent the glue from passing through the cuts onto the front of your project (see Fig. 5). Carefully place the felt over the cut-out areas and use a rolling pin with light pressure to secure the felt to the back of your project (see Fig. 6). Allow the felt to dry in place, then add a sawtooth hanger and enjoy! For questions concerning this project, contact: Darrin Baidini, Ambrichey Manor, P.O. Box 11, 65 Front St. West, Hastings, Ontario, Canada KOL IYO.%% Fig. 6. Use a rolling pin with light pressure to secure the felt to the back of your project. Fig. 1. Adhere paper pattern to the wood using a spray adhesive. Fig. 3. Feed your blade through the holes and begin cutting. Fig. 5. Spray adhesive on the back of the project at a sharp angle. Fig. 4. Halfway through the cutting process. Fig. 2. Drill all starter holes in the waste areas of the pattern. Creative Woodworks S Crafts March 2005 • 25 |


