Creative Woodworks & crafts 2005-03, страница 22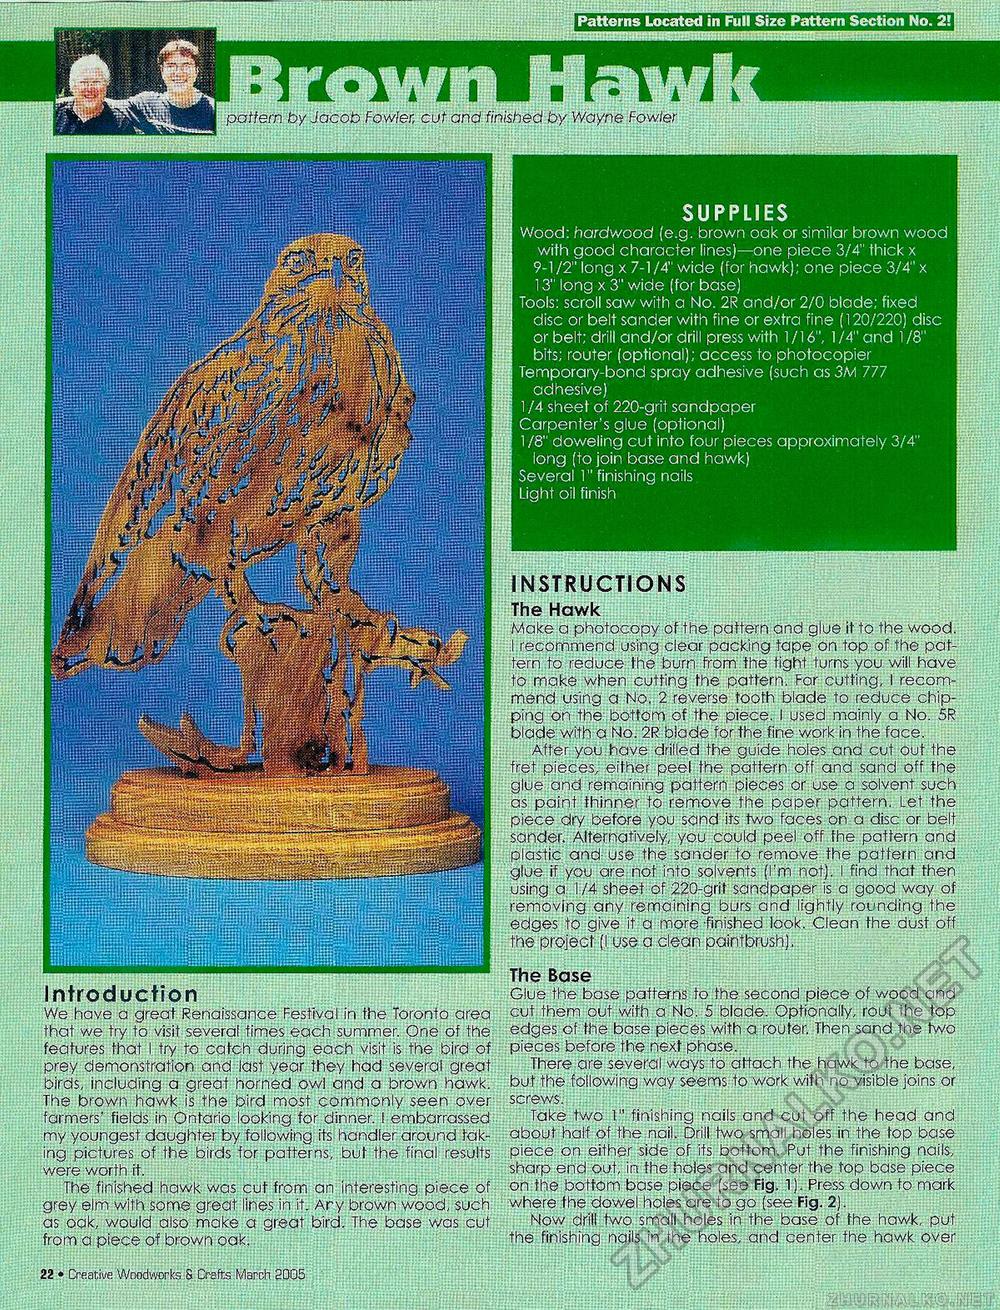
Patterns Located in Full Size Pattern Section No. 2! SUPPLIES Wood: hardwood (e.g. brown oak or similar brown wood with good character lines)—one piece 3/4" thick x 9-1/2" long x 7-1/4" wide (for hawk); one piece 3/4" x 13" long x 3" wide (for base) Tools: scroll saw with a No. 2R and/or 2/0 blade; fixed disc or belt sander with fine or extra fine (120/220) disc or belt; drill and/or drill press with 1/16", 1 /4" and 1 /8" bits; router (optional); access to photocopier Temporary-bond spray adhesive (such as 3M 777 adhesive) 1/4 sheet of 220-grit sandpaper Carpenter's glue (optional) 1/8" doweling cut into four pieces approximately 3/4" long (to join base and hawk) Several 1" finishing nails Light oil finish pattern by Jacob Fowler, cut and finished by Wayne Fowler 1111 INSTRUCTIONS |i|s|| The Hawk l||i||9 Make a photocopy of the pattern and glue it to the wood. Piilll I recommend using clear packing tape on top of the pat- (|f|§||j tern to reduce the burn from the tight turns you will have |§|||||| to make when cutting the pattern. For cutting, I recom- |||||lj mend using a No. 2 reverse tooth blade to reduce chip-ping on the bottom of the piece. I used mainly a No. 5R blade with a No. 2R blade for the fine work in the face. IlljiPl After you.have drilled the guide holes and cut out the 11111 fret pieces, either peel the pattern off and sand off the ||||||1| glue and remaining pattern pieces or use a solvent such WBSm as paint thinner to remove the paper pattern. Let the piece dry before you sand its two faces on a disc or belt SWM sander. Alternatively, you could peel off the pattern and .'^Sll] plastic and- use the Sander to remove the pattern and glue if you are not into solvents (I'm not). I find that then Sijila using a i /4 sheet of 220-grit sandpaper is a good way of Slfjti| removing any remaining burs and lightly rounding the |pill| edges to give it a more -finished look. Clean the dust off fpSll the project (I use a clean paintbrush). ™ The Base Introduction Glue the base patterns to the second piece of wood and We have a great Renaissance Festival in the Toronto area cut them out with a No. 5 blade. Optionally, rout the top that we try to visit several times each summer. One of the edges of the base pieces with a router. Then sand the two features that I try to catch during each visit is the bird of pieces before the next phase. prey demonstration and last year they had several great There are several ways to attach the hawk to the base, birds, including a great horned owl and a brown hawk, but the following way seems to work with no visible joins or The brown hawk is the bird most commonly seen over screws. farmers' fields in Ontario looking for dinner. I embarrassed Take two 1" finishing nails and cut off the head and my youngest daughter by following its handler around tak- about half of the nail. Drill two small holes in the top base ing pictures of the birds for patterns, but the final results piece on either side of its bottom. Put the finishing nails, were worth it. sharp end out, in the holes and center the top base piece The finished hawk was cut from an interesting piece of on the bottom base piece (see Fig, 1). Press down to mark grey elm with some great lines in it. Ary brown wood, such where the dowel holes are to go [see Fig. 2). as oak, would also make a great bird. The base was cut Now drill two small holes in the base of the hawk, put from a piece of brown oak. the finishing nails in the holes, and center the hawk over 22 • Creative Woodworks S. Crafts March |


