Creative Woodworks & crafts 2005-03, страница 20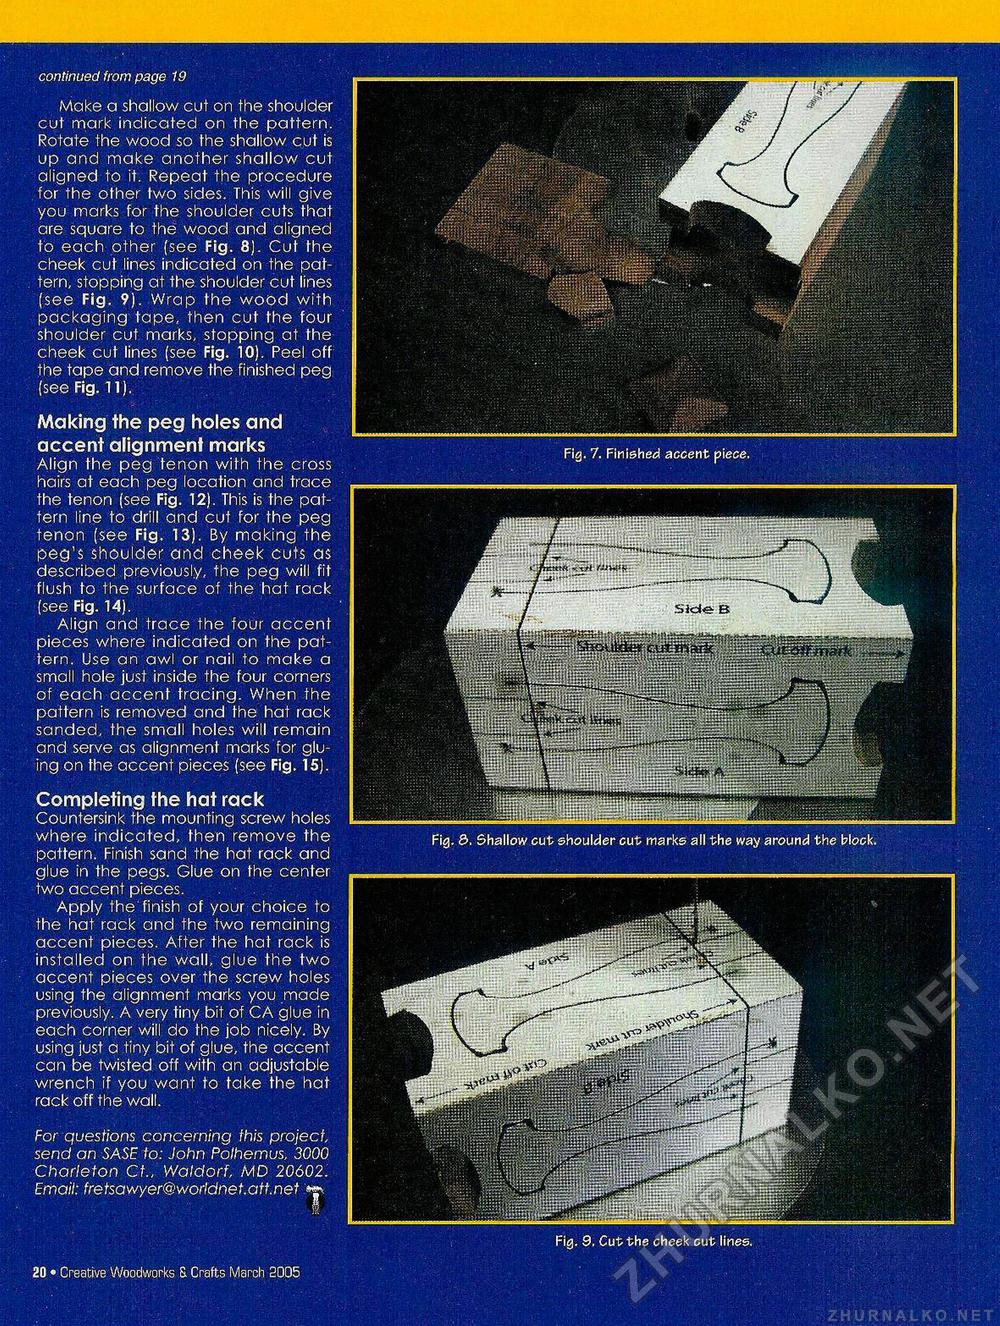
continued from page 19 Make a shallow cut on the shoulder cut mark indicated on the pattern. Rotate the wood so the shallow cut is up and make another shallow cut aligned to it. Repeat the procedure for the other two sides. This will give you marks for the shoulder cuts that are square to the wood and aligned to each other (see Fig. 8). Cut the cheek cut lines indicated on the pattern, stopping at the shoulder cut lines (see Fig. 9). Wrap the wood with packaging tape, then cut the four shoulder cut marks, stopping at the cheek cut lines (see Fig. 10). Peel off the tape and remove the finished peg (see Fig. 11). Making the peg holes and accent alignment marks Align the peg tenon with the cross hairs at each peg location and trace the tenon (see Fig. 12). This is the pattern line to drill and cut for the peg tenon (see Fig. 13). By making the peg's shoulder and cheek cuts as described previously, the peg will fit flush to the surface of the hat rack (see Fig. 14). Align and trace the four accent pieces where indicated on the pattern. Use an awl or nail to make a small hole just inside the four corners of each accent tracing. When the pattern is removed and the hat rack sanded, the small holes will remain and serve as alignment marks for gluing on the accent pieces (see Fig. 15). Completing the hat rack Countersink the mounting screw holes where indicated, then remove the pattern. Finish sand the hat rack and glue in the pegs. Glue on the center two accent pieces. Apply the finish of your choice to the hat rack and the two remaining accent pieces. After the hat rack is installed on the wall, glue the two accent pieces over the screw holes using the alignment marks you made previously. A very tiny bit of CA glue in each corner will do the job nicely. By using just a tiny bit of glue, the accent can be twisted off with an adjustable wrench if you want to take the hat rack off the wall. Fig. 7. Finished accent piece. Fig. &. Shallow cut shoulder cut marks all the way around the block. For questions concerning this project, send an SASE to: John Polhemus, 3000 Charleton Cf„ Waldorf, MD 20602. Email: fretsawyer@worldnet.att.net Fig. 9, Cut the cheek cut lines. 20 • Creative Woodworks & Crafts March 2005 |


