Creative Woodworks & crafts 2005-03, страница 67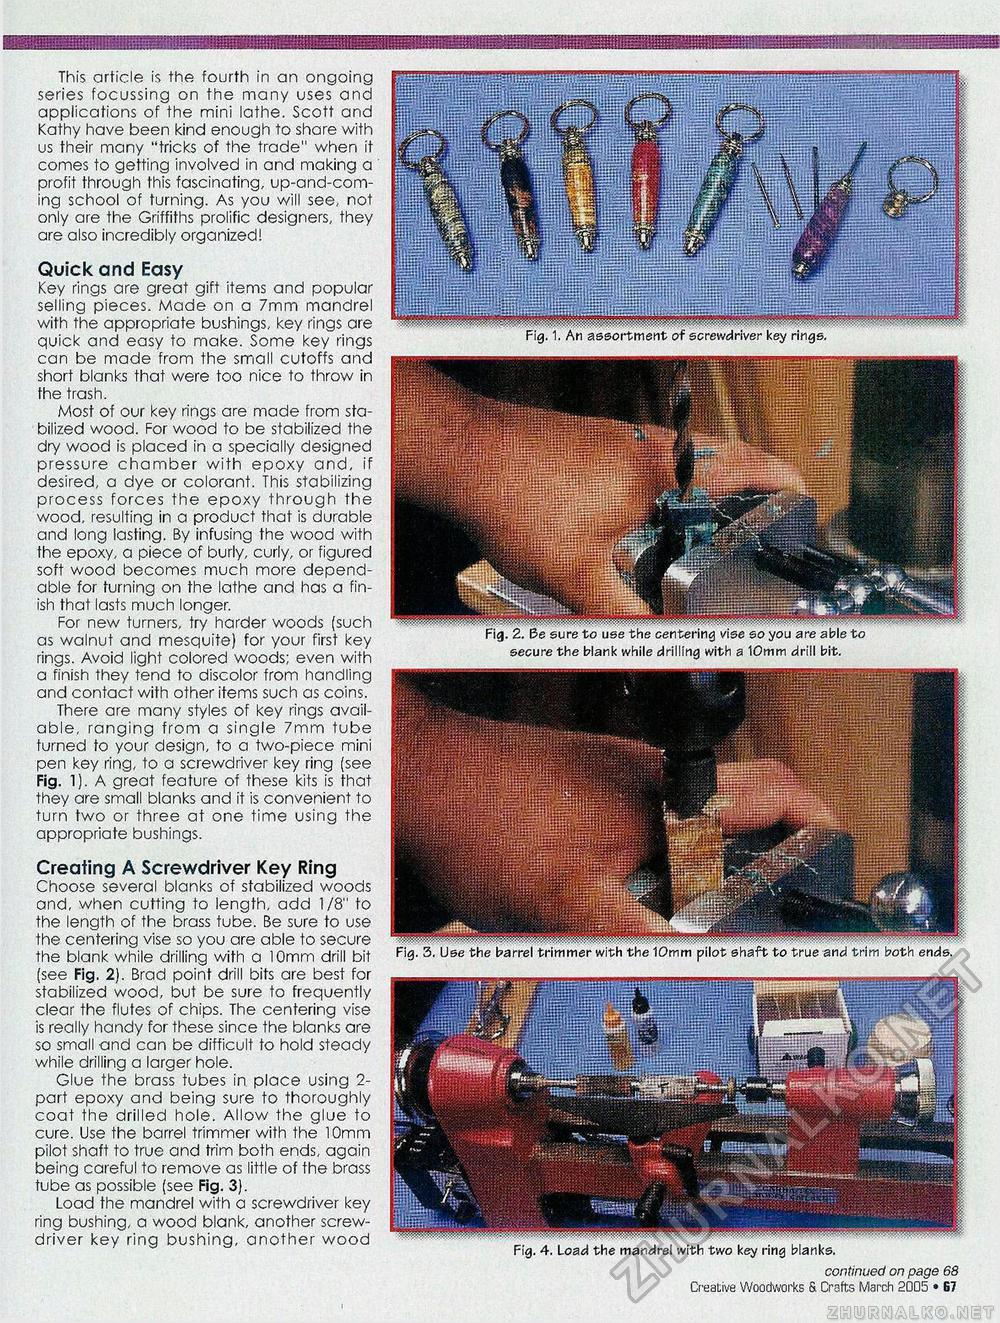
[nlg^'s : J Fig. 1. An assortment of screwdriver key rings. This article is the fourth in an ongoing series focussing on the many uses and applications of the mini lathe. Scott and Kathy have been kind enough to share with us their many "tricks of the trade" when it comes to getting involved in and making a profit through this fascinating, up-and-com-ing school of turning. As you will see, not only are the Griffiths prolific designers, they are also incredibly organized! Quick and Easy Key rings are great gift items and popular selling pieces. Made on a 7mm mandrel with the appropriate bushings, key rings are quick and easy to make. Some key rings can be made from the small cutoffs and short blanks that were too nice to throw in the trash. Most of our key rings are made from stabilized wood. For wood to be stabilized the dry wood is placed in a specially designed pressure chamber with epoxy and, if desired, a dye or colorant. This stabilizing process forces the epoxy through the wood, resulting in a product that is durable and long lasting. By infusing the wood with the epoxy, a piece of burly, curly, or figured soft wood becomes much more dependable for turning on the lathe and has a finish that lasts much longer. For new turners, try harder woods (such as walnut and mesquite) for your first key rings. Avoid light colored woods; even with a finish they tend to discolor from handling and contact with other items such as coins. There are many styles of key rings available, ranging from a single 7mm tube turned to your design, to a two-piece mini pen key ring, to a screwdriver key ring (see Fig. 1). A great feature of these kits is that they are small blanks and it is convenient to turn two or three at one time using the appropriate bushings. Creating A Screwdriver Key Ring Choose several blanks of stabilized woods and, when cutting to length, add 1/8" to the length of the brass tube. Be sure to use the centering vise so you are able to secure the blank while drilling with a 10mm drill bit (see Fig. 2). Brad point drill bits are best for stabilized wood, but be sure to frequently clear the flutes of chips. The centering vise is really handy for these since the blanks are so small and can be difficult to hold steady while drilling a larger hole. Glue the brass tubes in, place using 2-part epoxy and being sure to thoroughly coat the drilled hole. Allow the glue to cure. Use the barrel trimmer with the 10mm pilot shaft to true and trim both ends, again being careful to remove as little of the brass tube as possible (see Fig. 3). Load the mandrel with a screwdriver key ring bushing, a wood blank, another screwdriver key ring bushing, another wood 4. Load the mandrel with two key ring blanks. continued on page 68 Creative Woodworks & Crafts March 2005 • 67 Fig. 2. Be sure to use the centering vise so you are able to secure the blank while drilling with a 10mm drill bit. |


