Creative Woodworks & crafts 2005-03, страница 68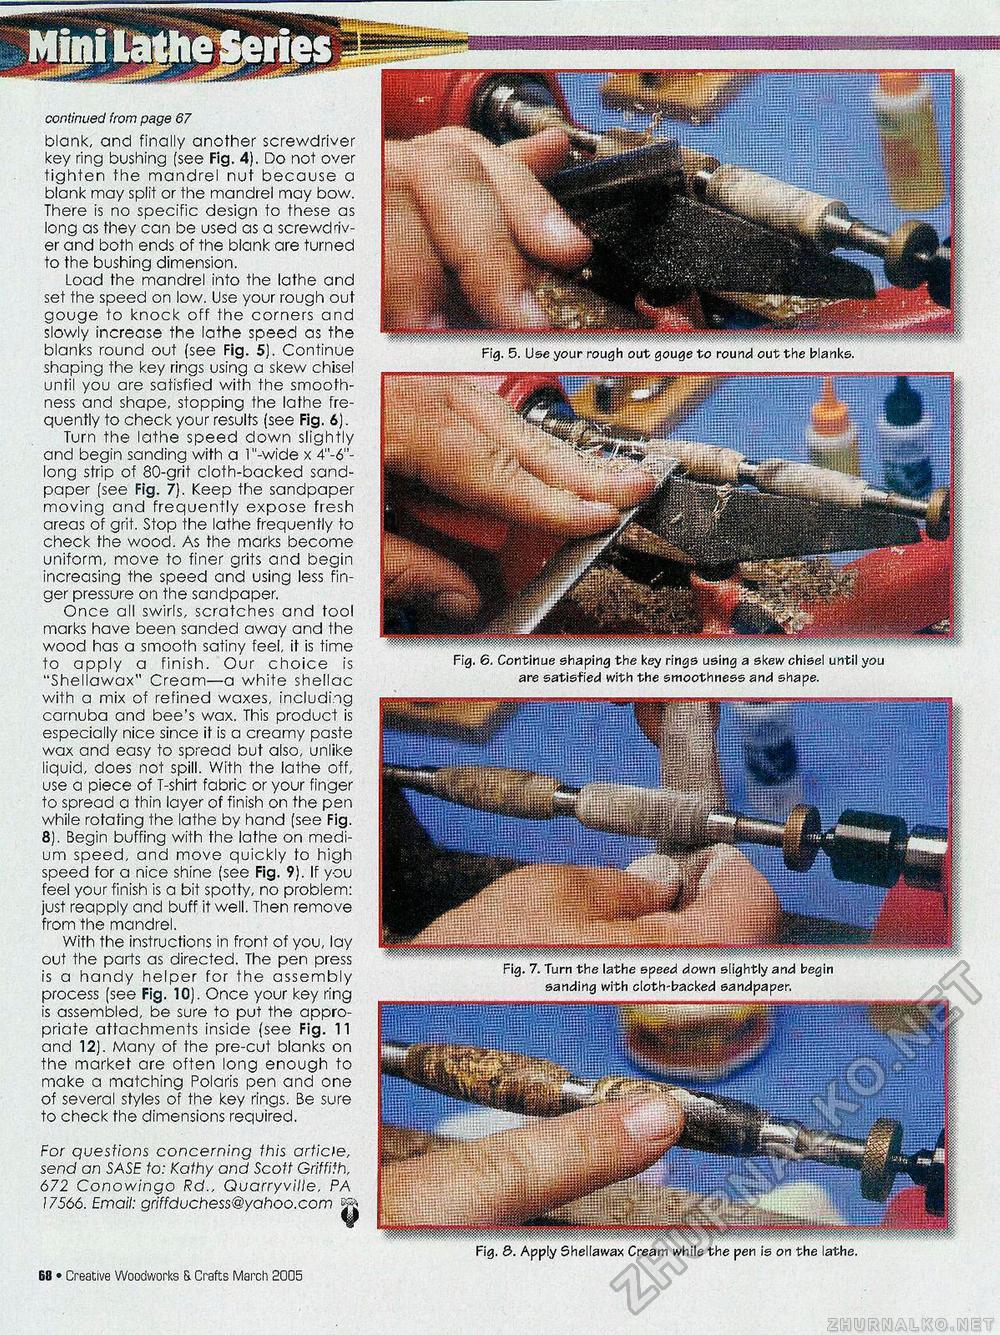
For questions concerning this arficte, send an SASE to: Kathy and Scott Griffith, 672 Conowingo Rd., Quarryville, PA 17566. Email: griffduchess@yahoo.com || w Fig. 6. Continue shaping the key rings using a skew chisel until you are satisfied with the smoothness and shape. blonk, and finally another screwdriver key ring bushing (see Fig. 4). Do not over tighten the mandrel nut because a blank may split or the mandrel may bow. There is no specific design to these as long as they can be used as a screwdriver and both ends of the blank are turned to the bushing dimension. Load the mandrel into the lathe and set the speed on low. Use your rough out gouge to knock off the corners and slowly increase the lathe speed as the blanks round out (see Fig. 5). Continue shaping the key rings using a skew chisel until you are satisfied with the smoothness and shape, stopping the lathe frequently to check your results (see Fig. 6). Turn the lathe speed down slightly and begin sanding with a l"-wide x 4"-6"-long strip of 80-grit cloth-backed sandpaper (see Fig. 7). Keep the sandpaper moving and frequently expose fresh areas of grit. Stop the lathe frequently to check the wood. As the marks become uniform, move to finer grits and begin increasing the speed and using less finger pressure on the sandpaper. Once all swirls, scratches and tool marks have been sanded away and the wood has a smooth satiny feel, it is time to apply a finish. Our choice is "Shellawax" Cream—a white shellac with a mix of refined waxes, including carnuba and bee's wax. This product is especially nice since it is a creamy paste wax and easy to spread but also, unlike liquid, does not spill. With the lathe off, use a piece of T-shirt fabric or your finger to spread a thin layer of finish on the pen while rotating the lathe by hand (see Fig. 8). Begin buffing with the lathe on medium speed, and move quickly to high speed for a nice shine (see Fig. 9). If you feel your finish is a bit spotty, no problem: just reapply and buff it well. Then remove from the mandrel. With the instructions in front of you, lay out the parts as directed. The pen press is a handy helper for the assembly process (see Fig. 10). Once your key ring is assembled, be sure to put the appropriate attachments inside (see Fig. 11 and 12). Many of the pre-cut blanks on the market are often long enough to make a matching Polaris pen and one of several styles of the key rings. Be sure to check the dimensions required. continued from page 67 sanding with cloth-backed sandpaper. 28 • Creative Woodworks S. Crafts March 2005 |


