Creative Woodworks & crafts 2005-04, страница 25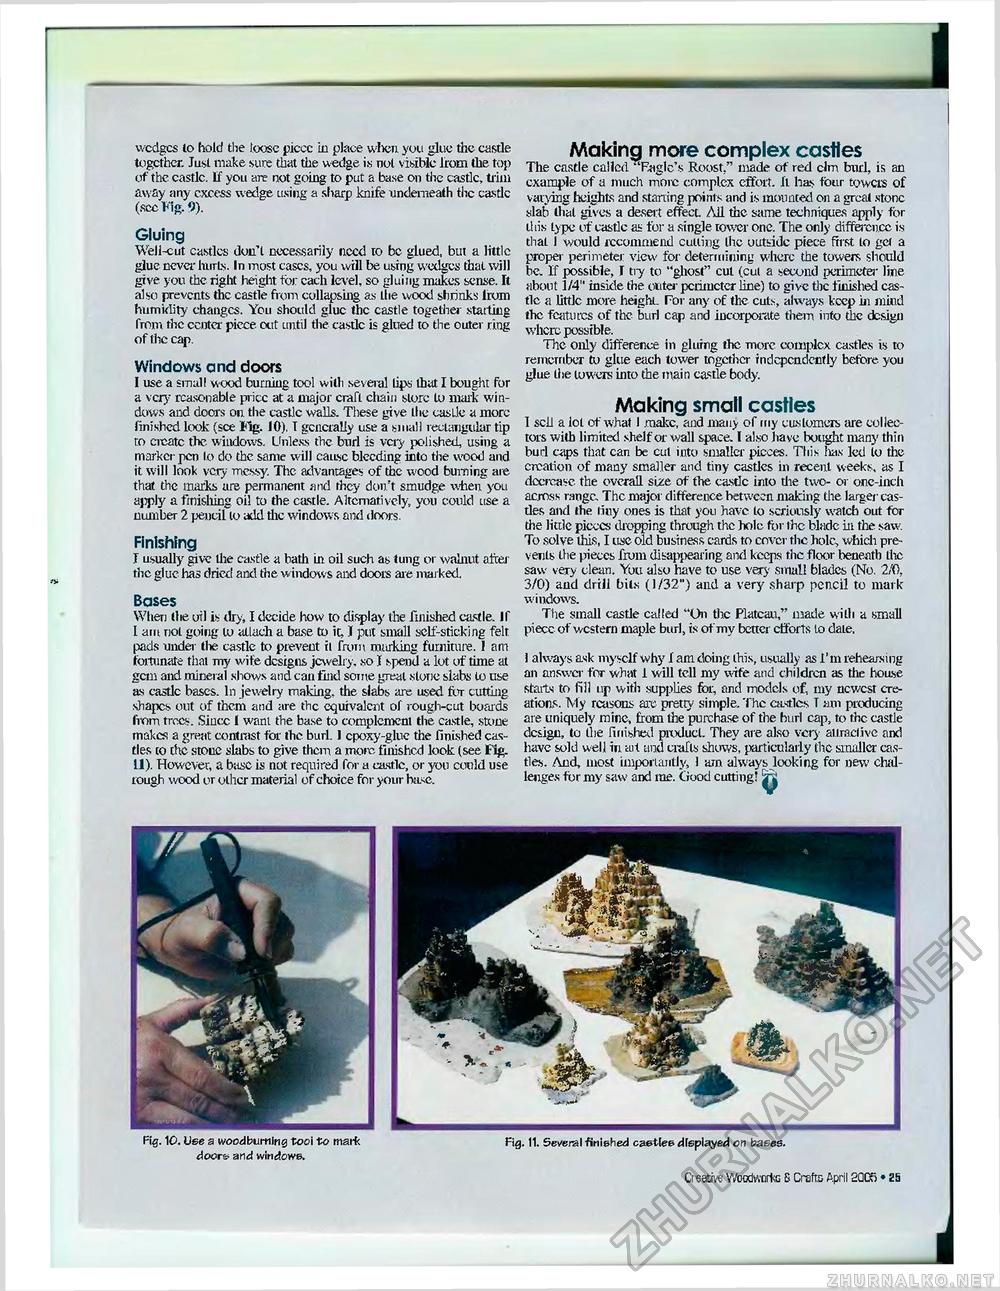
wedges to hold the loose piccc in place when you glue the castle together. Just make sure that the wedge is not visible lrom the top of the castlc. If you are not going to put a base on the castlc, trim away any excess wedge using a sharp knife underneath the castlc (sec Fig. 9). Gluing Well-cut castles don't necessarily need to be glued, but a little glue never hurts. In most eases, you will be using wedges that will give you the right height for cach level, so gluing makes sense. It also prevents the castle from collapsing as the wood shrinks lrom humidity changcs. You should glue the castle together stalling from the carter piece out until the castlc is glued to the outer ring of the cap. Windows and doors I use a small wood burning tool with several lips that I bought for a very- reasonable price at a major craft cliain store lo mark windows and doors on the castlc walls. These give the castle a more finished look (see Fig. 10). T generally use a small rectangular tip to cicatc the windows. Unless the burl is very polished, using a marker pen lo do the same will cau.sc bleeding into the wood and it will look very messy. The advantages of the wood burning are that the marks are permanent and they don't smudge when you apply a finishing oil to the castle. Alternatively, you could use a number 2 pencil to add the window s and doors. Finishing I usually give the castle a bath in oil such as lung or walnut after the glue has dried and the windows and doors are marked. Bases When (lie uil is dry, I decide how to display the finished castle. If I am not going to atlach a base to it, J put small self-sticking felt pads under tlie castle to prevent it from marking furniture. 1 am fortunate that my wife designs, jewelry, so I spend a lot of time at gem and mineral shows and can find some great stone slabs lo use as castlc bases. In jewelry making, the slabs are used for cutting shapes out of them and are the equivalent of rough-cut boards from trees. Sincc I want the base to complement the castle, stone makes a great contrast for the burl. I cpoxy-glue the finished castles to the stone slabs to give them a more finished look (see Fig. 11). However, a base is not required for a castle, or you could use rough wood or other material of choice for your base. Making more complex castles The castle called Ragle's Roost," made of red elm burl, is an example of a much more complex effort. It has four towers of varying heights and starting points and is mounted on a great stone slab that gives a desert effect. All the same techniques apply for this type uf castle as for a single tower one. The only difference is that I would recommend culling the outside piece first lo gel a proper perimeter view for determining where the towers should be. If possible, I tiy to "ghost" cut (cut a second perimeter line about 1/4" inside the outer perimeter line) to give the finished castlc a little more height. For any of the cuts, always keep in mind the features of the burl cap and incorporate them into die design where possible. The only difference in gluing the more complcx castles is to remember to glue each tower together independently before, you glue the lowers into the main castle body. Making small castles I sell a lot of what I make, and many of my customers are collectors with limited shelf or wall space. I also have bought many thin burl caps that can be cul into smaller picces. This lias led lo the creation of many smaller and tiny castles in recent weeks, as I decrease the overall size of the castlc into the two- or one-inch across range. The major difference between making the larger castles and the liny ones is that you have lo seriously watch out for the little picccs dropping through the hole for the blade in the saw. To solve this, I use old business cards to cover the hole, which prevents the pieces from disappearing and keeps the floor beneath the saw very clean. You also have to use very small blades (No. 2/0, 3/0) and drill bits (1 /32") and a very sharp pencil to mark windows. The small castle called "On the Plateau," made with a small piecc of western maple burl, is of my berter efforts to dale. i always ask myself why I am doing ihis, usually as 1' m rehearsing an answer for what 1 will tell my wife and children as the house starts to fill up with supplies for, and models of, my newest creations. My reasons are- pretty simple. The castles T am producing are uniquely mine, from the purchase of the burl cap, to the castle design, to ihe finished product. They are also very attractive and have sold well in ait and crafts shews, particularly the smaller castles. And, most importantly, 1 am always looking for new challenges for my saw and me. Good cutting! ^ Fig. 10. Use a wood burning tooi to mark doors and windows. Fig. 11. Several finished castles displayed on bases. Creatiw VAjodworkc E CraftD April 2QG6 • 25 J |


