Creative Woodworks & crafts 2005-06, страница 57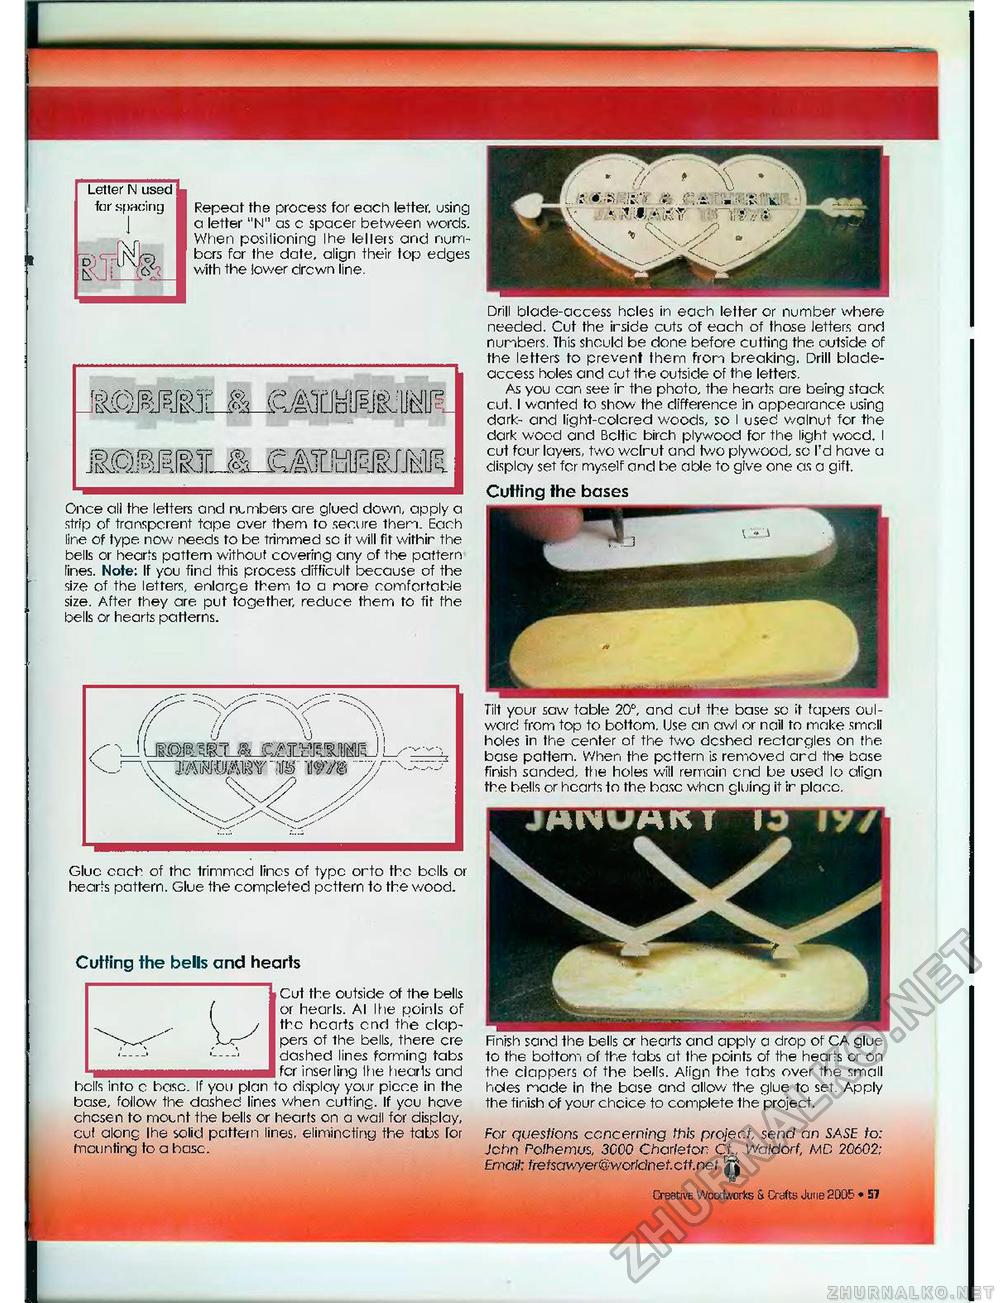
Repeat the process for each letter, using a letter "N" as c spacer between words. When posilioning Ihe tellers and numbers fcr the date, align their top edges with the lower drewn line. Once all the letters and numbers are glued down, apply a strip of transparent tope ever them to secure then. Each line of type now needs to be trimmed sc it will fit withir the bells or hearts pattern without covering any of the pattern lines. Note: If you find this process difficult because of the size of the letters, enlarge them to a more comfortable size. After they are put together, reduce them to fit the bells or hearts patterns. f -U IsmshjLj^iTtmsmJ L-^r^ V v/ *Glue cach of the trimmed linos of typo orto the bolls or hearts pattern. Glue the completed pattern to the wood. Cutting the bells and hearts Cut the outside of the bells or hearls. Al I tie poinls of the hearts end the clappers of the bells, there ere dashed lines forming tabs fcr inserling ihe hearls and bells into c base. If you plan to display your piece in the base, follow the dashed lines when cutting. If ycu have chosen to mount the bells or hearts on a wall for display, cul along Ihe solid pattern lines, elimincting the tabs for mounting to a base. Drill blade-access hcles in each letter or number where needed. Cut the irside cuts of each of those letters and numbers. This should be done before cutting the outside of the letters to prevent them from breaking. Drill blade-access holes and cut the outside of the letters. As you can see ir the photo, the hearts are being stack cut. I wanted to show the difference in appearance using dark- and light-colcred woods, so I used walnut for the dark wood and Bcltic birch plywood for the light wocd. I cut four layers, two wclrut and two plywood, sc I'd have a display set for myself and be able to give one as a gift. Cutting ihe bases Tilt your sow table 20", and cut the base so it tapers oul-ward from top to bottom. Use an awl or nail to make small holes in the center of the two deshed rectargles on the base pattern. When the pcttern is removed ard the base finish sanded, the holes will remain end be used lo align the bells or hearts to the base when gluing it ir place. Finish sand the bells or hearts and apply a drop of CA glue to the bottom of the tabs at the points of the hearts or on the clappers of the bells. Align the tabs over the small hdes made in the base and allow the glue to set. Apply the finish of your choice to complete the project. For questions concerning this project, send an SASE to: John Polhemvs, 3COO Charleton Ct, Waldorf, MD 20602: Email: fretsawyer@worldnet.ctt.net Creative Woodworks & Crafts June 2005 ♦ 57 Letter N used far spacing ik pj N . I i <A |


