Creative Woodworks & crafts 2005-11, страница 25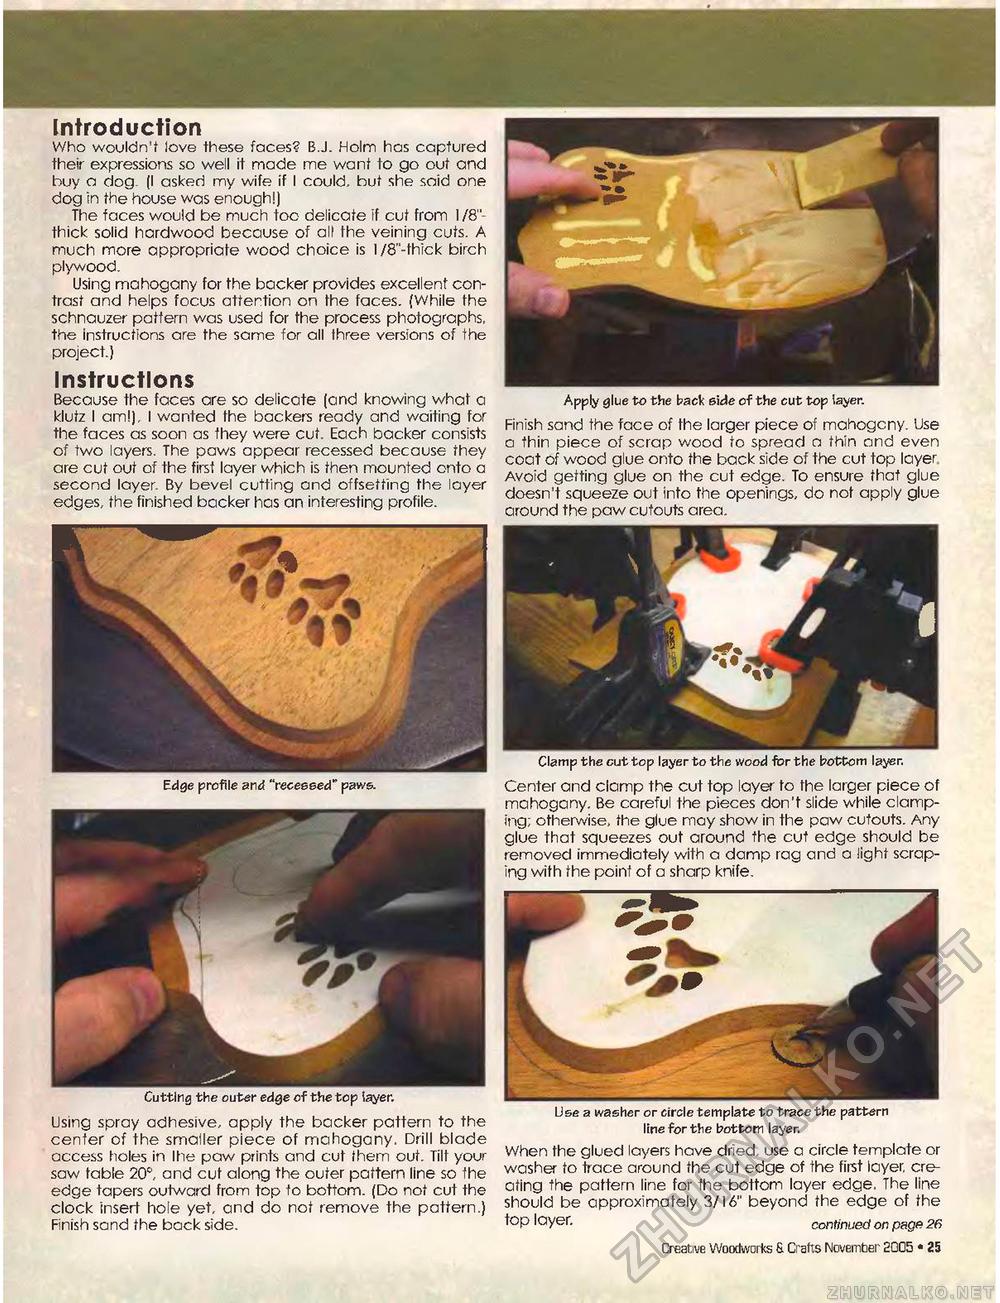
Introduction Who wouldn't love these faces? B.J. Holm has captured their expressions so well it made me want to go out and buy a dog (I asked my wife if I could, but she said one dog in the house was enough!) The faces would be much too delicate if cut from I /S"-thick solid hardwood because of all the veining cuts. A much more appropriate wood choice is 1 /8"-thick birch plywood. Using mahogany for the backer provides excellent contrast and helps focus attention on the faces. {While the schnauzer pattern was used for fhe process photographs, the instructions are the same for all three versions of the project.) Instructions Because the faces are so delicate (and knowing what a klutz I am!), I wanted fhe backers ready and waiting for the faces as soon as fhey were cut. Each backer consists of two layers. The paws appear recessed because they are cut out of the first layer which is then mounted onto a second layer. By bevel cutting and offsetting the layer edges, the finished backer has an interesting profile. Apply glue to the back side of the cut top layer. Finish sand the face of the larger piece of mahogcny. Use a thin piece of scrap wood to spread a thin and even coat of wood glue onto the back side of the cut top layer. Avoid getting glue on the cut edge. To ensure that glue doesn't squeeze out into the openings, do not apply glue around the paw cutouts area. Clamp the cut top layer to the wood for the bottom layer. Cutting the outer edge of the top layer. Center and clamp the cut top layer to the larger piece of mahogany. Be careful the pieces don't slide while clamping; otherwise, the glue may show in the paw cutouts. Any glue that squeezes out around fhe cut edge should be removed immediately with a damp rag and a light scraping with the point of a sharp knife. Using spray adhesive, apply the backer pattern to the center of the smaller piece of mahogany. Drill blade access holes in Ihe paw prints and cut Ihern out. Tilt your saw table 20°, and cut along the outer pattern line so the edge tapers oufward from top to bottom. (Do not cut the clock insert hole yet, and do not remove the pattern.) Finish sand the back side. Use a washer or circle template to trace the pattern line for the bottom layer. When the glued layers have dried, use a circle template or washer to trace around fhe cut edge of the first layer, creating the pattern line for fhe bottom layer edge. The line should be approximately 3/16" beyond the edge of the top layer. continued on page 26 Creative Woodworks 6. Crafts November 2005 « 25 |


