Creative Woodworks & crafts 2005-11, страница 26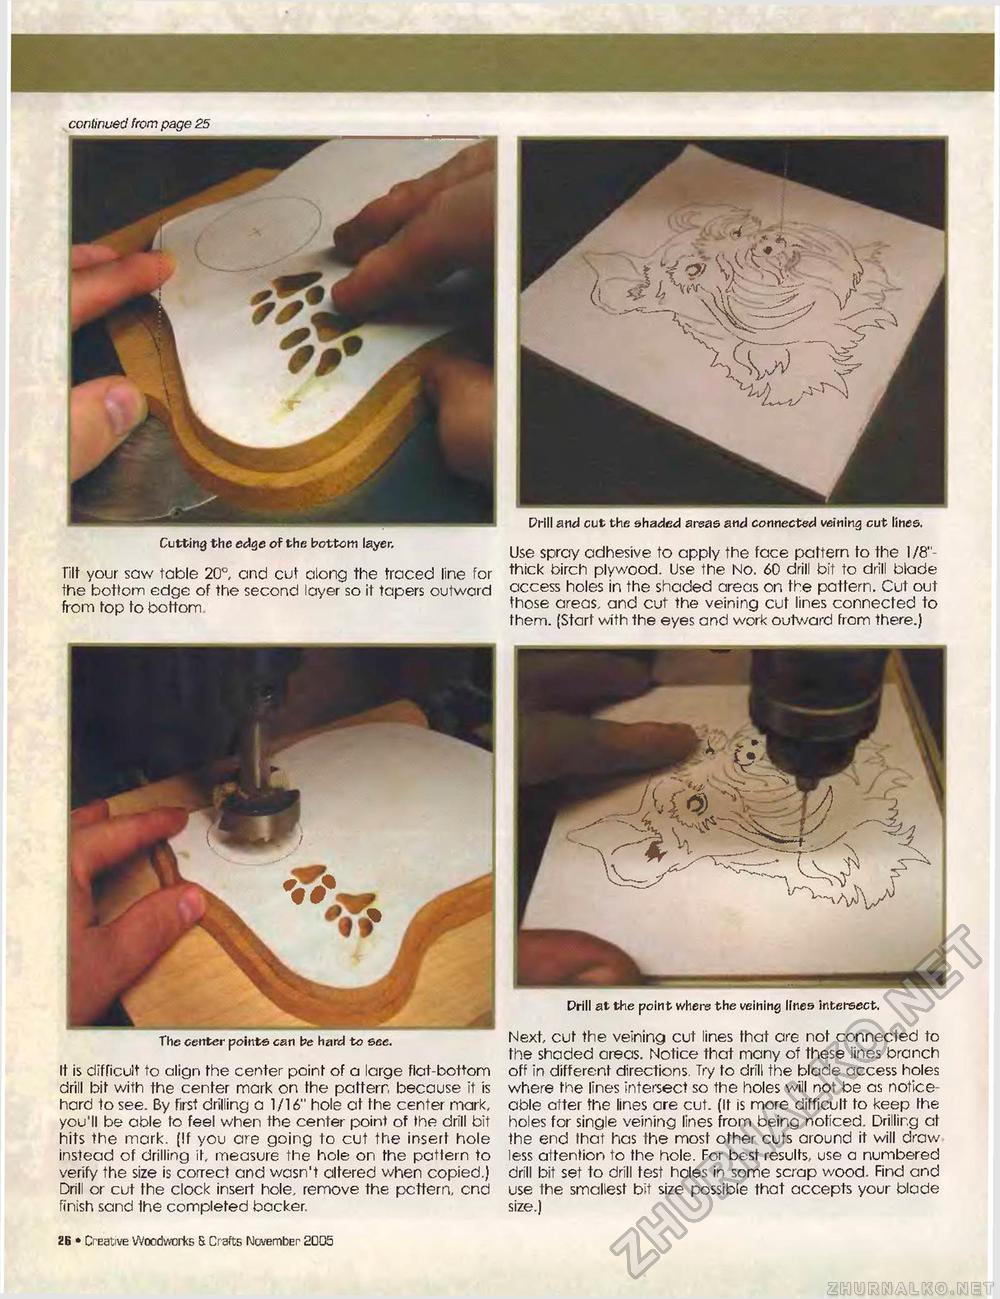
continued from page 25 Cutting the edge of the bottom layer. Tilt your saw table 20° and cut along the traced line for the bottom edge of the second layer so it tapers outword from top to bottom Prill and cut the shaded areas and connected veining cut lines. Use spray adhesive to apply the face pattern to the 1/8" thick birch plywood. Use the No. 60 drill bit to drill blade access holes in the shaded areas on the pattern. Cut out those areas, and cut the veining cut lines connected to them. (Start with the eyes and work outward from there.) Drill at the point where the veining lines intersect. It is difficult to align the center point of a large flat-bottom drill bit with the center mark on fhe pafferr, because it is hard to see. By first drilling a 1/16" hole at the center mark, you'll be able lo feel when the center point of the drill bit hits the mark. [If you are going to cut the insert hole instead of drilling il, measure the hole on fhe pattern to verify the size is con-ect and wasn't altered when copied.) Drill or cut the clock insert hole, remove the pcttern, end finish sand the completed backer. Next, cut the veining cut lines that are not connected to the shaded areas. Notice that many of these lines branch off in different directions. Try to drill the blade access holes where the lines intersect so the holes will not be as noticeable after the lines are cut. (It is more difficult to keep the holes for single veining lines from being noticed. Drilling at the end that has the most other cuts around it will draw less attention to fhe hole. For best results, use a numbered drill bit set to drill test holes in some scrap wood. Find and use the smallest bit size possible that accepts your blade size.) The center points can be hard to see. 26 • Creative Woodworks fi Crafts November £005 |


