Creative Woodworks & crafts 2005-11, страница 40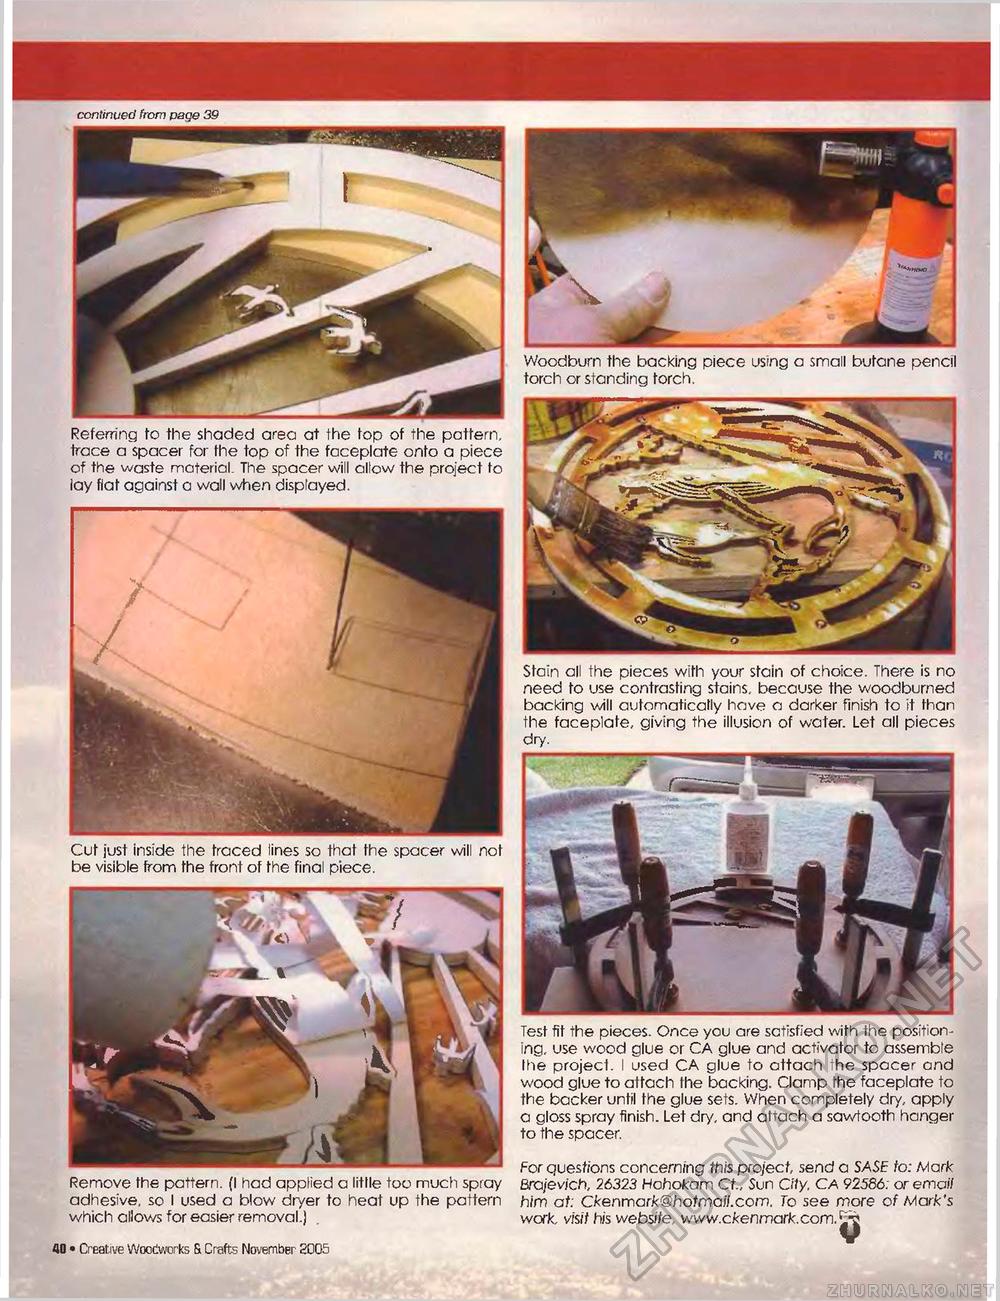
continued from page 29 Referring to the shaded area at the top of the pattern, trace a spacer for fhe top of the faceplate onto a piece of the waste material. The spacer will allow the project to lay flat against a wall when displayed. Cut just inside the traced lines so that the spacer will not be visible from fhe front of the final piece. Remove the pattern. (I had applied a litlle too much spray adhesive, so I used a blow dryer to heat up the pattern which allows for easier removal.) 40 • Creative Woodworks & Crafts November 2005 Woodburn the backing piece using a small butane pencil torch or standing torch. Stain all the pieces with your stain of choice. There is no need to use contrasting stains, because the woodburned backing will automatically have a darker finish to it than the faceplate, giving the illusion of water. Let all pieces dry. Test fit the pieces. Once you are sctisfied with the positioning, use wood glue or CA glue and activator to assemble the project. I used CA glue to attach the spacer and wood glue to attach the backing. Clamp the faceplate to the backer until the glue sets. When completely dry, apply a gloss spray finish. Let dry, and attach a sawtooth hanger to the spacer. For questions concerning this project, send a SASE to: Mark Brajevich, 26323 Hohokam Ct., Sun City. CA 92586: or ema// him at: Ckenrrtark@hotmaii.com. To see more of Mark's work, visit his website, vvvvw.ckenmark.com. |


