Creative Woodworks & crafts 2009-04, страница 10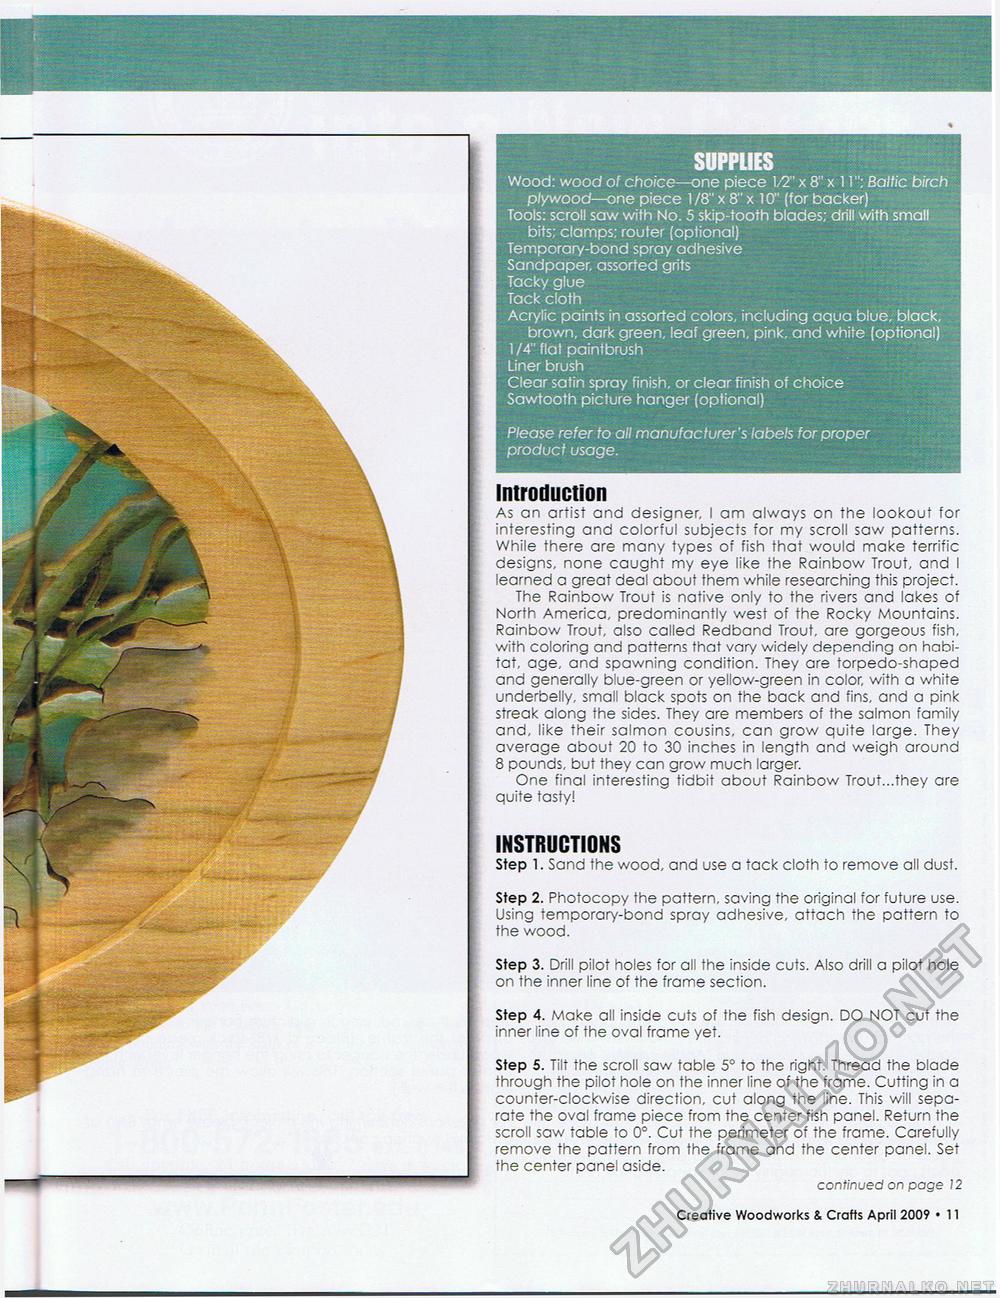
SUPPLIES Wood: wood of choice—one piece 1/2" x 8" x 1 V: Baltic birch plywood—one piece 1 /8" x 8" x 10" (for backer) Tools: scroll saw with No. 5 skip-tooth blades; drill with small bits; clamps; router (optional) Temporary-bond spray adhesive Sandpaper, assorted grits Tacky glue Tack cloth Acrylic paints in assorted colors, including aqua blue, black, brown, dark green, leaf green, pink, and white (optional) 1 /4" flat paintbrush Liner brush Clear satin spray finish, or clear finish of choice Sawtooth picture hanger (optional) Please refer to all manufacturers labels for proper product usage. Introduction As an artist and designer, I am always on the lookout for interesting and colorful subjects for my scroll saw patterns. While there are many types of fish that would make terrific designs, none caught my eye like the Rainbow Trout, and I learned a great deal about them while researching this project. The Rainbow Trout is native only to the rivers and lakes of North America, predominantly west of the Rocky Mountains. Rainbow Trout, also called Redband Trout, are gorgeous fish, with coloring and patterns that vary widely depending on habitat, age, and spawning condition. They are torpedo-shaped and generally blue-green or yellow-green in color, with a white underbelly, small black spots on the back and fins, and a pink streak along the sides. They are members of the salmon family and, like their salmon cousins, can grow quite large. They average about 20 to 30 inches in length and weigh around 8 pounds, but they can grow much larger. One final interesting tidbit about Rainbow Trout...they are quite tasty! INSTRUCTIONS Step 1. Sand the wood, and use a tack cloth to remove all dust. Step 2. Photocopy the pattern, saving the original for future use. Using temporary-bond spray adhesive, attach the pattern to the wood. Step 3. Drill pilot holes for all the inside cuts. Also drill a pilot hole on the inner line of the frame section. Step 4. Make all inside cuts of the fish design. DO NOT cut the inner line of the oval frame yet. Step 5. Tilt the scroll saw table 5° to the right. Thread the blade through the pilot hole on the inner line of the frame. Cutting in a counter-clockwise direction, cut along the line. This will separate the oval frame piece from the center fish panel. Return the scroll saw table to 0°. Cut the perimeter of the frame. Carefully remove the pattern from the frame and the center panel. Set the center panel aside. continued on page 12 Creative Woodworks & Crafts April 2009 • 11 |


