Creative Woodworks & crafts 2009-04, страница 13
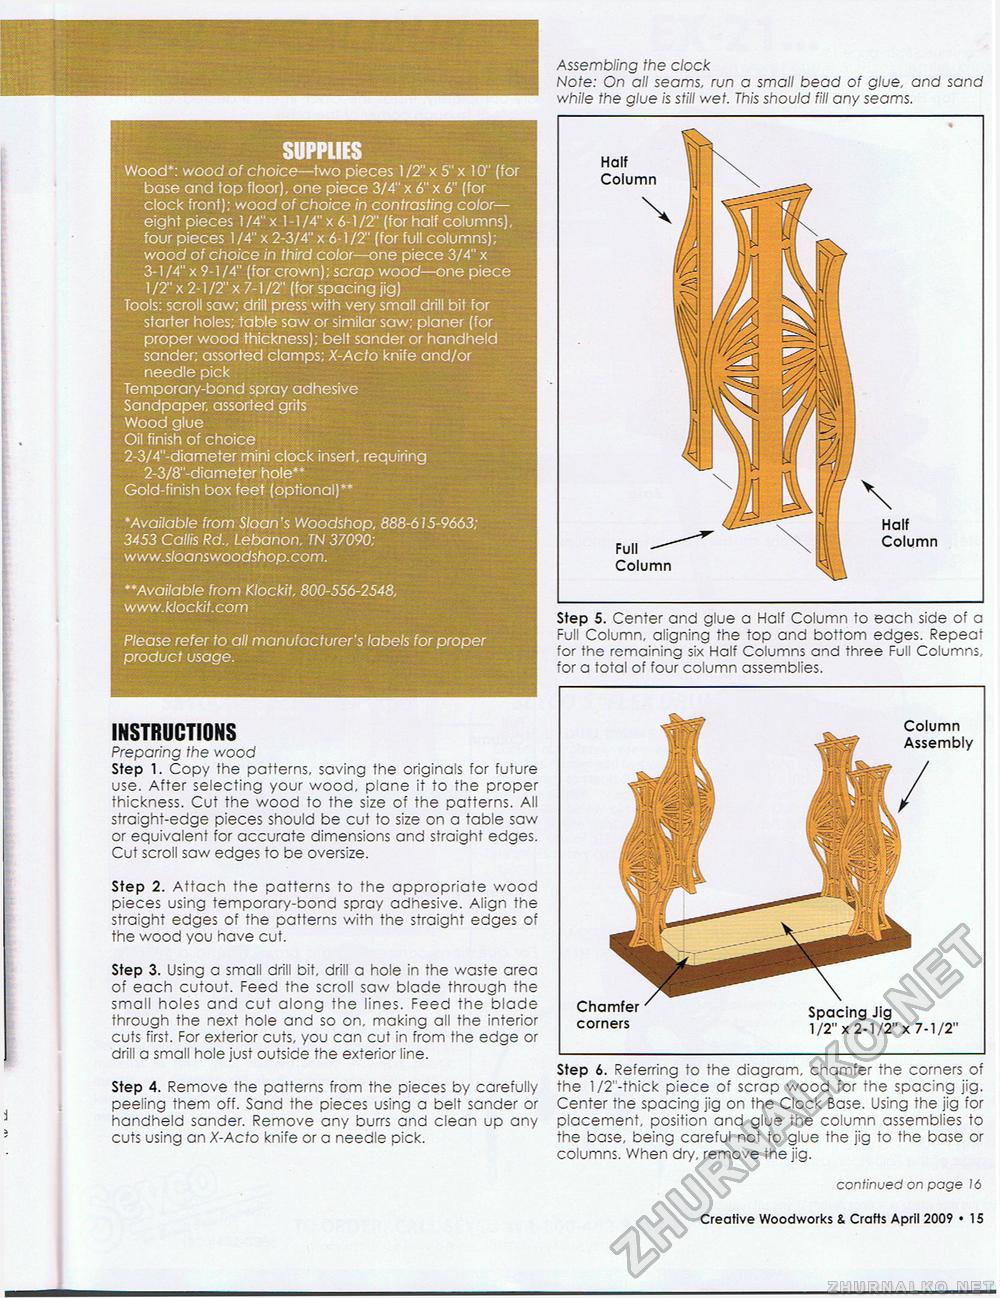
SUPPLIES Wood*: wood of choice—two pieces 1 /2" x 5" x 10" (for base and top floor), one piece 3/4" x 6" x 6" (for clock front); wood of choice in contrasting color— eight pieces 1 /4" x 1-1 /4" x 6-1/2" (for half columns), four pieces 1/4" x 2-3/4" x 6-1/2" (for full columns); wood of choice in third color—one piece 3/4" x 3-1/4" x 9-1/4" (for crown); scrap wood—one piece 1 IT x 2-1/2" x 7-1/2" (for spacing jig) Tools: scroll saw; drill press with very small drill bit for starter holes; table saw or similar saw; planer (for proper wood thickness); belt sander or handheld sander; assorted clamps; X-Acto knife and/or needle pick Temporary-bond spray adhesive Sandpaper, assorted grits Wood glue Oil finish of choice 2-3/4"-diameter mini clock insert, requiring 2-3/8"-diameter hole** Gold-finish box feet (optional)** * Available from Sloan's Woodshop, 888-615-9663; 3453 Callis Rd., Lebanon, TN 37090; www.sloanswoodshop.com. **Available from Klockit, 800-556-2548, www.klockit.com Please refer to all manufacturer's labels for proper product usage. Assembling the clock Note: On all seams, run a small bead of glue, and sand while the glue is still wet. This should fill any seams. Step 5. Center and glue a Half Column to each side of a Full Column, aligning the top and bottom edges. Repeat for the remaining six Half Columns and three Full Columns, for a total of four column assemblies. INSTRUCTIONS Preparing the wood Step 1. Copy the patterns, saving the originals for future use. After selecting your wood, plane it to the proper thickness. Cut the wood to the size of the patterns. All straight-edge pieces should be cut to size on a table saw or equivalent for accurate dimensions and straight edges. Cut scroll saw edges to be oversize. Step 2. Attach the patterns to the appropriate wood pieces using temporary-bond spray adhesive. Align the straight edges of the patterns with the straight edges of the wood you have cut. Step 3. Using a small drill bit, drill a hole in the waste area of each cutout. Feed the scroll saw blade through the small holes and cut along the lines. Feed the blade through the next hole and so on, making all the interior cuts first. For exterior cuts, you can cut in from the edge or drill a small hole just outside the exterior line. Step 4. Remove the patterns from the pieces by carefully peeling them off. Sand the pieces using a belt sander or handheld sander. Remove any burrs and clean up any cuts using an X-Acto knife or a needle pick. continued on page 16 Step 6. Referring to the diagram, chamfer the corners of the l/2"-thick piece of scrap wood for the spacing jig. Center the spacing jig on the Clock Base. Using the jig for placement, position and glue the column assemblies to the base, being careful not to glue the jig to the base or columns. When dry, remove the jig. Column Assembly Chamfer corners Spacing Jig 1/2"x 2-1/2"x 7-1/2" Creative Woodworks & Crafts April 2009 • 11 |


