Creative Woodworks & crafts 2009-04, страница 11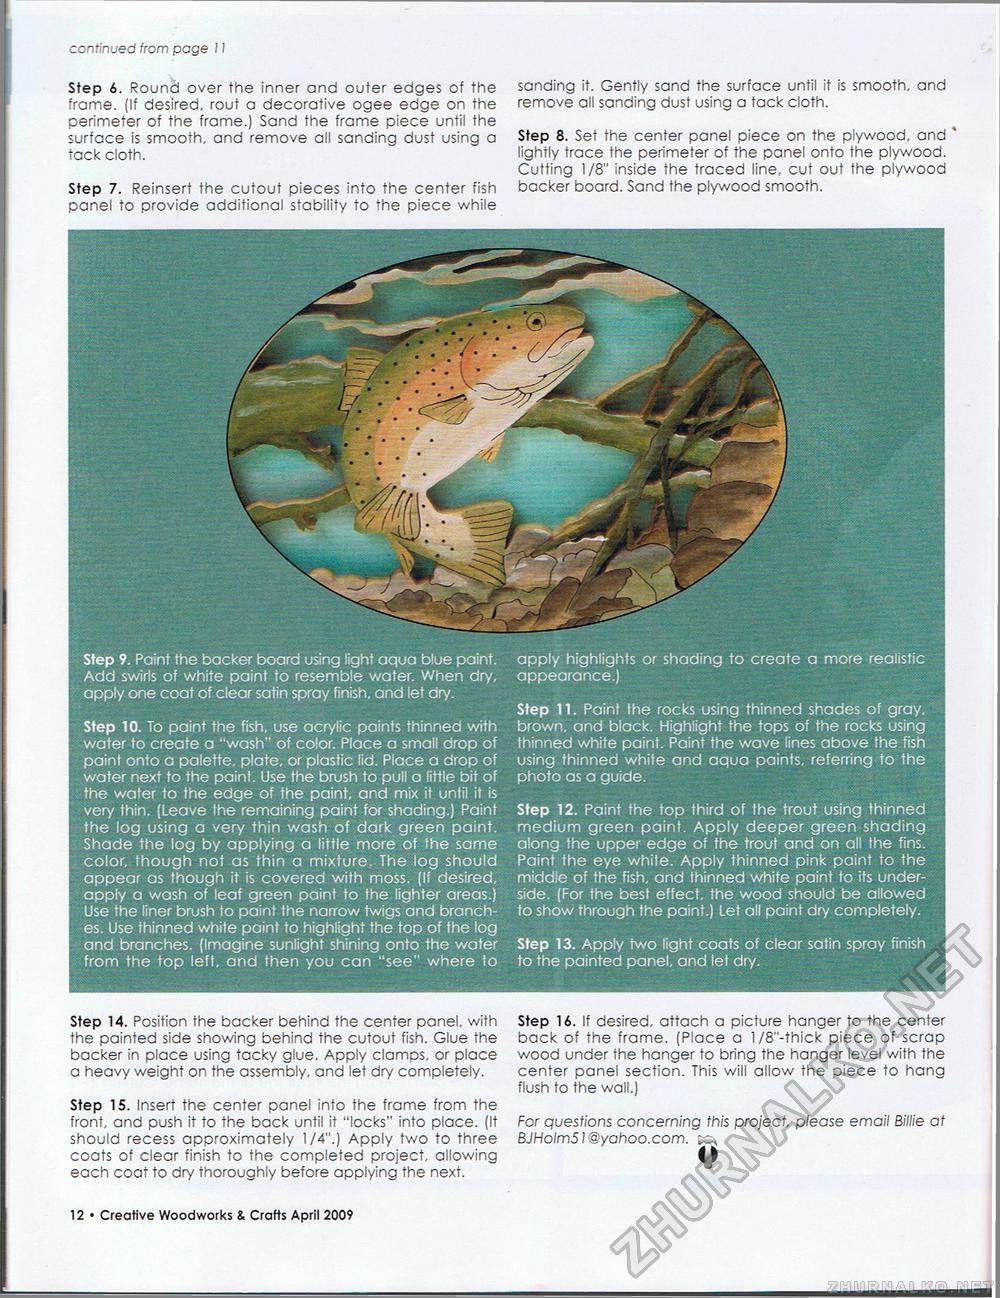
continued from page 11 Step 6. Round over the inner and outer edges of the frame. (If desired, rout a decorative ogee edge on the perimeter of the frame.) Sand the frame piece until the surface is smooth, and remove all sanding dust using a tack cloth. Step 7. Reinsert the cutout pieces into the center fish panel to provide additional stability to the piece while sanding it. Gently sand the surface until it is smooth, and remove all sanding dust using a tack cloth. Step 8. Set the center panel piece on the plywood, and ' lightly trace the perimeter of the panel onto the plywood. Cutting 1/8" inside the traced line, cut out the plywood backer board. Sand the plywood smooth. II ': - Step 9. Paint the backer board using light aqua blue paint. Add swirls of white paint to resemble water. When dry, apply one coat of clear satin spray finish, and let dry. Step 10. To paint the fish, use acrylic paints thinned with water to create a "wash" of color. Place a small drop of paint onto a palette, plate, or plastic lid. Place a drop of water next to the paint. Use the brush to pull a little bit of the water to the edge of the paint, and mix it until it is very thin. (Leave the remaining paint for shading.) Paint the log using a very thin wash of dark green paint. Shade the log by applying a little more of the same color, though not as thin a mixture. The log should appear as though it is covered with moss. (If desired, apply a wash of leaf green paint to the lighter areas.) Use the liner brush to paint the narrow twigs and branches. Use thinned white paint to highlight the top of the log and branches. (Imagine sunlight shining onto the water from the top left, and then you can "see" where to apply highlights or shading to create a more realistic appearance.) Step 11. Paint the rocks using thinned shades of gray, brown, and black. Highlight the tops of the rocks using thinned white paint. Paint the wave lines above the fish using thinned white and aqua paints, referring to the photo as a guide. Step 12. Paint the top third of the trout using thinned medium green paint. Apply deeper green shading along the upper edge of the trout and on all the fins. Paint the eye white. Apply thinned pink paint to the middle of the fish, and thinned white paint to its underside. (For the best effect, the wood should be allowed to show through the paint.) Let all paint dry completely. Step 13. Apply two light coats of clear satin spray finish to the painted panel, and let dry. Step 14. Position the backer behind the center panel, with the painted side showing behind the cutout fish. Glue the backer in place using tacky glue. Apply clamps, or place a heavy weight on the assembly, and let dry completely. Step 15. Insert the center panel into the frame from the front, and push it to the back until it "locks" into place. (It should recess approximately 1/4".) Apply two to three coats of clear finish to the completed project, allowing each coat to dry thoroughly before applying the next. Step 16. If desired, attach a picture hanger to the center back of the frame. (Place a l/8"-thick piece of scrap wood under the hanger to bring the hanger level with the center panel section. This will allow the piece to hang flush to the wall.) For questions concerning this project please email Billie at BJHolm5i@yahoo.com. 78 • Creative Woodworks & Crafts April 2009 |


