Creative Woodworks & crafts 2009-04, страница 61
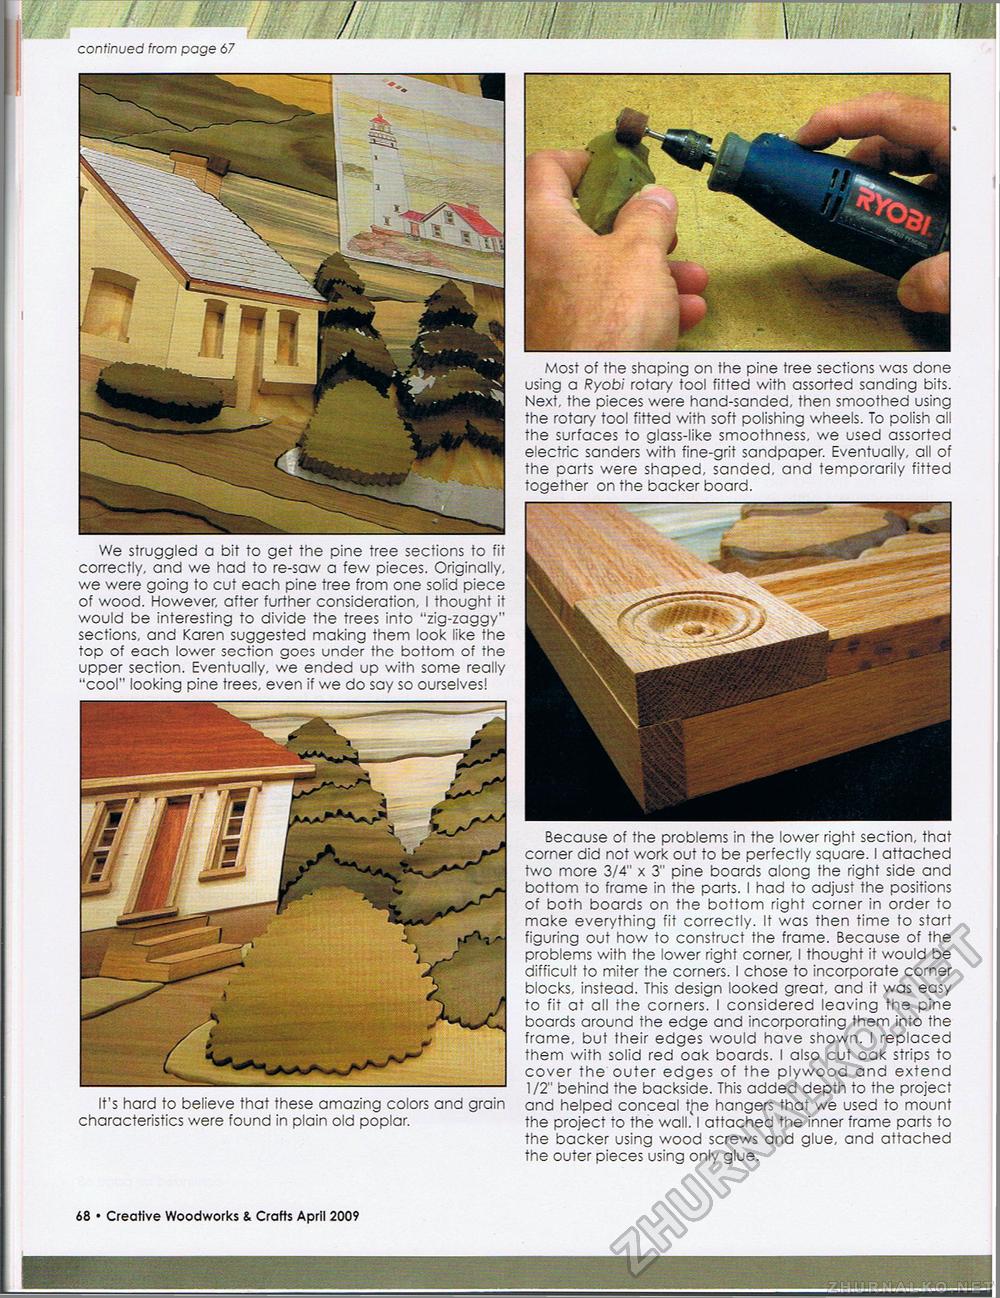
/ 7, / I , I continued from page 67 We struggled a bit to get the pine tree sections to fit correctly, and we had to re-saw a few pieces. Originally, we were going to cut each pine tree from one solid piece of wood. However, after further consideration, I thought it would be interesting to divide the trees into "zig-zaggy" sections, and Karen suggested making them look like the top of each lower section goes under the bottom of the upper section. Eventually, we ended up with some really "cool" looking pine trees, even if we do say so ourselves! It's hard to believe that these amazing colors and grain characteristics were found in plain old poplar. Because of the problems in the lower right section, that corner did not work out to be perfectly square. I attached two more 3/4" x 3" pine boards along the right side and bottom to frame in the parts. I had to adjust the positions of both boards on the bottom right corner in order to make everything fit correctly. It was then time to start figuring out how to construct the frame. Because of the problems with the lower right corner, I thought it would be difficult to miter the corners. I chose to incorporate corner blocks, instead. This design looked great, and it was easy to fit at all the corners. I considered leaving the pine boards around the edge and incorporating them into the frame, but their edges would have shown. I replaced them with solid red oak boards. I also cut oak strips to cover the outer edges of the plywood and extend 1/2" behind the backside. This added depth to the project and helped conceal the hangers that we used to mount the project to the wall. I attached the inner frame parts to the backer using wood screws and glue, and attached the outer pieces using only glue. Most of the shaping on the pine tree sections was done using a Ryobi rotary tool fitted with assorted sanding bits. Next, the pieces were hand-sanded, then smoothed using the rotary tool fitted with soft polishing wheels. To polish all the surfaces to glass-like smoothness, we used assorted electric sanders with fine-grit sandpaper. Eventually, all of the parts were shaped, sanded, and temporarily fitted together on the backer board. 78 • Creative Woodworks & Crafts April 2009 |


