Creative Woodworks & crafts 2009-04, страница 60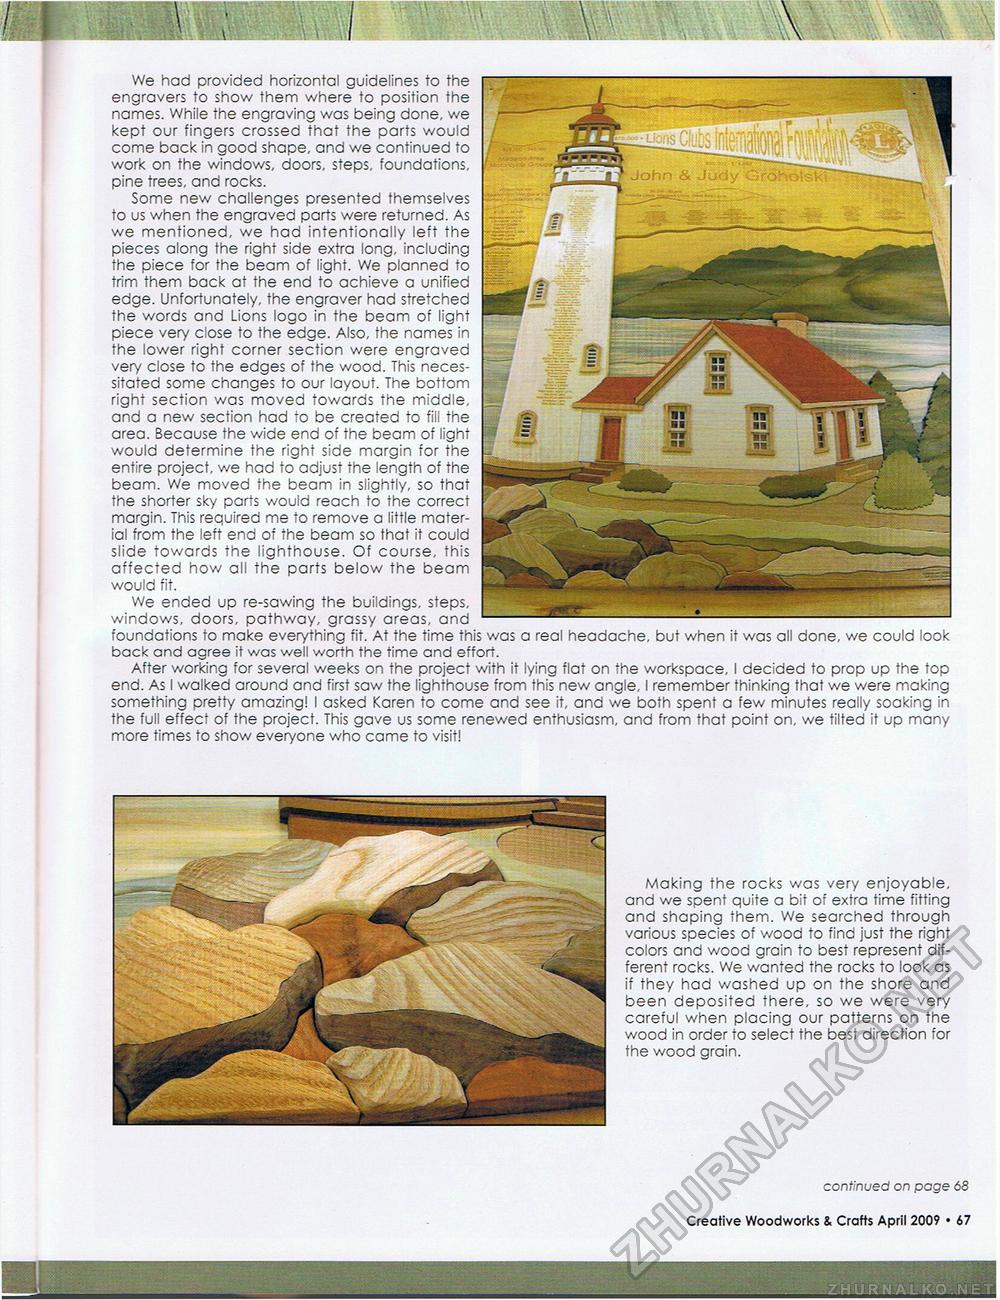
MiHHHH ■■■ We had provided horizontal guidelines to the engravers to show them where to position the names. While the engraving was being done, we kept our fingers crossed that the parts would come back in good shape, and we continued to work on the windows, doors, steps, foundations, pine trees, and rocks. Some new challenges presented themselves to us when the engraved parts were returned. As we mentioned, we had intentionally left the pieces along the right side extra long, including the piece for the beam of light. We planned to trim them back at the end to achieve a unified edge. Unfortunately, the engraver had stretched the words and Lions logo in the beam of light piece very close to the edge. Also, the names in the lower right corner section were engraved very close to the edges of the wood. This necessitated some changes to our layout. The bottom right section was moved towards the middle, and a new section had to be created to fill the area. Because the wide end of the beam of light would determine the right side margin for the entire project, we had to adjust the length of the beam. We moved the beam in slightly, so that the shorter sky parts would reach to the correct margin. This required me to remove a little material from the left end of the beam so that it could slide towards the lighthouse. Of course, this affected how all the parts below the beam would fit. We ended up re-sawing the buildings, steps, windows, doors, pathway, grassy areas, and foundations to make everything fit. At the time this was a real headache, but when it was all done, we could look back and agree it was well worth the time and effort. After working for several weeks on the project with it lying flat on the workspace, I decided to prop up the top end. As I walked around and first saw the lighthouse from this new angle, I remember thinking that we were making something pretty amazing! I asked Karen to come and see it, and we both spent a few minutes really soaking in the full effect of the project. This gave us some renewed enthusiasm, and from that point on, we tilted it up many more times to show everyone who came to visit! Making the rocks was very enjoyable, and we spent quite a bit of extra time fitting and shaping them. We searched through various species of wood to find just the right colors and wood grain to best represent different rocks. We wanted the rocks to look as if they had washed up on the shore and been deposited there, so we were very careful when placing our patterns on the wood in order to select the best direction for the wood grain. continued on page 60 Creative Woodworks & Crafts April 2009 • 19 |


