Creative Woodworks & crafts 2009-04, страница 57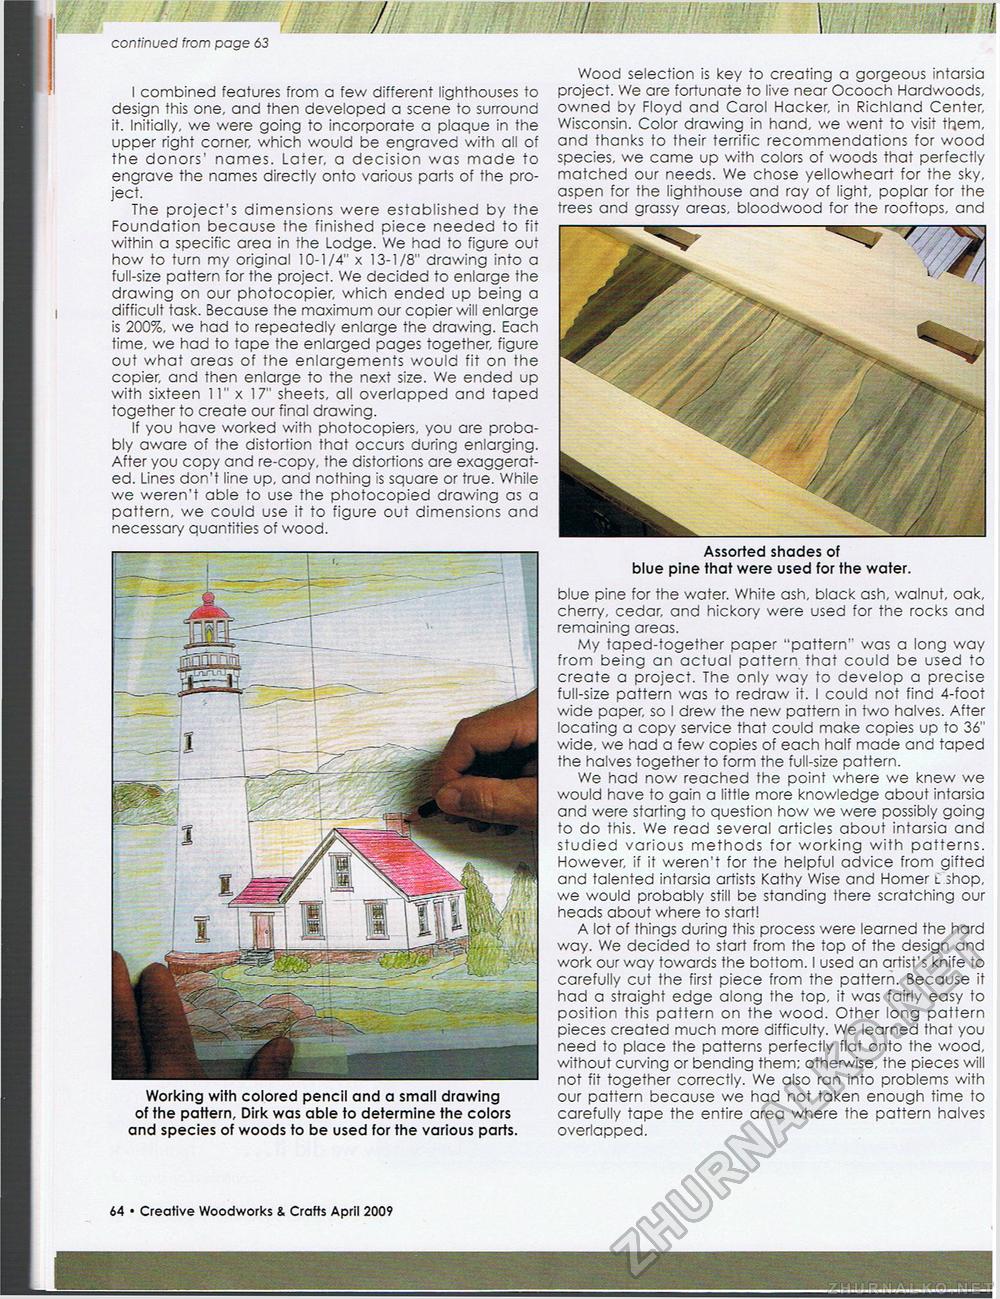
continued from page 63 I combined features from a few different lighthouses to design this one, and then developed a scene to surround it. Initially, we were going to incorporate a plaque in the upper right corner, which would be engraved with all of the donors' names. Later, a decision was made to engrave the names directly onto various parts of the project. The project's dimensions were established by the Foundation because the finished piece needed to fit within a specific area in the Lodge. We had to figure out how to turn my original 10-1/4" x 13-1/8" drawing into a full-size pattern for the project. We decided to enlarge the drawing on our photocopier, which ended up being a difficult task. Because the maximum our copier will enlarge is 200%, we had to repeatedly enlarge the drawing. Each time, we had to tape the enlarged pages together, figure out what areas of the enlargements would fit on the copier, and then enlarge to the next size. We ended up with sixteen 11" x 17" sheets, all overlapped and taped together to create our final drawing. If you have worked with photocopiers, you are probably aware of the distortion that occurs during enlarging. After you copy and re-copy, the distortions are exaggerated. Lines don't line up, and nothing is square or true. While we weren't able to use the photocopied drawing as a pattern, we could use it to figure out dimensions and necessary quantities of wood. Working with colored pencil and a small drawing of the pattern, Dirk was able to determine the colors and species of woods to be used for the various parts. ■■MM1 Wood selection is key to creating a gorgeous intarsia project. We are fortunate to live near Ocooch Hardwoods, owned by Floyd and Carol Hacker, in Richland Center, Wisconsin. Color drawing in hand, we went to visit them, and thanks to their terrific recommendations for wood species, we came up with colors of woods that perfectly matched our needs. We chose yellowheart for the sky, aspen for the lighthouse and ray of light, poplar for the trees and grassy areas, bloodwood for the rooftops, and Assorted shades of blue pine that were used for the water. blue pine for the water. White ash, black ash, walnut, oak, cherry, cedar, and hickory were used for the rocks and remaining areas. My taped-together paper "pattern'" was a long way from being an actual pattern that could be used to create a project. The only way to develop a precise full-size pattern was to redraw it. I could not find 4-foot wide paper, so I drew the new pattern in two halves. After locating a copy service that could make copies up to 36" wide, we had a few copies of each half made and taped the halves together to form the full-size pattern. We had now reached the point where we knew we would have to gain a little more knowledge about intarsia and were starting to question how we were possibly going to do this. We read several articles about intarsia and studied various methods for working with patterns. However, if it weren't for the helpful advice from gifted and talented intarsia artists Kathy Wise and Homer l shop, we would probably still be standing there scratching our heads about where to start! A lot of things during this process were learned the hard way. We decided to start from the top of the design and work our way towards the bottom. I used an artist's knife to carefully cut the first piece from the pattern. Because it had a straight edge along the top, it was fairly easy to position this pattern on the wood. Other long pattern pieces created much more difficulty. We learned that you need to place the patterns perfectly flat onto the wood, without curving or bending them; otherwise, the pieces will not fit together correctly. We also ran into problems with our pattern because we had not taken enough time to carefully tape the entire area where the pattern halves overlapped. 64 • Creative Woodworks & Crafts April 2009 |


